How to install and configure ADFS 2.0 with inSync Cloud
Install Active Directory Federation Services
You must install the Active Directory Federation Services (ADFS) 2.0 software on a computer that you are preparing for the federation server role or the federation server proxy role. For more information on how you can install the ADFS software and its prerequisites, see the Microsoft documentation.
Configure ADFS to integrate with inSync Cloud
After you have installed ADFS 2.0, perform the following actions:
- Create trust between inSync Cloud and ADFS by configuring ADFS with a relying party rule, which is inSync Cloud.
- Configure inSync Cloud to trust ADFS 2.0. The trust allows ADFS 2.0 to send claims to inSync Cloud.
- Set up a web application and site to consume these claims.
Create a new federation service
Note: Skip this step, if you already have an ADFS 2.0 Federation Server configured on the computer.
To create a new federation service
- On the Start menu, click Administrative Tools > ADFS 2.0 Management. The ADFS 2.0 Management window appears.
- On the right pane, under Actions, click on the ADFS 2.0 Federation Server Configuration Wizard link. The ADFS 2.0 Federation Server Configuration Wizard appears.

- On the Welcome page of the wizard, click Create a new Federation Service, and then click Next. The Select Stand-Alone or Farm Deployment page appears.
- Click Stand-alone Federation Server, and then click Next. The Specify the Federation Service Name page appears.
- In the SSL certificate box, browse and select the ADFS 2.0 server certificate, and then click Next.
- View summary, click Finish.
Create a relying party
After you have set up the Federation Server, the next step is to create a relying party.
To create a relying party
- On the Start menu, click Administrative Tools > ADFS 2.0 Management. The ADFS 2.0 window appears.
- Expand the Trust Relationships node.
- Right-click on the Relying Party Trusts folder. A list with additional options appears.
- Click Add Relying Party Trust…. The Add Relying Party Trust Wizard appears.
- Click Start. The Select Data Source page appears.
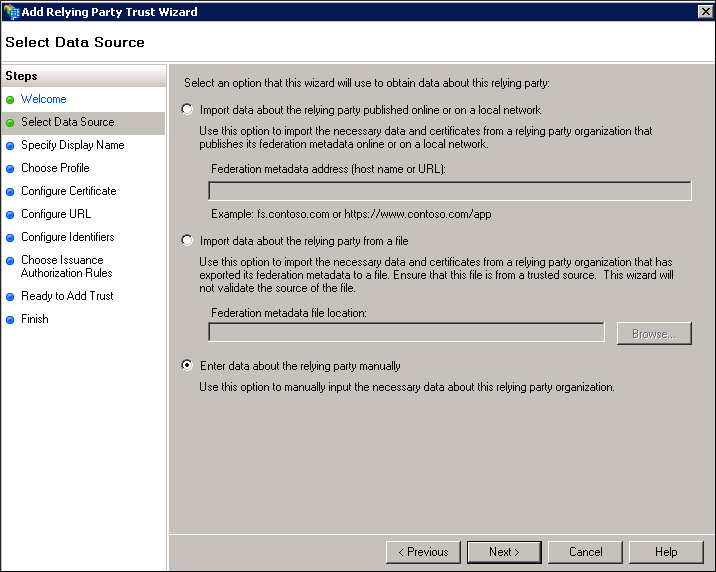
- Click Enter data about the relying party manually, and then click Next. The Specify Display Name page appears.
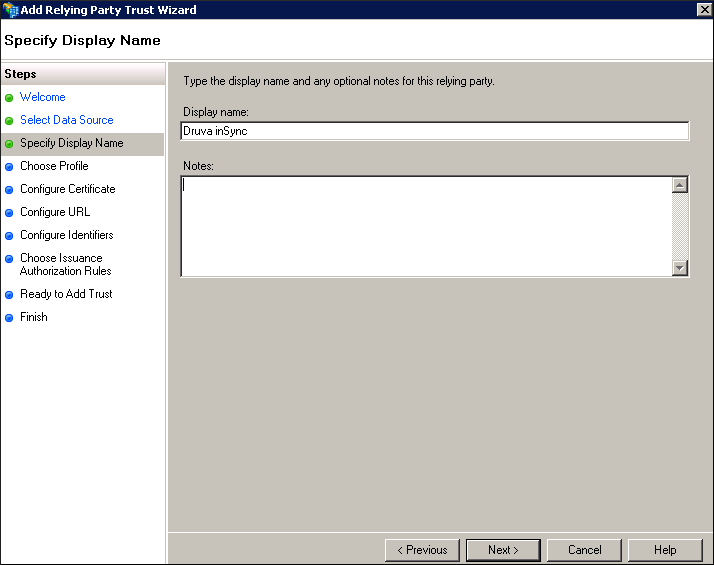
- Provide the appropriate information for each field.
Field Action Display Name Type a display name for the relying party.
For example, Druva inSync.
Notes Type a description for the relying party. - Click Next. The Choose Profile page appears.
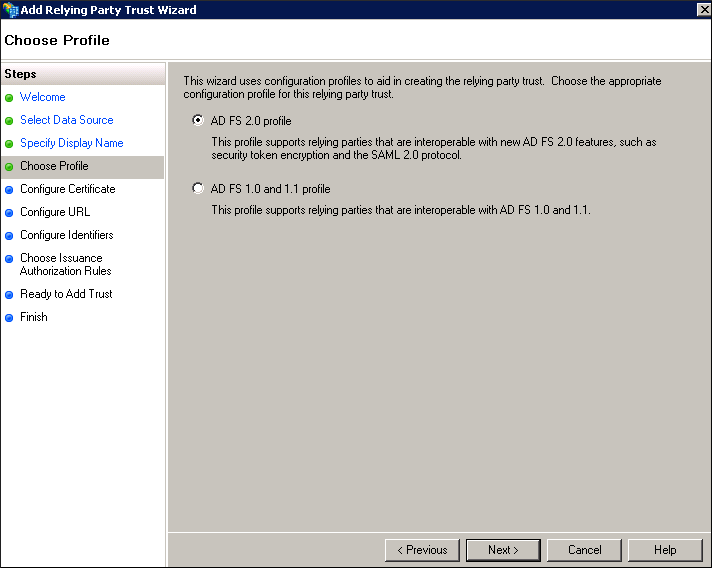
- Click ADFS 2.0 profile and then click Next. The Configure Certificate page appears.
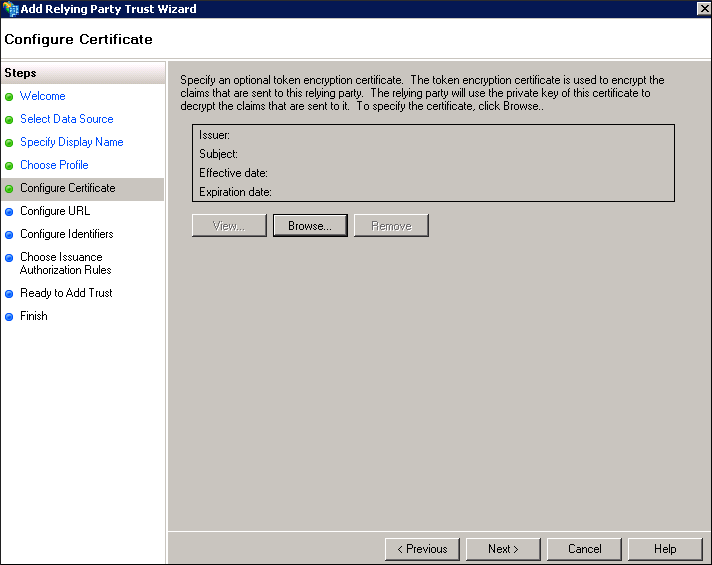
- If you want to encrypt the SAML token, browse and select the certificate, and then click Next. The Configure URL page appears.
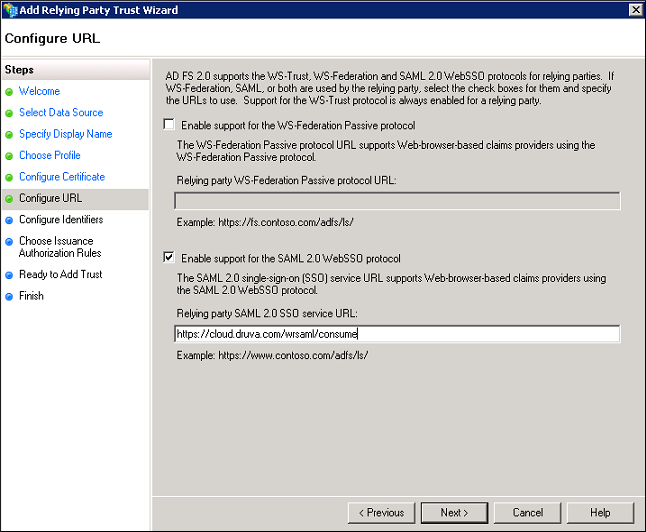
- Provide the appropriate information for each field.
Field Action Enable support for the SAML 2.0 WebSSO protocol Select this check box.
Relying party SAML 2.0 SSO service URL Type https://cloud.druva.com/wrsaml/consume. - Click Next. The Configure Identifiers page appears.
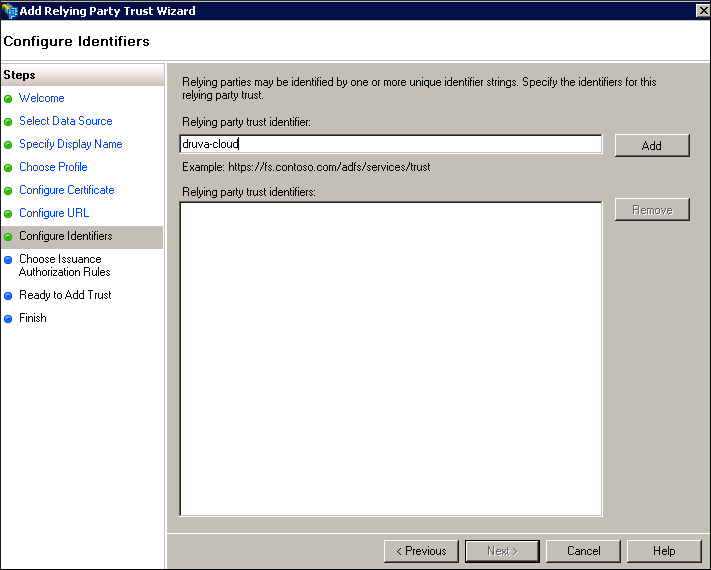
- In the Relying party trust identifier box, type druva-cloud.
The web application passes this realm to the ADFS when users log into the web restore URL. - Click Next. The Choose Issuance Authorization Rules page appears.
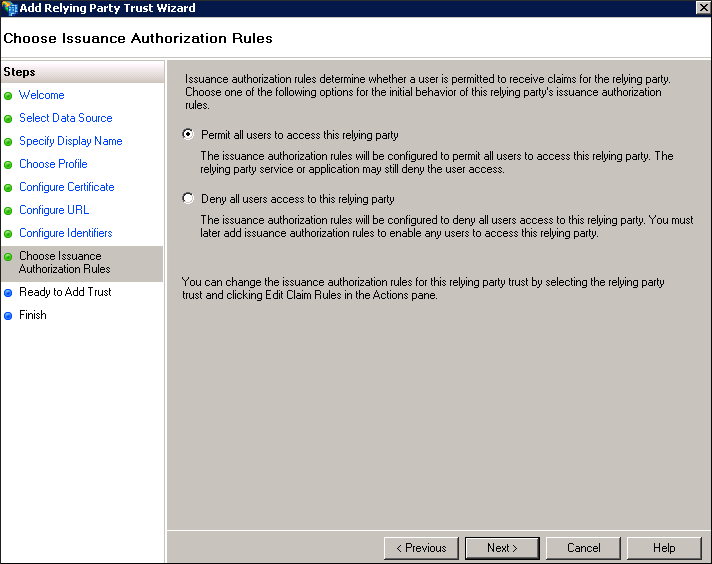
- Click Permit all users to access this relying party and then click Next. The Ready to Add Trust page appears.
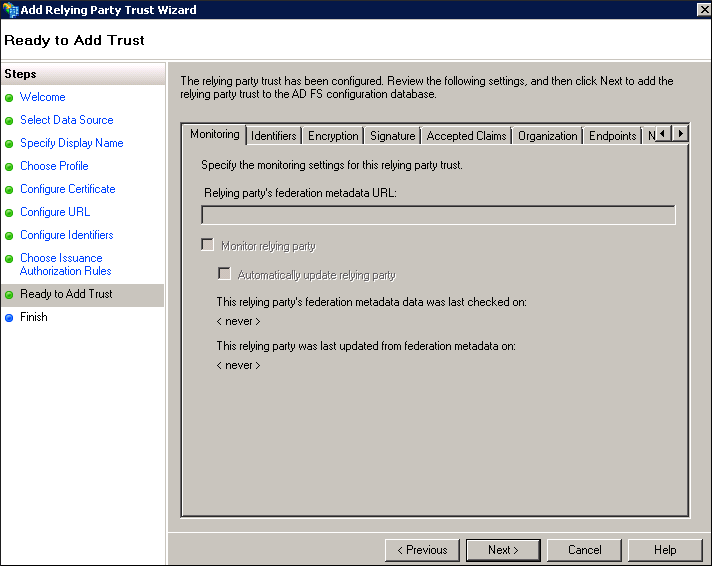
- Review and if required update the settings that you have configured, and then click Next. The Finish page appears.
- Ensure that the Open the Edit Claim Rules dialog for this relying party trust when the wizard closes check box is by default selected.
- Click Close.
Create a new rule
After you create a relying party trust, you can create the claim rule that allows you to authenticate at ADFS by using the Active Directory. By default, the Edit Claim Rules window appears after you create a trust.
Before you begin
Before you create a new claim rule, ensure that you generate an SSO token from the inSync Master Management Console. For more information on how you can create an SSO token, see Generate SSO token.
Create a new claim
To create a new claim
- On the Edit Claim Rules window, under the Issuance Transform Rules tab, click Add Rule. The Select Rule Template page appears.
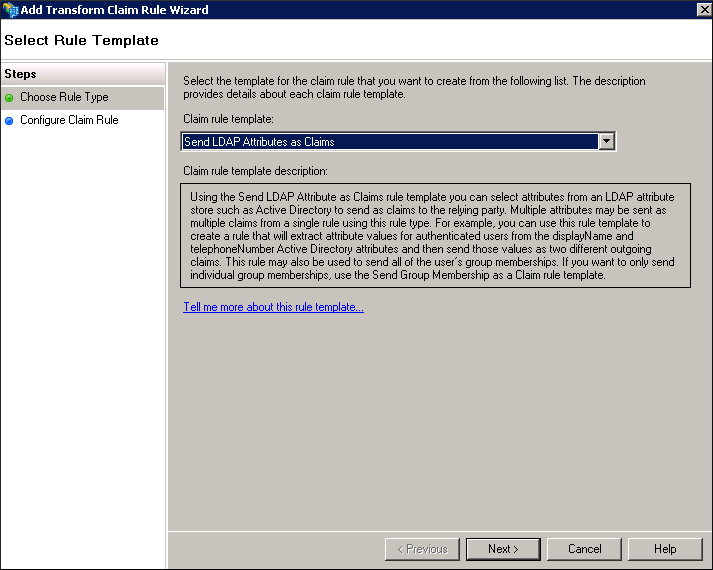
- In the Claim rule template list, select Send LDAP Attributes as Claims, and then click Next. The Edit Rule – LDAP EMAIL window appears.
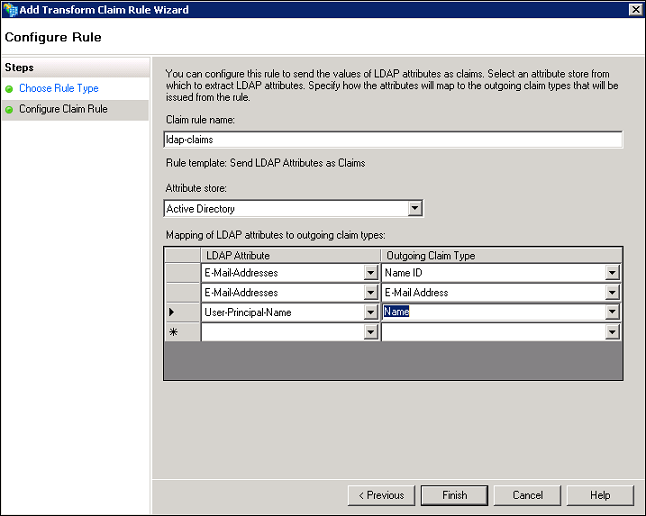
- Provide the appropriate information for each field.
Field Action Claim rule name Type a name for the claim rule. Attribute store In the list, select Active Directory Mapping of LDAP attributes to outgoing claim types LDAP Attribute Map it to Outgoing claim type. E-mail Addresses Map it to Name ID. E-mail Addresses Map it to E-mail Address. User-Principal-Name Map it to Name. - Click Finish.
Create a custom rule
To create a new custom rule
- On the Edit Claim Rules window, under Issuance Transform Rules tab, click Add Rule. The Select Rule Template page appears.
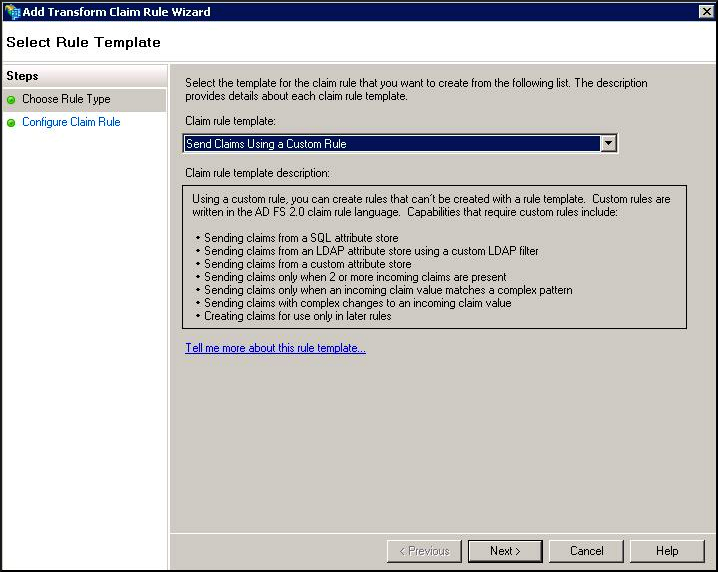
- In the Claim rule template list, select Send LDAP Attributes as Claims Rule, and then click Next. The Edit Rule – LDAP EMAIL window appears.
- Provide the appropriate information for each field.
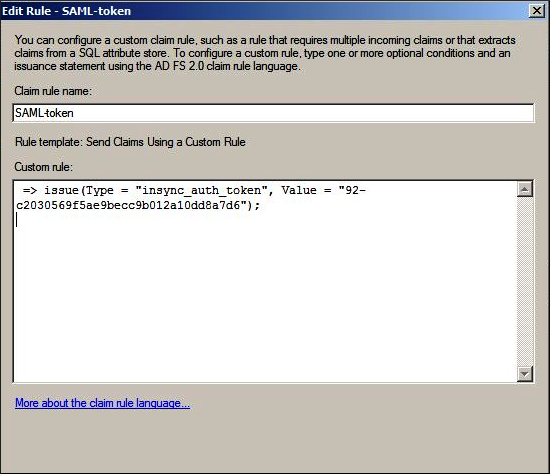
Field Action Claim rule name Type a name for the custom rule. Custom rule Type,
=> issue(Type = "insync_auth_token", Value = "{value of SSO Token generated from inSync Console"});
- Click OK.
Configure certificate for ADFS
You can configure a trusted party certificate or use the self-signed certificate. ADFS uses this certificate to sign the tokens it sends out. This step is optional.
Configure single sign-on
Only a Druva Cloud administrator can set up Single Sign-on.
Configure Single Sign-on based on the applicable scenarios:
- New inSync customers (on-boarded after July 14th, 2018), must configure Single Sign-on using the Druva Cloud Platform Console. For more information, see Set up Single sign-on.
- Existing inSync customers who have not configured Single Sign-on until July 14th, 2018, must configure Single Sign-on using the Druva Cloud Platform Console. For more information, see Set up Single sign-on.
- Existing Phoenix customers with Single Sign-on enabled and have purchased inSync license, must replicate the Phoenix Single Sign-on settings to inSync.
Before you begin
Before you configure the single sign-on settings with inSync Cloud, ensure that you have an ID provider certificate. If you do not have an ID provider certificate, follow these steps:
- On the Start menu, click Administrative Tools > ADFS 2.0 Management. The ADFS 2.0 Management window appears.
- Expand to the Service folder.
- Click Certificates. The Certificates view appears in the right pane.
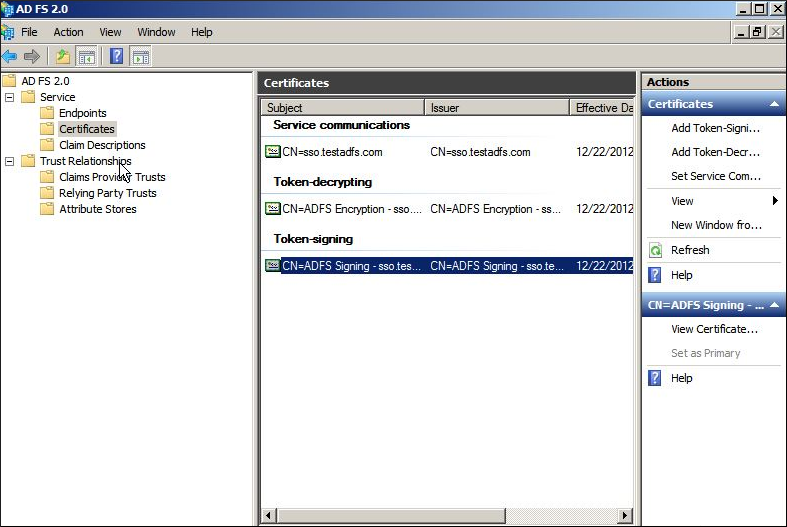
- Under the Token-signing area, right-click the certificate. A list with additional options appears.
- In the list, click View Certificate. The Certificate window appears.
- Click the Details tab and then click Copy to file. The Certificate Export Wizard appears.
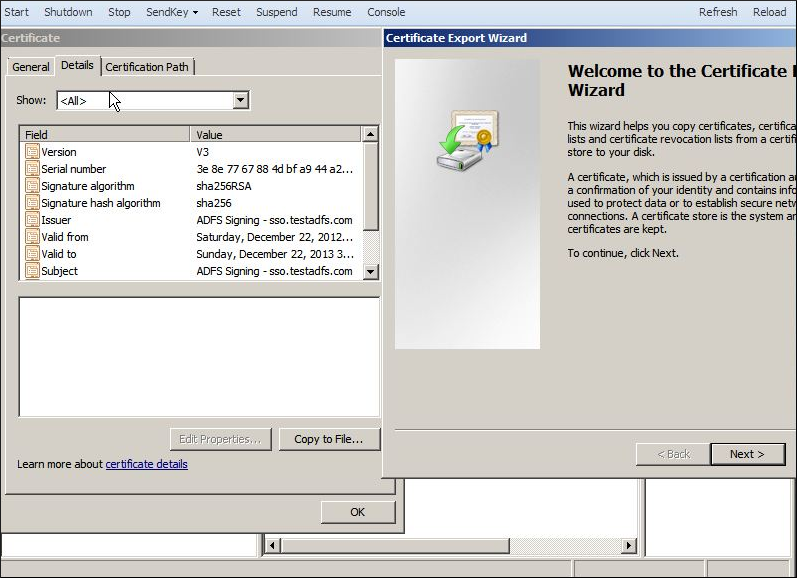
- On the Certificate Export Wizard, click Next. The Export File Format page appears.
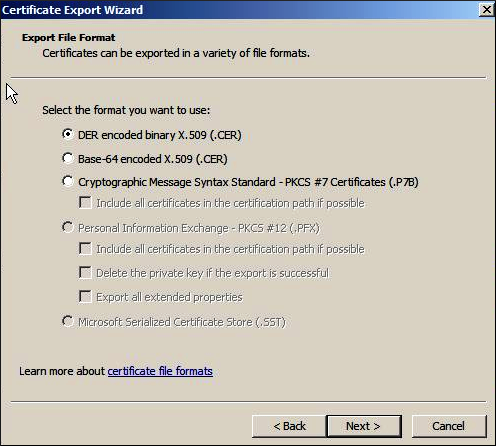
- Select DER encoded binary X.509 (.CER), and then click Next.
- On the File to Export page, type the file name as Cert.cer, and then click Next.
- Click Finish.
The file is saved in .cer format. To convert this file into .pem format, download and install the latest version of OpenSSL tool for Windows from the following location: http://www.slproweb.com/products/Win32OpenSSL.html.
Note: OpenSSL requires Visual C++ 2008 Redistributables. For more information, see Microsoft Visual C++ 2008 Redistributable Package (x86).
- Save the cert.cer file at the following location: C:\OpenSSL-Win32\bin.
- On the command prompt, change directory to C:\OpenSSL-Win32\bin>, and then run the following command:
openssl x509 -inform der -in cert.cer -out cert.pem
- Open and edit the cert.pem file in a Notepad. The certificate opens in the following format:
“-----BEGIN CERTIFICATE-----
………. …..
-----END CERTIFICATE-----"
- Copy the content of the cert.pem certificate and provide it when you configure the single sign-on settings by using the inSync Master Management Console.
Configure the single sign-on settings
To configure the single sign-on settings
- On the inSync Master Management Console menu bar, click
> Settings.
- Click the Single Sign-on tab and then click Edit.
- Provide the following appropriate information.
SAML Attribute Description and value ID Provider Metadata URL You can leave this field blank. ID Provider Login URL Type,
https://{fqdn-name of the ADFS server}/adfs/ls
ID Provider Logout URL You can leave this field blank. ID Provider Certificate Provide the content of the cert.pem certificate. For more information see, Before you begin. - Click Save.