How to deploy inSync Client via Jamf pro
This article applies to:
- OS: All supported Mac OS
- Product edition: inSync Client
Overview
The purpose of this article is to create a policy in Jamf pro using which we can deploy inSync client in the devices.
Create a policy in Jamf pro
All fields are not mandatory. The mandatory fields are described in detail in this topic.
- Login to the Jamf pro webpage.
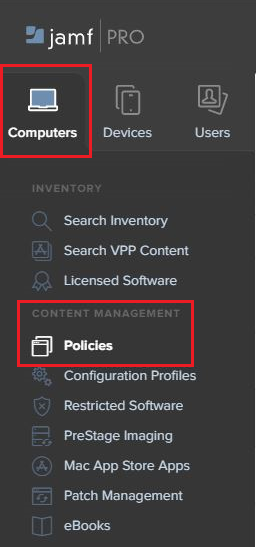
- Select the Computers tab.
- Under Content management, click Policies.
- Click
 button.
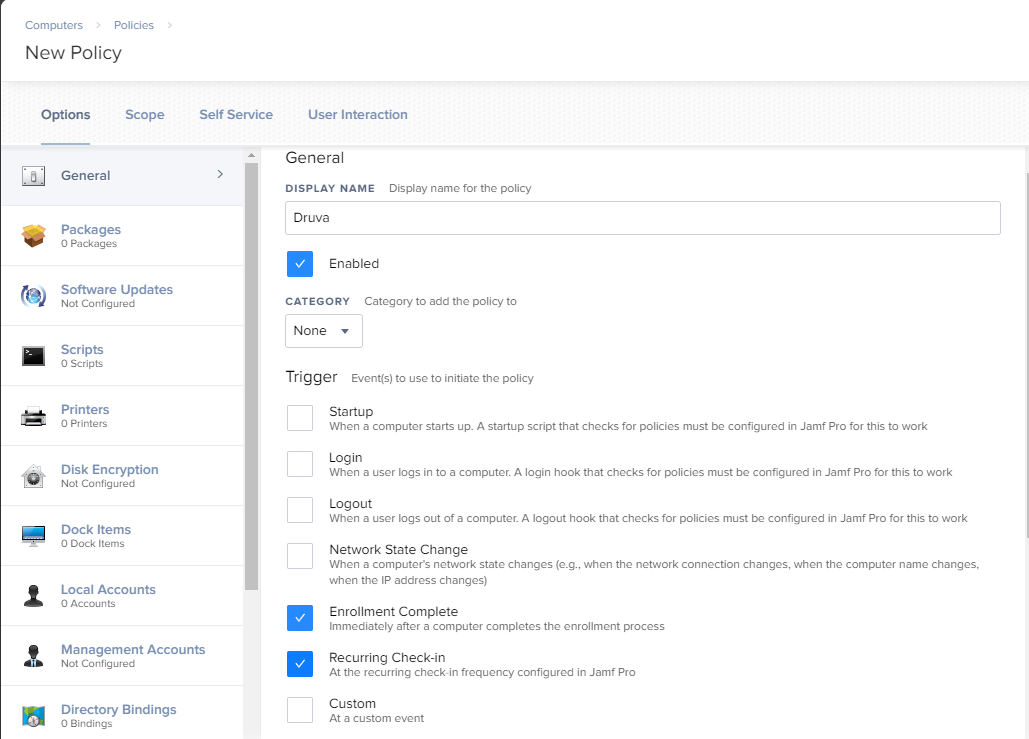
 - In the New Policy page, under the Options tab, in the General section, enter the policy name.
- In the Trigger option please select the events which can be used to initiate the policy.
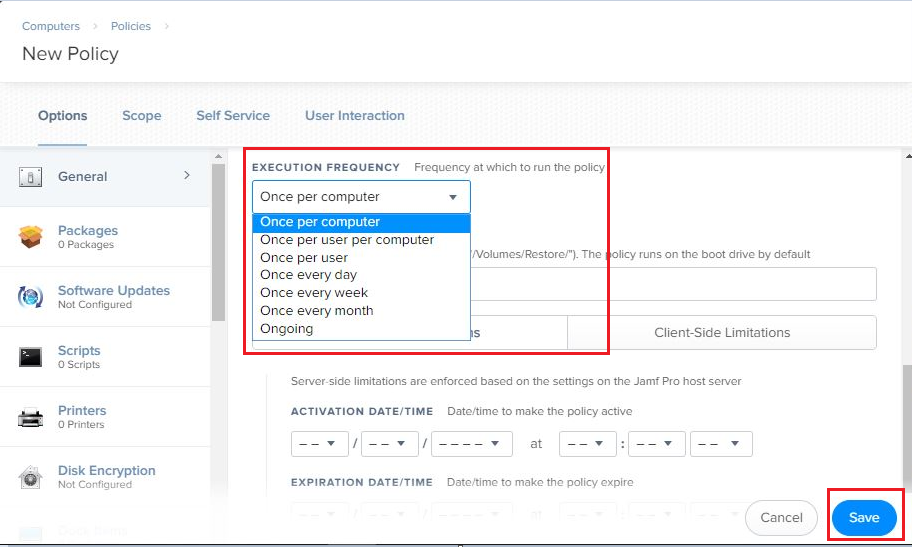
- Select the execution frequency from the drop-down menu and click Save.
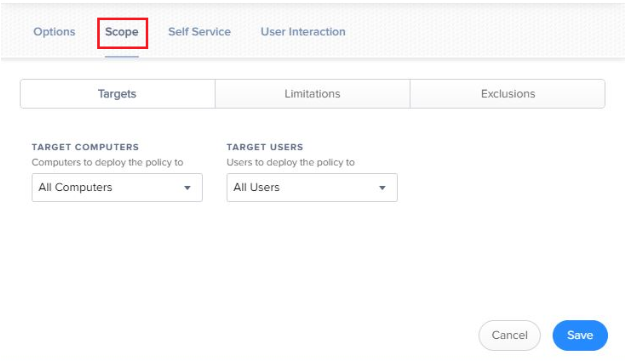
- Click the Scope tab.
- In the Targets tab, select Target computers, and Target Users. You can select All computers and All users if you want this policy to be applied to all of them.
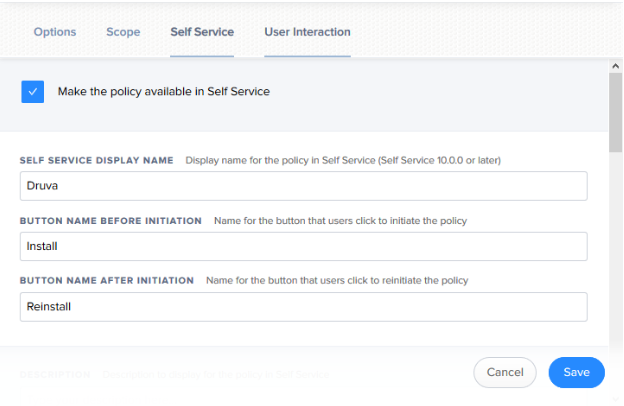
- (Optional) The next Self Service tab is not mandatory. If you want an app to be available in the Self-services portal, you can check this option and then define its Display Name and button name.
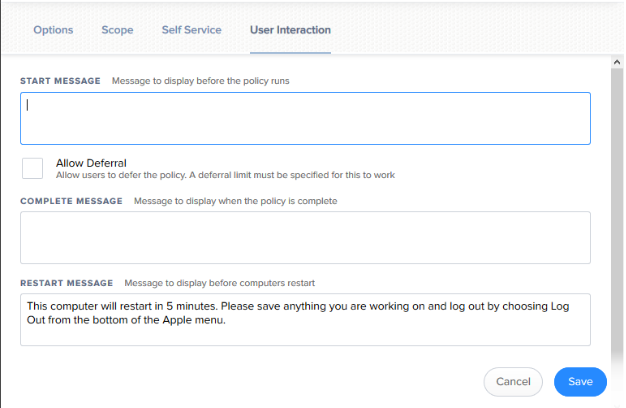
- (Optional) The Last tab of User Interaction is not mandatory. Here messages can be used for providing more information during the installation.
- Please navigate to the Packages section under the Options tab.
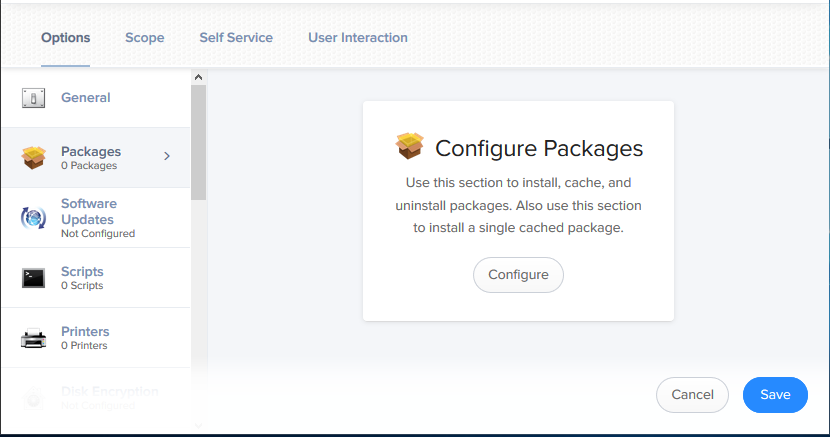
- Click Configure.
- Click New.

- In the General tab, enter the Display name and in the Filename field, click Choose File.
It opens a new file upload window. - Browse to the location where you have inSync mpkg file and click Open.
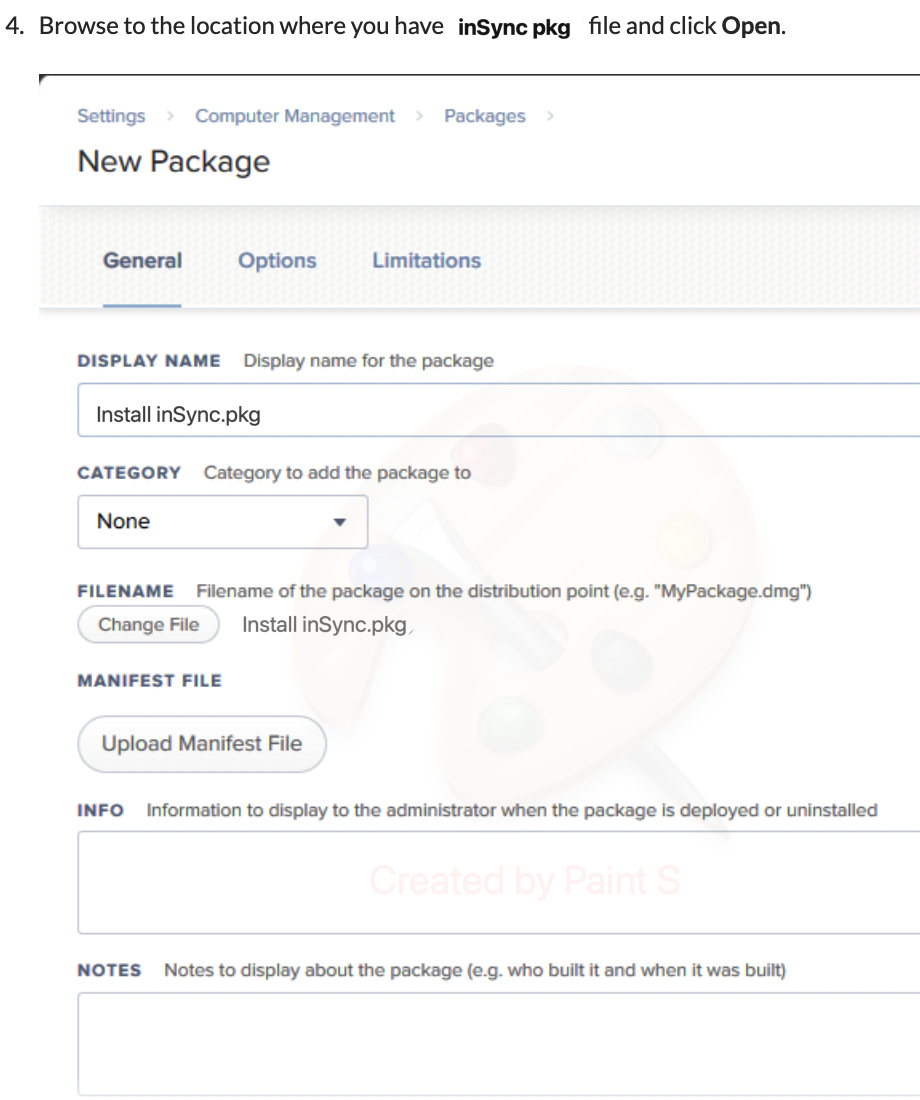
- Important Note: Please note that you need to extract pkg file by mounting the dmg file manually and use that pkg file with Jamf deployment to push the application.
- Steps to be followed to extract the pkg file a) Manually load the DMG by double clicking the package b) Once mounted, you should see the inSync disk icon on Desktop, open the inSync Disk icon if not open already c) You should see a pkg file named "Install inSync.pkg" d) Copy the pkg file & paste this on the Desktop e) Use this "Install inSync.pkg" in JAMF policy.
- Rest of the fields info and notes are optional.
- (Optional) Rest two tabs Options and Limitations are optional.
- Click the Save button.
You can see that the Package is listed. - Click Add to add it as a part of your policy.
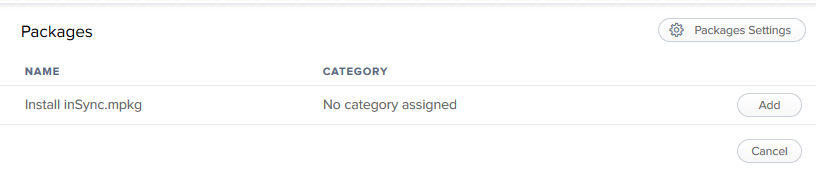
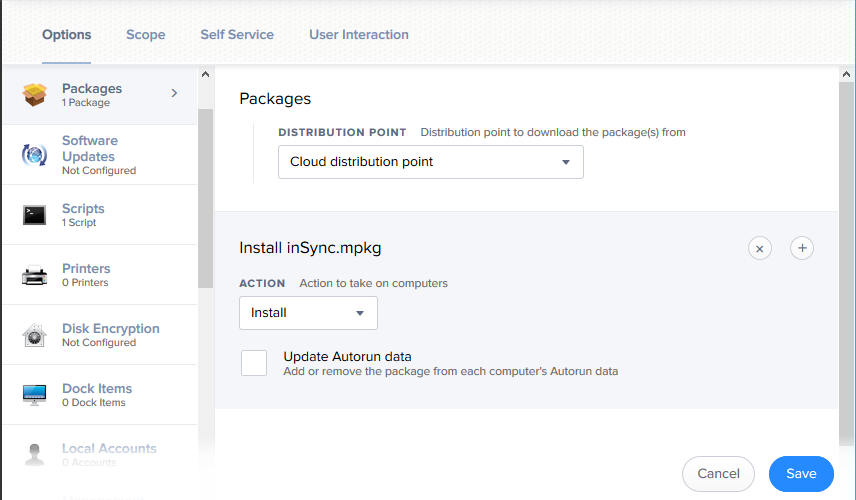
- Select the Distribution Point for the package as per your suitability and select Install under the Action drop-down menu.
- Navigate to the Scripts section under the first tab Options.
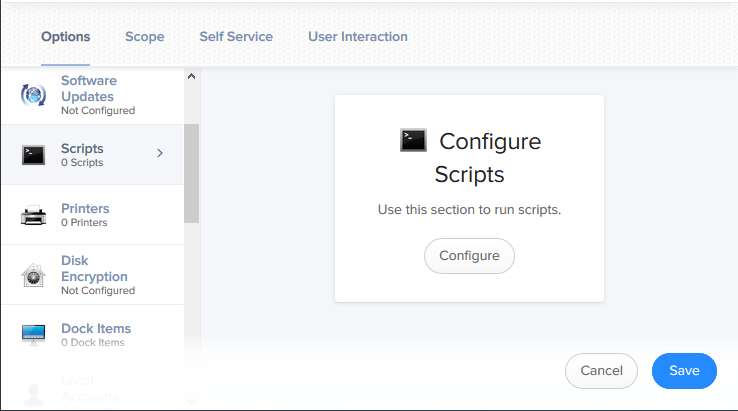
- Click the Configure.
- Click New.

- In the General tab, enter the Display name and rest of the fields information and notes are optional.
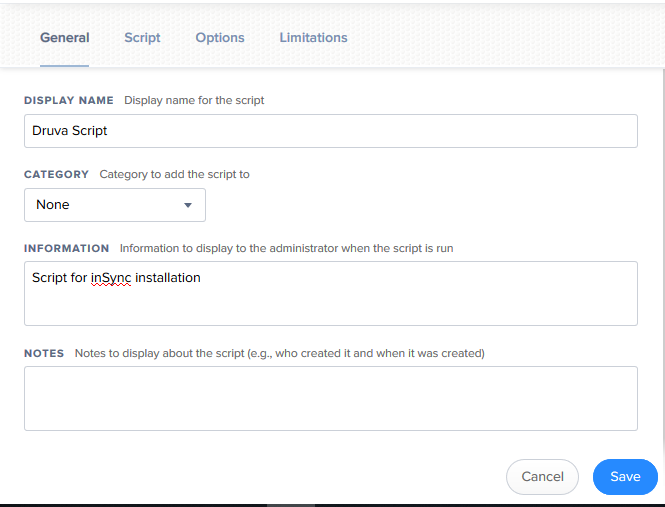
- In the Script tab, enter the script for inSync client activation. See this article for more information.
- In the Options tab, select the Priority as After from the drop-down menu. Leave the Parameter Labels field blank.
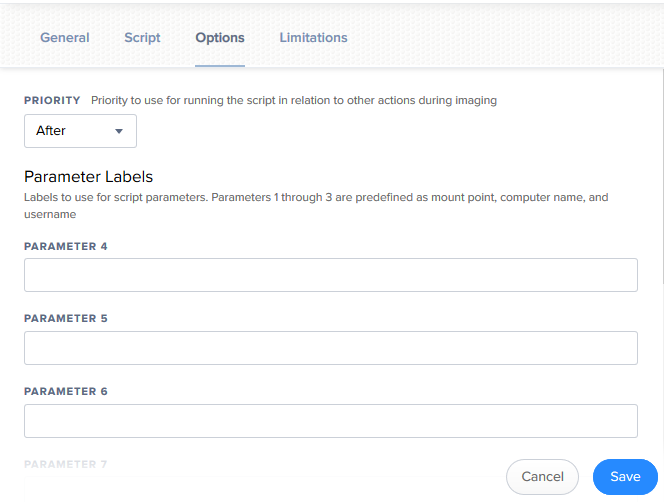
- Limitations tab is optional.
- Click Save.
See also
How to deploy inSync Client 5.8 and later versions via SCCM 2012?