Hardening steps for inSync server storage node running on Windows 2012 R2
This article applies to:
- OS: Windows 2012 R2
- Product edition: inSync On-Premises
This procedure provides the hardening steps for inSync server storage node running on Windows 2012 R2.
Procedure
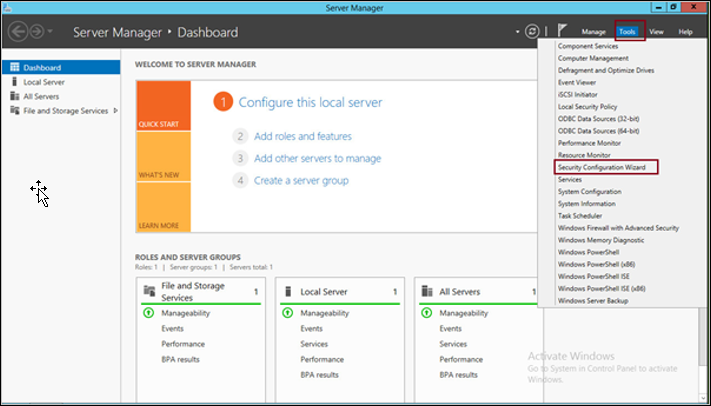
- Log on to the inSync server as an Administrator and launch the Server Manager console.
- Click Tools > Security Configuration Wizard under the Security Information. The Security Configuration Wizard is displayed.
- Click Next on the Welcome Page.

- Select Create a new security policy and click Next.
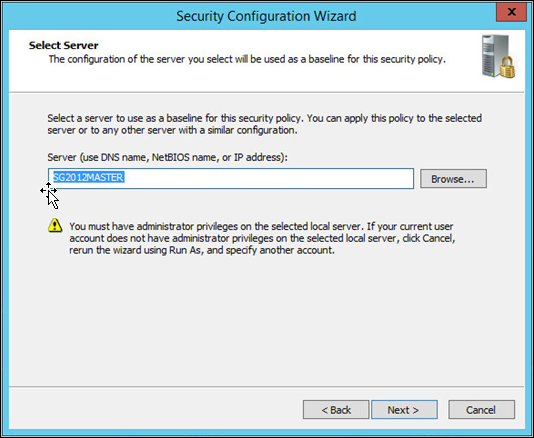
- Keep the existing server as selected and click Next.
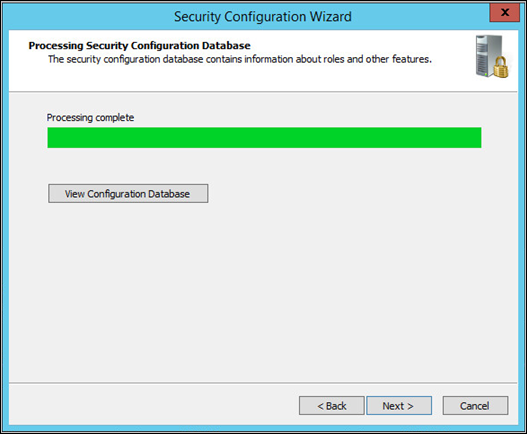
- Click Next when the processing is complete on the Processing Security Configuration Database page.
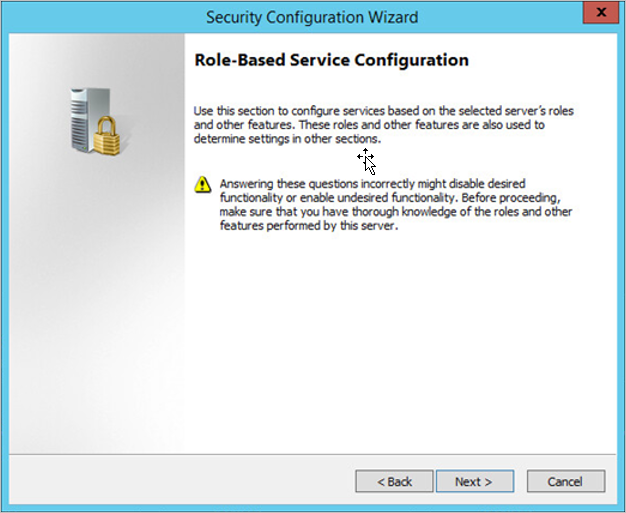
- Click Next on the Role-Based Service Configuration page.
- Select Remote SCW Configuration and Analysis, clear all the other server roles., and click Next.
Remote SCW Configuration and Analysis role is required only when you want to manage the Security configuration centrally or remotely.

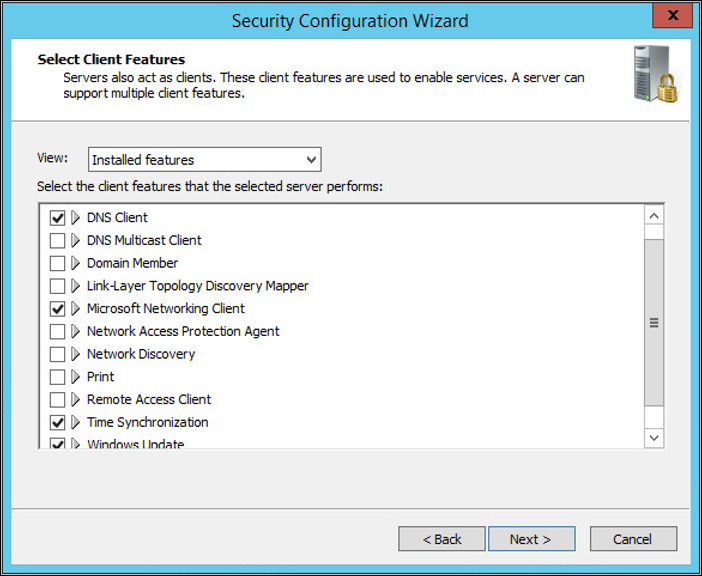
- On the Select Client Features page, select the following features and click Next.
- Background Intelligent Transfer Service
- DNS Client
- Microsoft Networking Client
- Time Synchronisation
- Windows Update
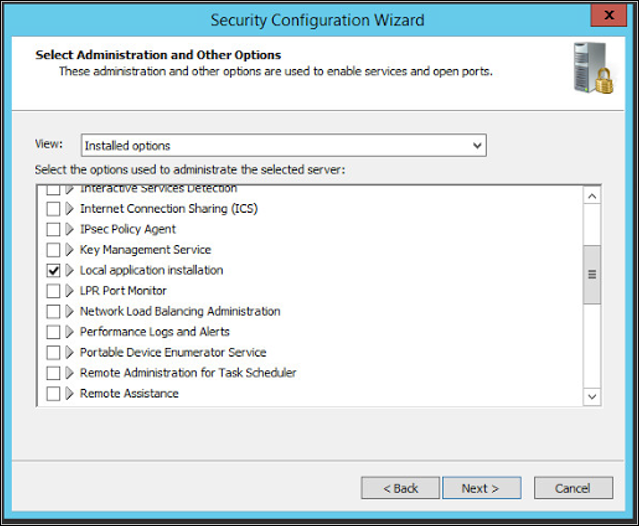
- On the Select Administration and Other Options page, select the following options, clear the other options, and click Next.
- Local Application Installation
- Microsoft Fibre Channel Platform Registration Service (Required only if any system disk/volumes are FC based.)
- Microsoft iSCSI Initiator Service (Required only if any system disk/volumes are iSCSI based.)
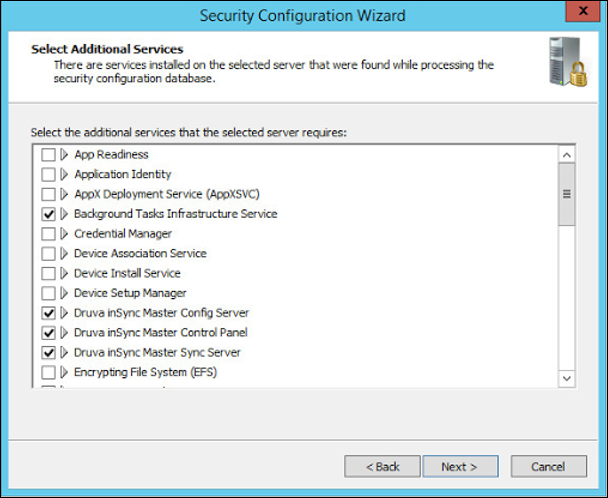
- On the Select Additional Services page, select the following services and clear the rest.
On inSync Master:
- Background Tasks Infrastructure Service
- Druva inSync Master Config Server
- Druva inSync Master Control Panel
- Druva inSync Master Sync Server
- Local Session Manager
- Performance Counter DLL Host
- Power
- Windows Font Cache Service
On Storage Node:
- Background Tasks Infrastructure Service
- Druva inSync Storage Node
- Local Session Manager
- Optimize Drives
- Performance Counter DLL Host
- Power
- Windows Font Cache Service
- User Access Logging Service
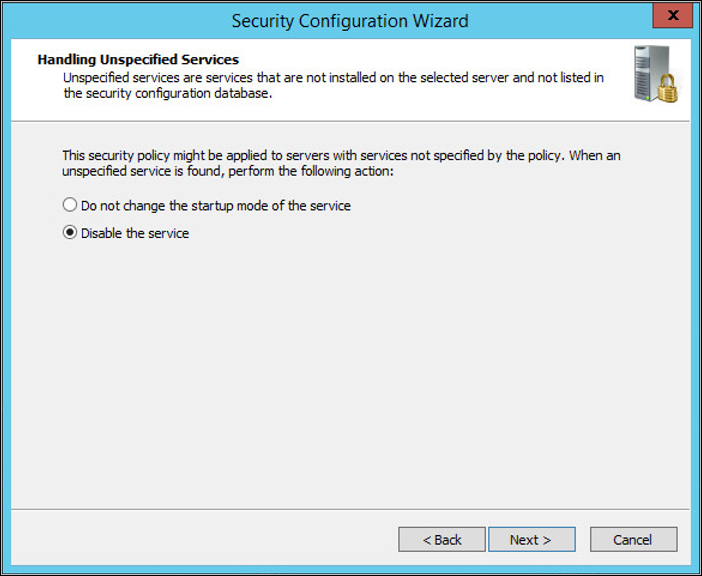
- On the Handling Unspecified Services page, select Disable the Service option and click Next.
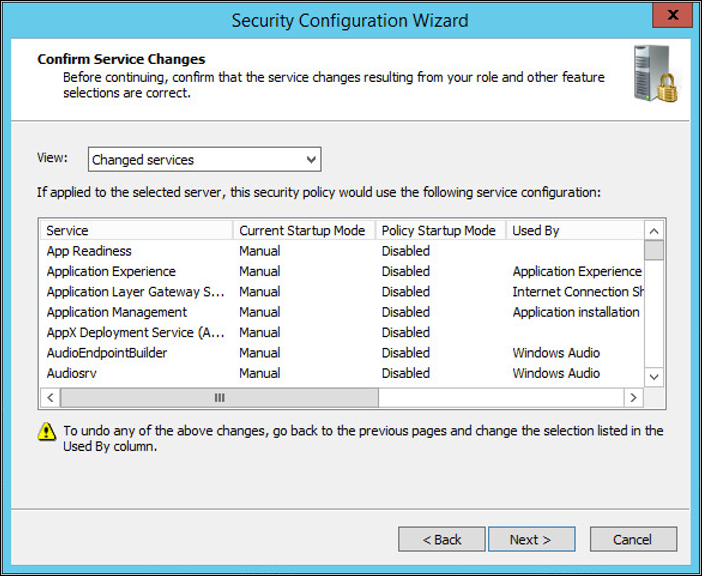
- Click Next on the Confirm Service Changes page.
- Click Next on the Network Security page.

- On the Network Security Rules page select the following rules and clear the rest.
- Core Networking – DNS (UDP-Out)
- Core Networking – IPHTTPS (TCP-In)
- Core Networking – IPHTTPS (TCP-Out)
- File and Printer Sharing (SMB-Out)
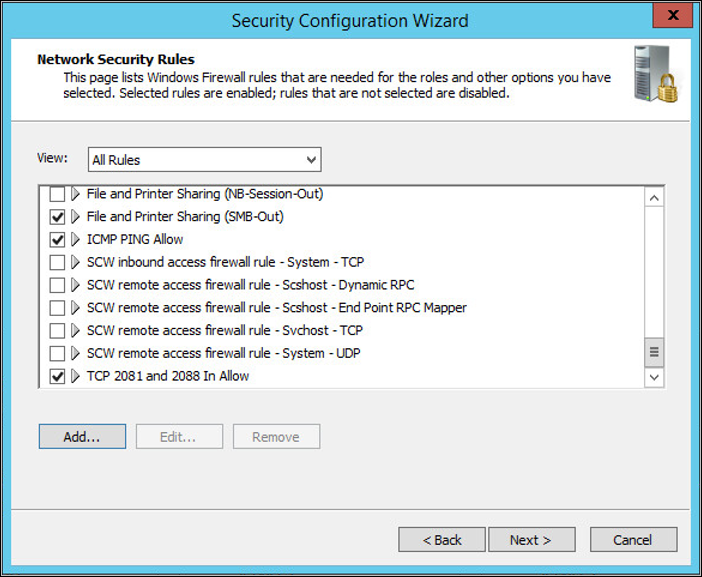
- Click Add to add the rules to allow incoming TCP for Backup/Sync port (e.g.2081) and Admin UI port (e.g. 2088) on all connections.
- Click Add again and add the rule Allow ICMP (ping) only from inSync Master and click Next.
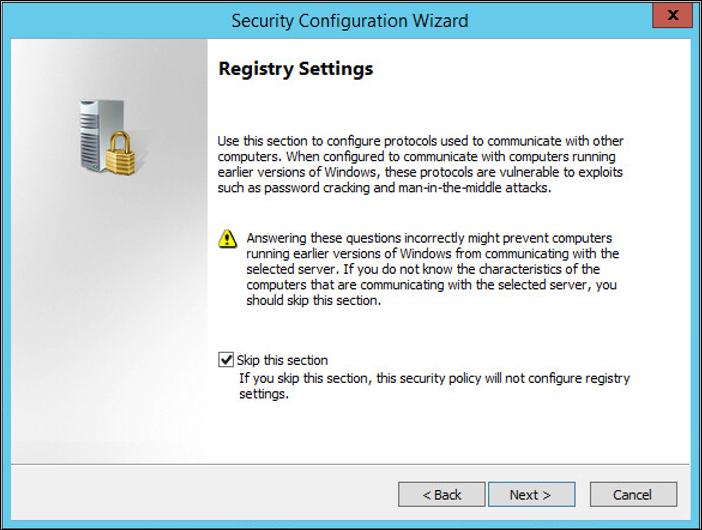
- Select Skip this section on the Registry Settings page and click Next.
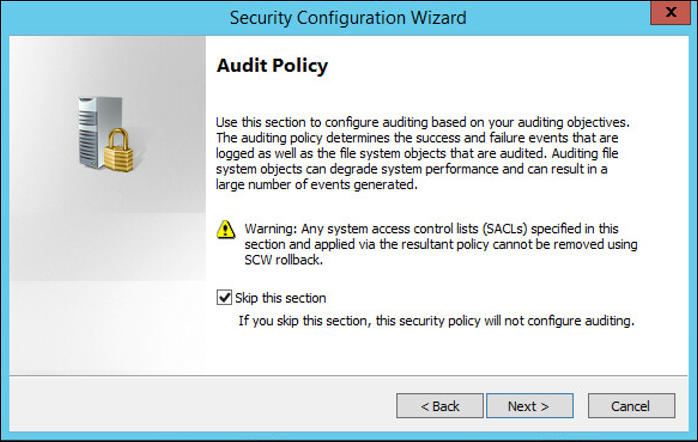
- Select the Skip this section on the Audit Policy page and click Next.
- Click Next on the Save Security Policy page.
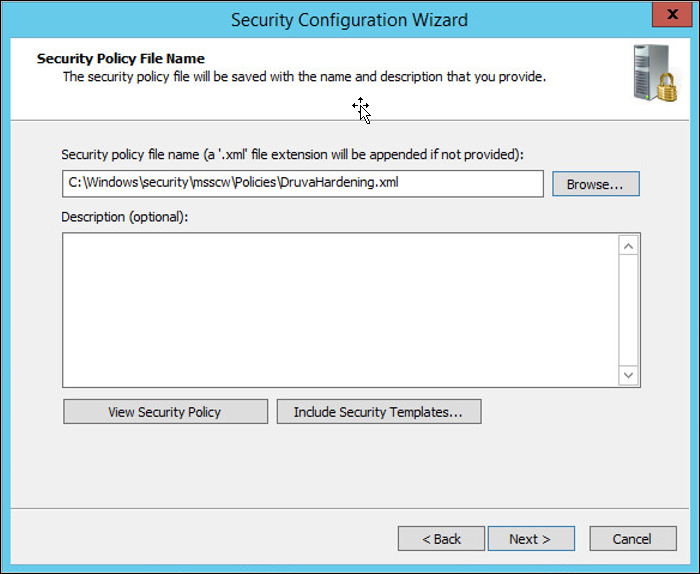
- Name the Policy: Click on Browse name as “DruvaHardening” and click on Save and then click Next:
- On Security Policy File Name page, click Browse and add path to DruvaHardening, click Save, and then click Next.
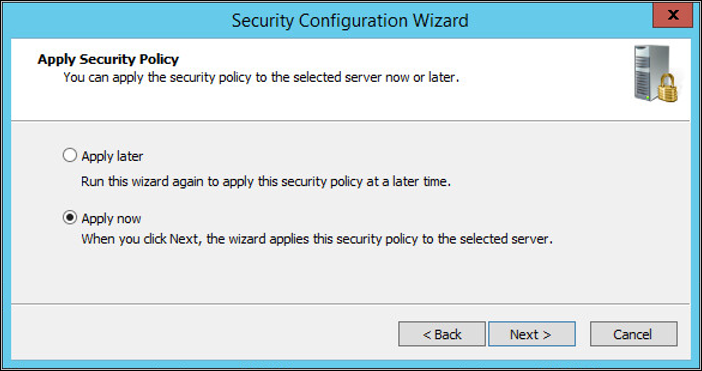
- Select Apply Now on the Apply Security Policy page and click Next.
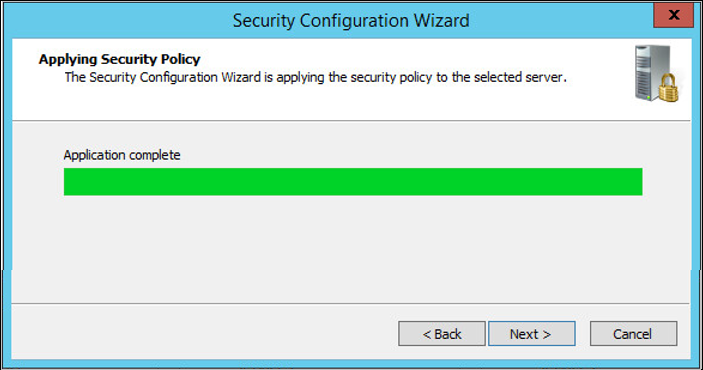
- Click Finish.
- Reboot the server.