How to install Active Directory Certificate Services on Windows 2012
License editions: To understand the applicable license editions, see Plans & Pricing.
Overview
This topic describes the steps to install the Active Directory Certificate Services (AD CS) on Windows 2012.
Procedure
To install Active Directory Certificate Services on Windows 2012
- Open Server Manager.
- Go to Manage > Add Roles and Features. Add Roles and Features Wizard appears on the page.
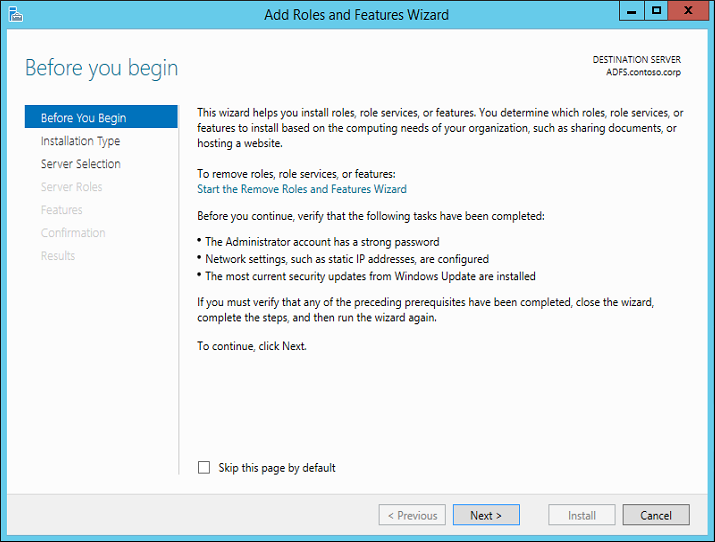
- On the Before you begin wizard page, verify that your destination server and network environment are prepared for the role and feature you want to install. Click Next.
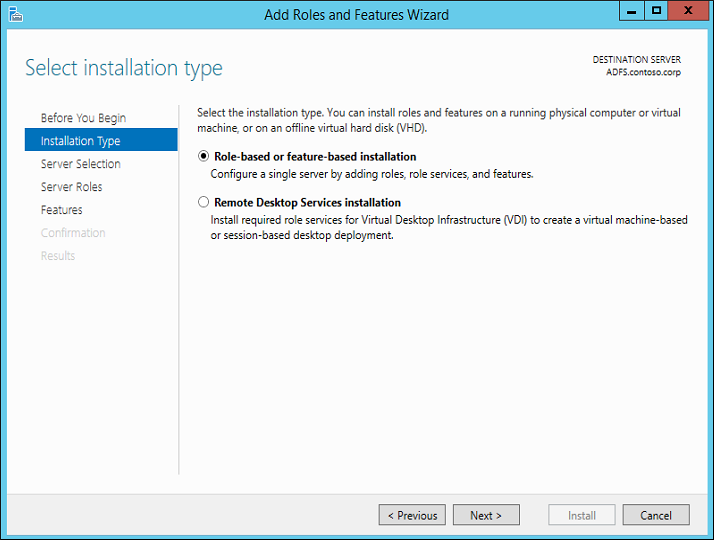
- On the Select installation type page, select Role-based or feature-based installation to install all parts of roles or features on a single server. Click Next.
- On the Select destination server page, select a server from the server pool list. Click Next.

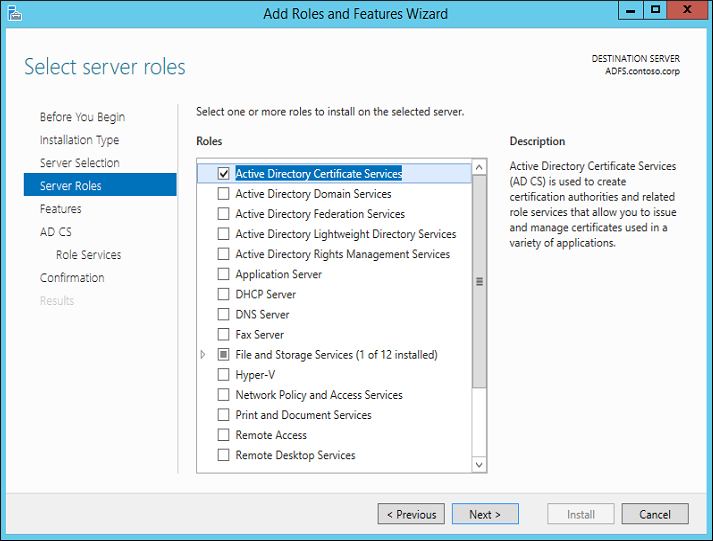
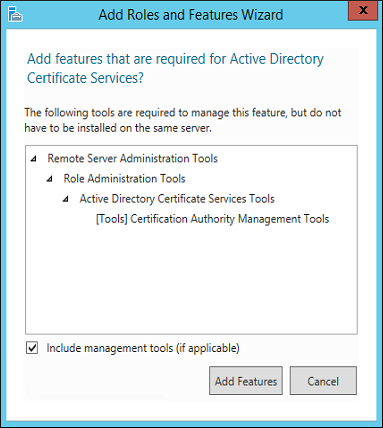
- On the Select server roles page, select Active Directory Certificate Services check box. A window appears on the page to confirm the features that are required for Active Directory Certificate Services, click Add features.
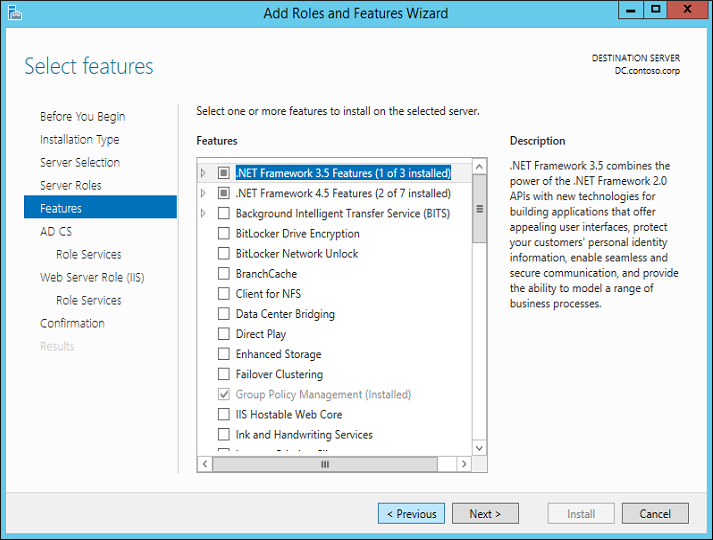
- On the Select features page, click Next.
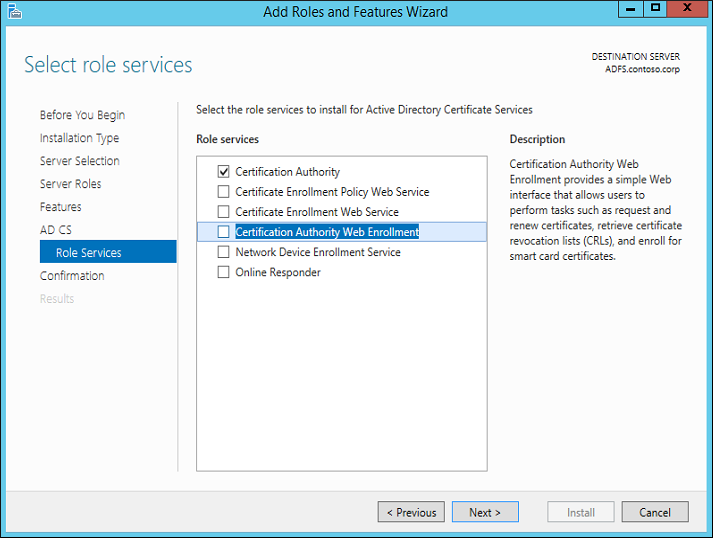
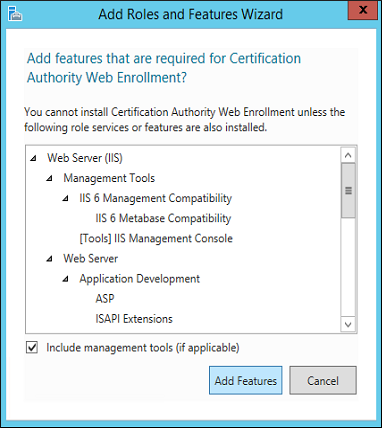
- On the Select role services page, select Certification Authority Web Environment to allow users to request certificates using a web browser. You can also select other Role Services as per your requirement. A window appears that shows you the additional services that are required to support the role. Click Add Features to allow these features to be added. Click Next on the wizard.
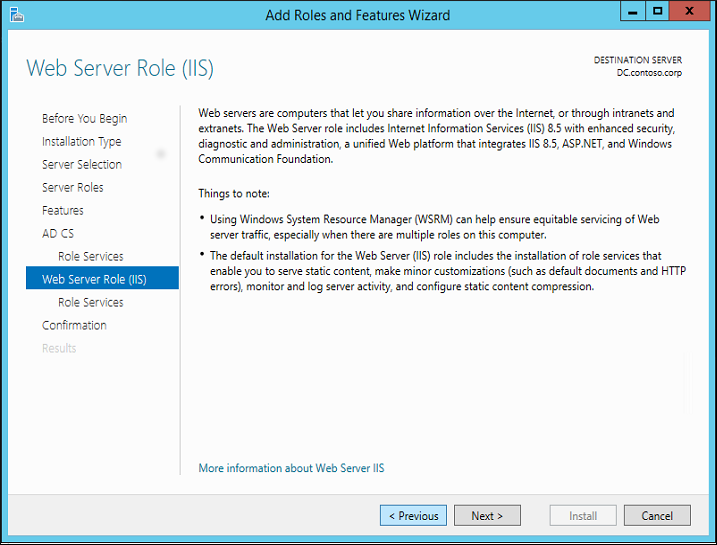
- On the Web Server Role (IIS) page, click Next.
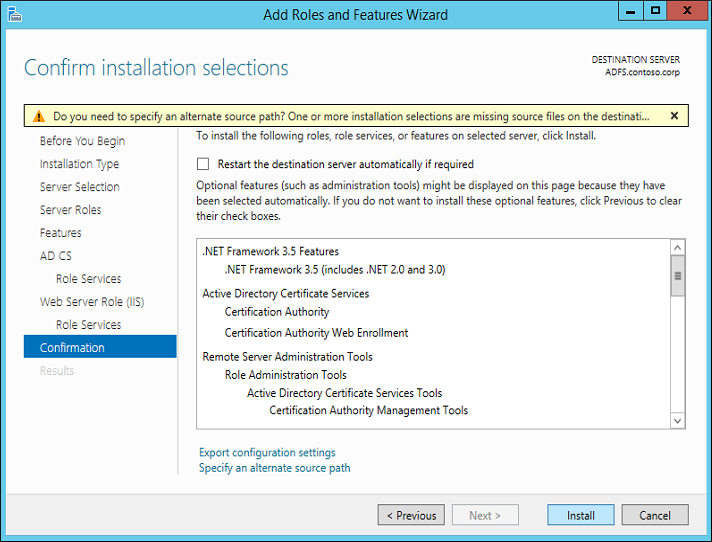
- On the Confirm installation selections page, verify the information, and then click Install.
- Wait for the installation to complete. When the installation is complete, click the Configure Active Directory Certificate Services on the destination server link.
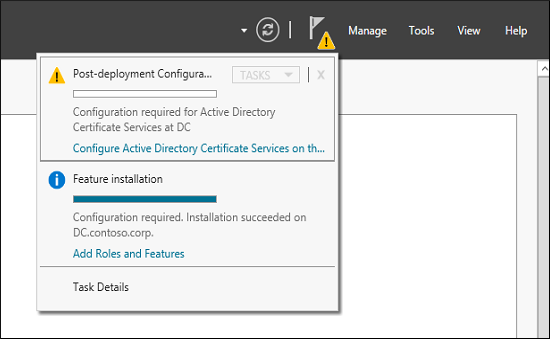
Note: If you click Close before the installation completes, you can complete the configuration of the role service through a link to complete the configuration in the notifications icon of Server Manager.
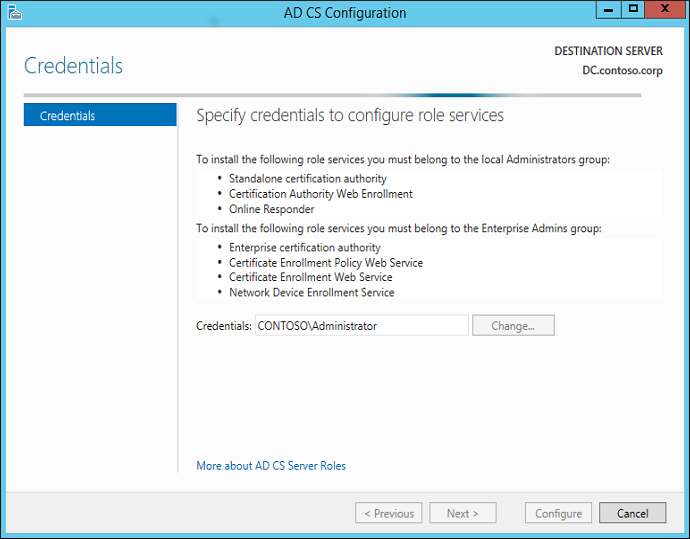
- On the Credentials page, you can see Administrator is displayed in the Credentials box. Click Next.
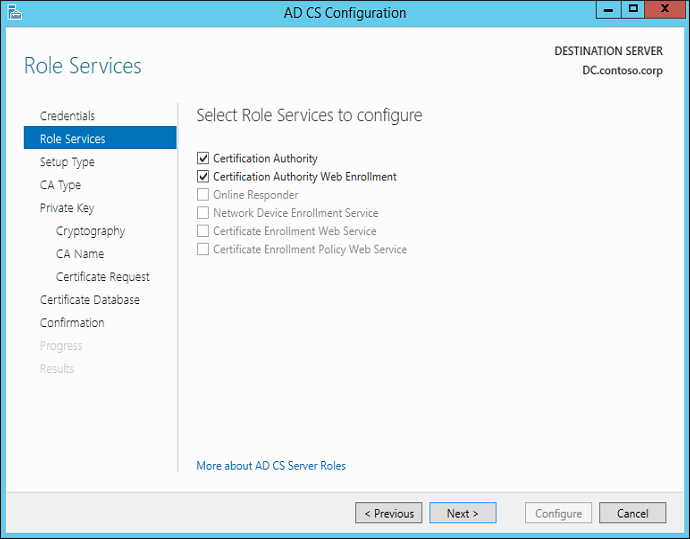
- On the Role Services page, select the Certification Authority and Certification Authority for Web Enrollment check boxes. Click Next.
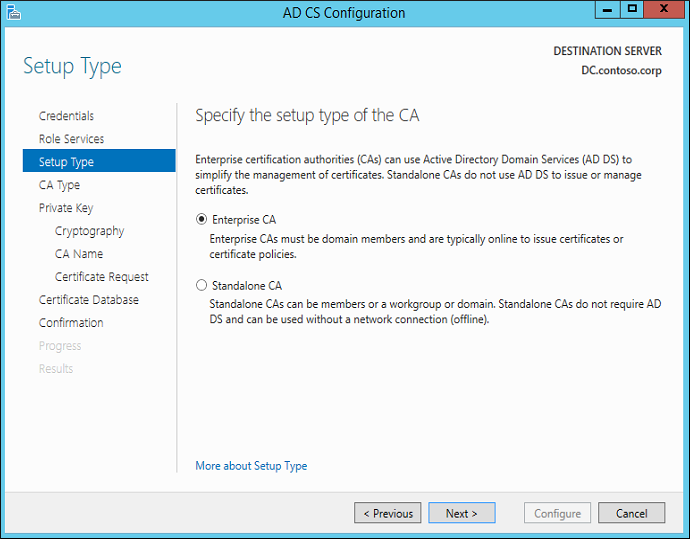
- On the Setup Type page, select Enterprise CA as the CA type to allow integration with your AD.
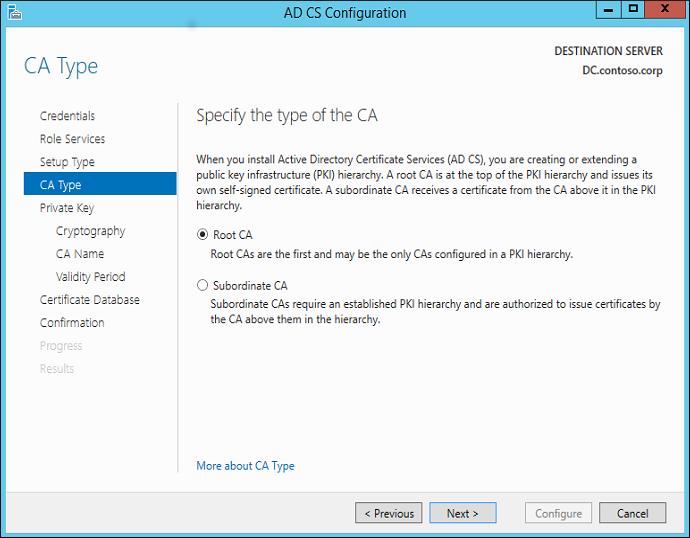
- On the CA Type page, Root CA is selected by default. Click Next.
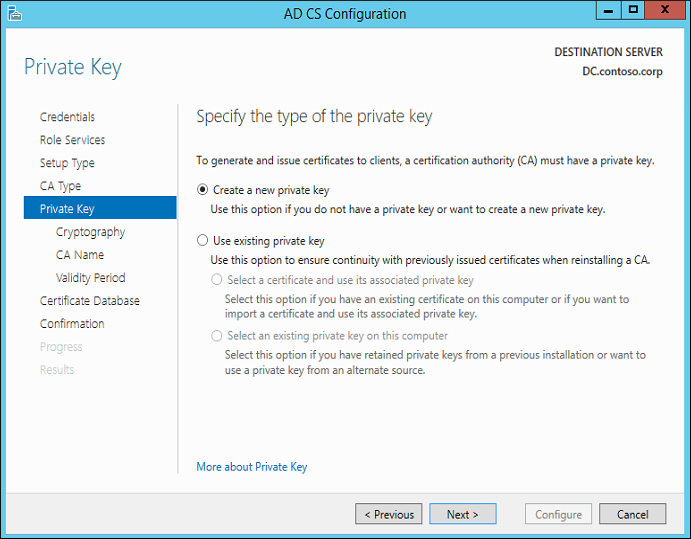
- On the Private Key page, leave the default selection to Create a new private key selected. Click Next.
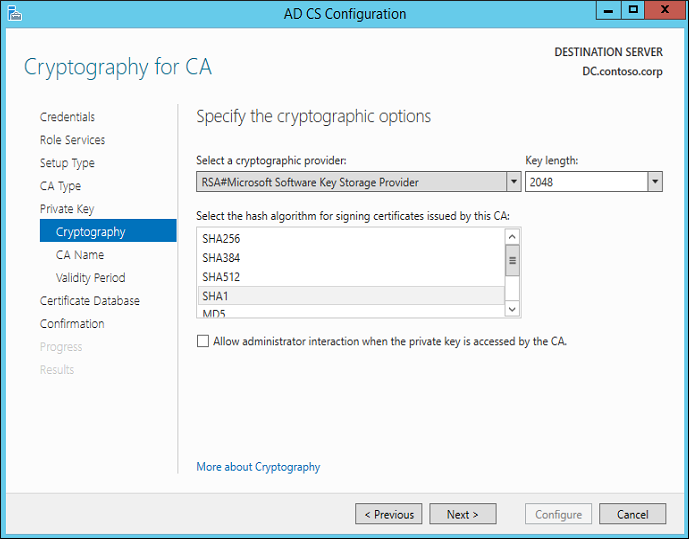
- On the Cryptography for CA page,
- Select the default cryptographic provider as RSA#Microsoft Software Key Storage Provider.
- Select Key length as 2048 or above.
- Select SHA1 as the hash algorithm and click Next.
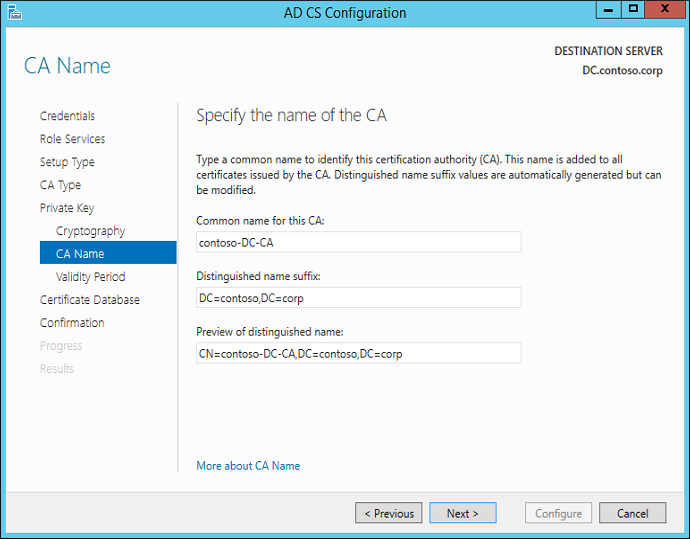
- On the CA Name page, specify the name of your CA in the Common name for this CA text box.
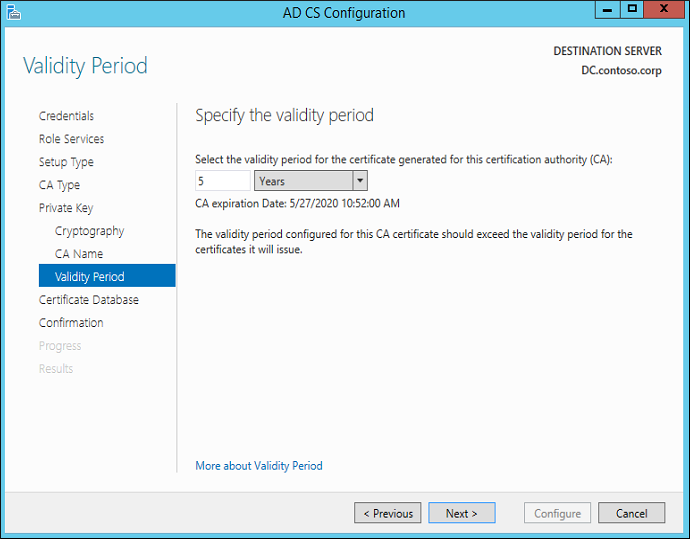
- On the Validity Period page, select the number of years for the certificate to be valid.
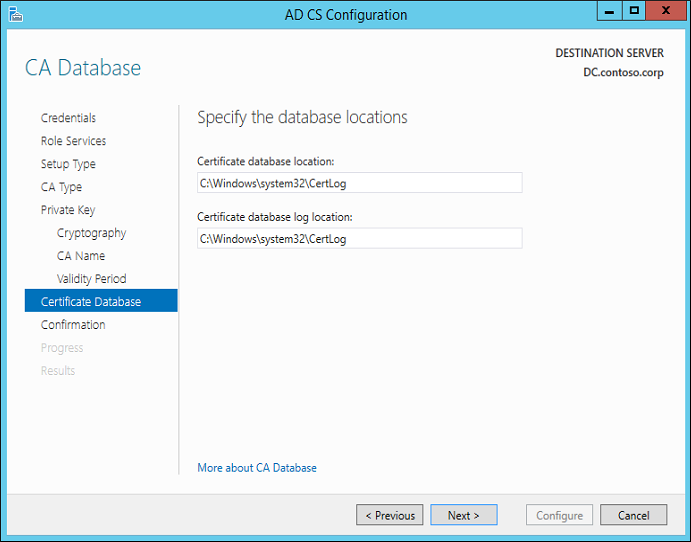
- On the CA Database page, specify the locations for the database and database log files. Click Next.
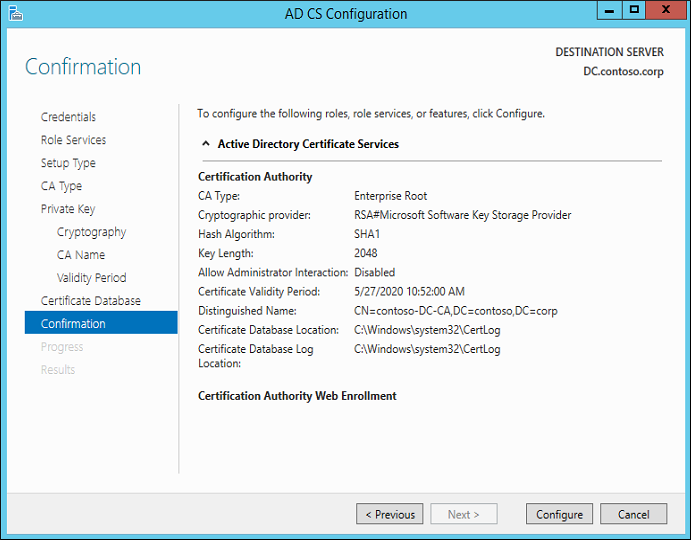
- On the Confirmation page, click Configure. Results screen appears after configuration is complete.