How to deploy inSync Clients using Microsoft Intune
Overview
This article explains how to deploy inSync Client on devices using Windows operating using Microsoft Intune. This information is useful if you want to deploy inSync Client on user devices using MDM.
Prerequisites
You must have a Microsoft Intunes license. For more information, see this article.
This MDM deployment process is applicable only for devices that run on the Windows operating system.
Procedure
The procedure consists of the following steps:
- Step 1: Create an App
- Step 2: Create the Windows Enrollment Profile
- Step 3: Enroll the Windows Client
- Step 4: Check the status of the installation of the app
Step 1: Create an app
- Go to https://portal.azure.com.
- Log in with Intunes Admin account.
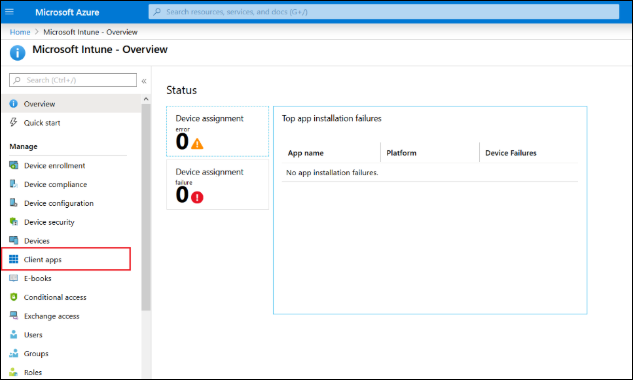
- Navigate to Intunes Blade and click Client apps.
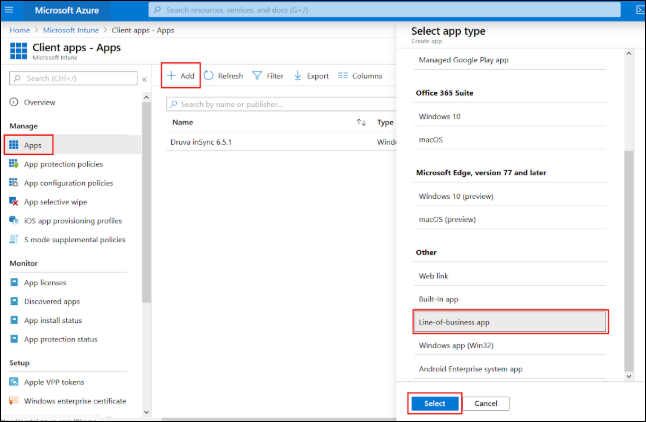
- Click on Apps > Add and select Line-of-business app as inSync Client uses an MSI installer.
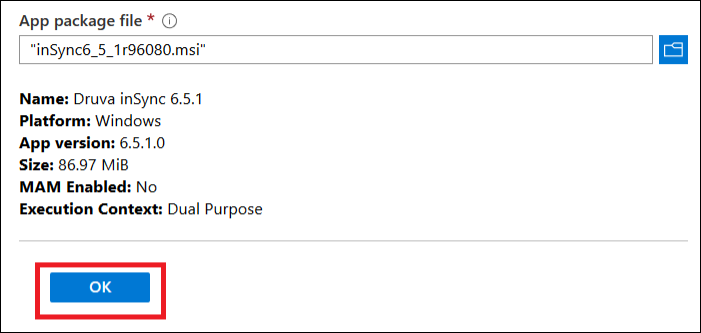
- Rename the file name from inSync6.5.1r96080.msi to inSync6_5_1r96080.msi. Ensure that you replace all the periods in the filename except the period before msi.
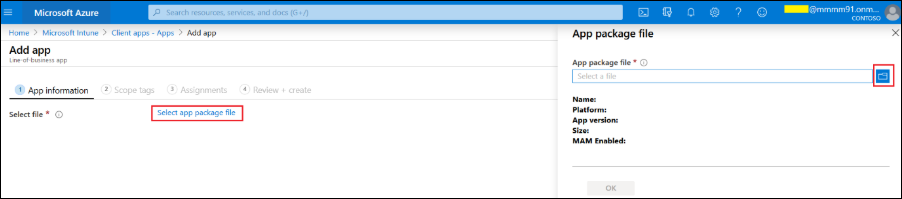
- Click Select app package file and click the folder icon to upload the installer.
- Click OK.
- Fill in the required details to deploy the app. Fields marked with a * are mandatory. The details should match the values as provided in the screenshot.

-
If you wish to only deploy the inSync Client and not activate it, then leave the "command-line" section empty.
-
If you wish to automatically activate the inSync Client for the users, then depending on your environment, you may choose out of the following options:
For AD/LDAP environment integrated with inSync, refer to the following document for IMDV2.
For Non-AD/LDAP environment, refer to the following document for IMDV4.
For Azure AD environment where the device and the users are connected with Azure AD, refer to the following document for IMDV5
-
Once you meet all the pre-requisites for the IMDV2 / IMDV4 / IMDV5, the final command-line argument for Microsoft Intunes will be of the following format:
TOKENV2='<enter_token_here>' SERVERLIST="cloud.druva.com:443"
or
TOKENV4='<enter_token_here>' SERVERLIST="cloud.druva.com:443"
or
TOKENV5='<enter_token_here>' SERVERLIST="cloud.druva.com:443"
- Click Next.
- (OPTIONAL) Select the Scope if it is defined for your environment.
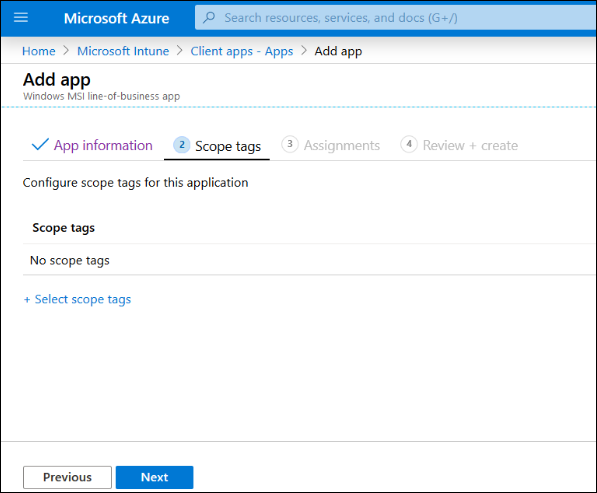
- Click Next.
- Select the Assignments that you require. It can be specific to a group of users or all users or all devices. Groups define the installation mechanism for the devices.
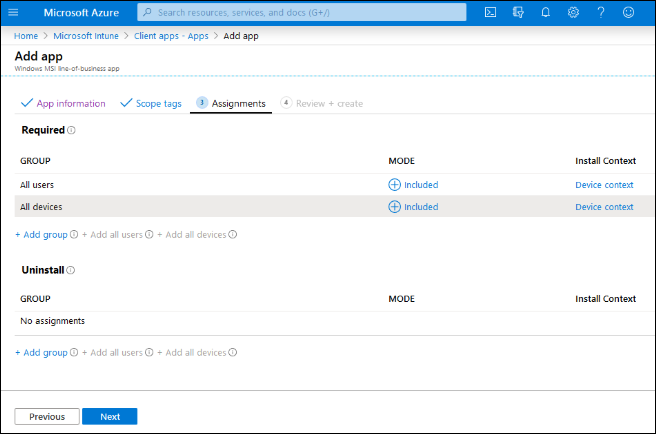
- Click Review + create to upload the file. Wait for the upload to finish.
Step 2: Create the Windows Enrollment Profile
- Go to https://portal.azure.com.
- Go to Intune Blade > Device Enrollment > Windows Enrollment.
- Create a profile for deployment based on your requirements.
Step 3: Enroll the Windows Client
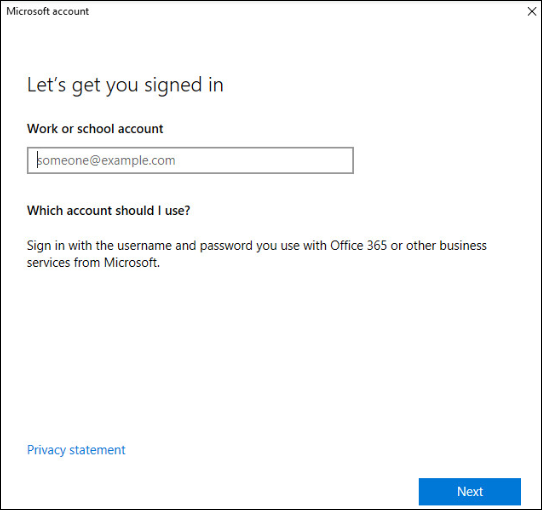
- On a device with Windows OS, go to Start > Settings > Account > Access work or School > Add account.
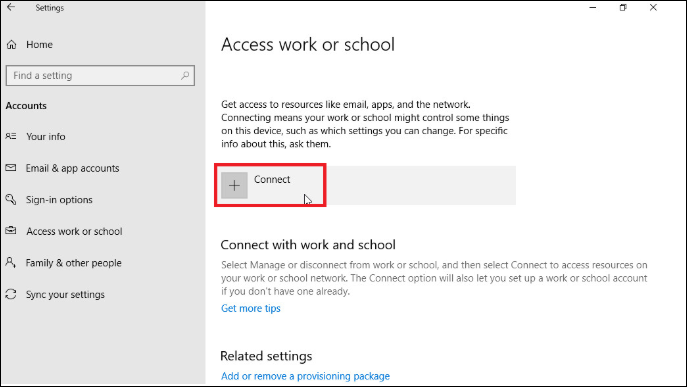
- Click Connect and then click Join this device to Azure Active Directory.
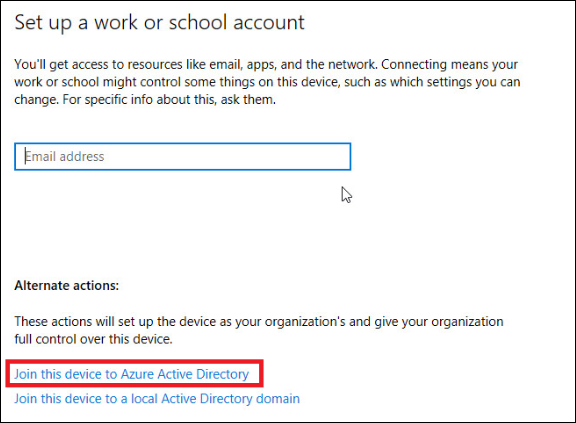
- Sign in with your Azure Active Directory (AAD) user account that is licensed with Intune.
- Restart the device after enrollment.
After the machine restarts, it might take some time for the login screen to appear as the app download is in process and the required policies are being applied.
Step 4: Check the status of installation of app
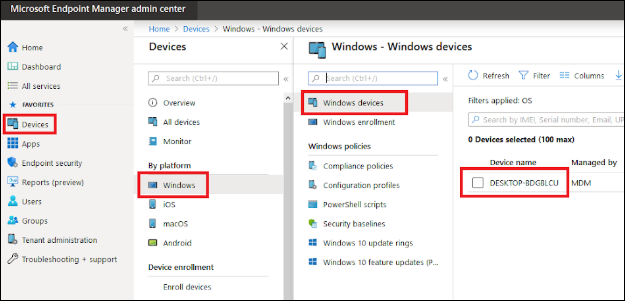
- Go to the Endpoint Manager Admin center (https://devicemanagement.microsoft.com).
- Click Device > Windows Device. A list of successfully enrolled devices is displayed.
- Click Troubleshooting + Support.
- Click Troubleshoot.
- Click on Select User and select the username and select the device that you have enrolled.
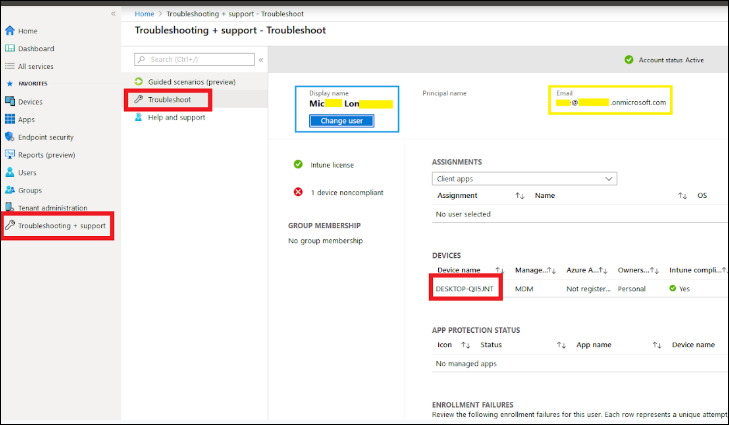
- Click Manage app. A see list of apps is displayed.
- Select the app to view the status of the installation.
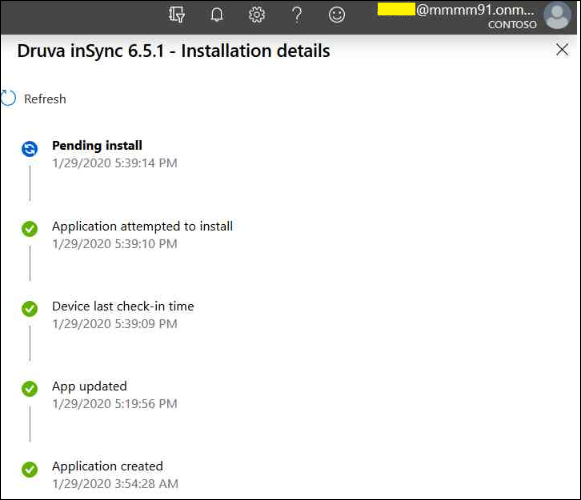
- The installation will take some time if the internet speed is not adequate.
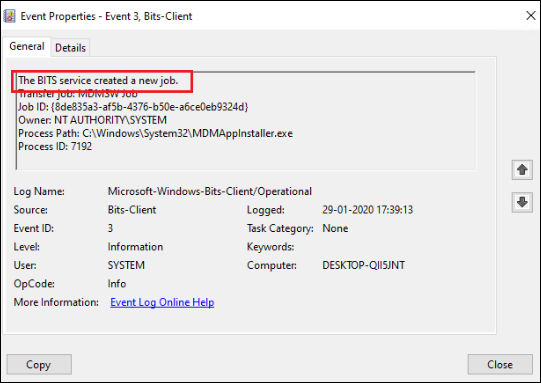
- As soon as the download starts on the device, you will receive an event for download and the file will be stored in C:\Windows\System32\config\systemprofile\AppData\Local\mdm. The logs will be created in Applications and Services logs > Microsoft > Windows > Bits-Client > Operational. Event ID 3 is generated for download stats.
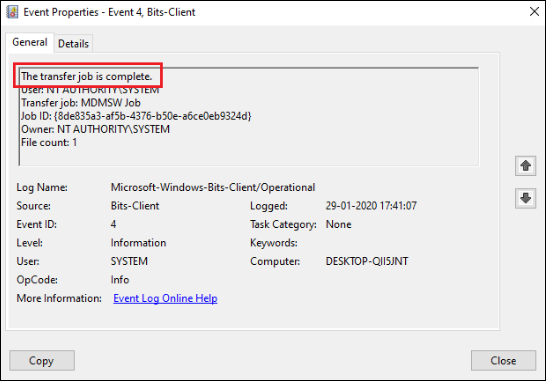
- After the download completes, Event ID 4 is generated, and the Job ID will match with event ID 3.
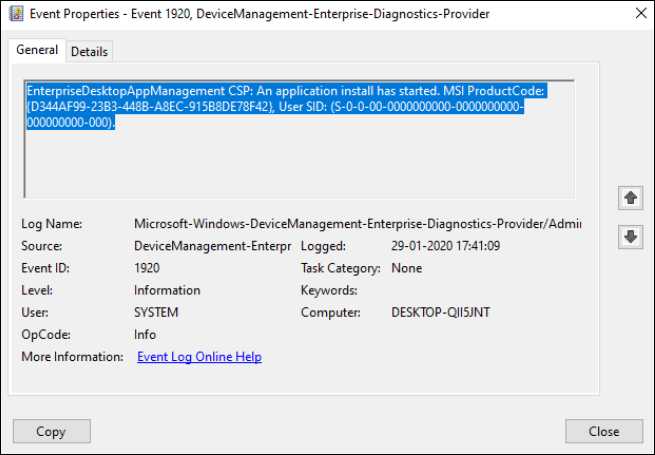
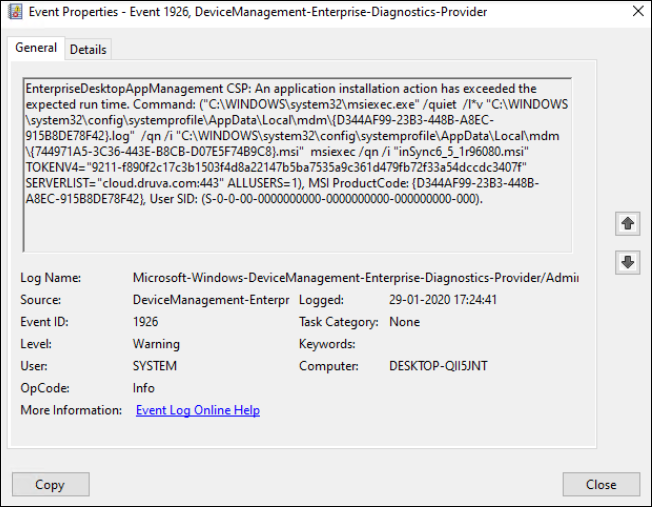
- As soon as the installation is initiated, you will get an event in Applications and Services logs > Microsoft > Windows > Microsoft-Windows-DeviceManagement-Enterprise-Diagnostics-Provider > Adminsdf
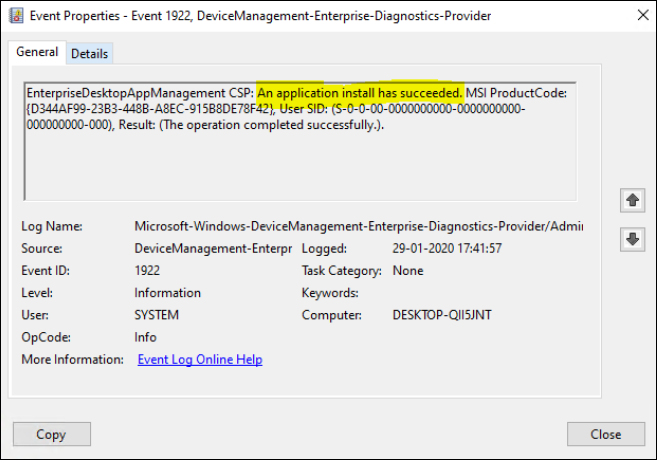
- After the installation completes, An application install has succeeded message is displayed.
- If the command-line argument is incorrect during app creation, an Event 1926 is generated and can be used for tracking.
Intune License: https://docs.microsoft.com/en-us/intune/fundamentals/licenses
Msiexec syntax: https://docs.microsoft.com/en-us/windows/win32/msi/command-line-options