How to import users from CSV in inSync Server 5.x
Summary
inSync Administrators can quickly add users to inSync by importing user names from a .csv file. This article outlines the steps.
Create a .csv file of users
To create a CSV file of users:
1. In Windows click Start.
2. Open Notepad from the menu and create a new file.
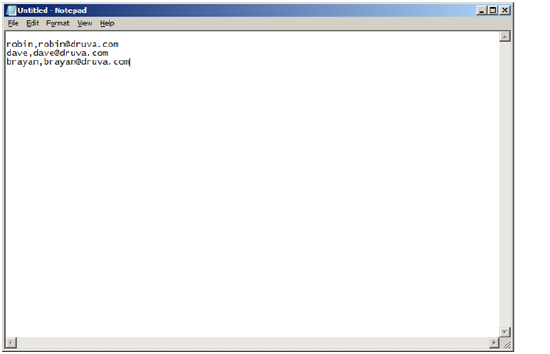
3. In the new file, leave the first row blank (Hit the Enter key).
4. Enter the names and the email ids of the users in (name,email id) format.
5. Click File and Save As.
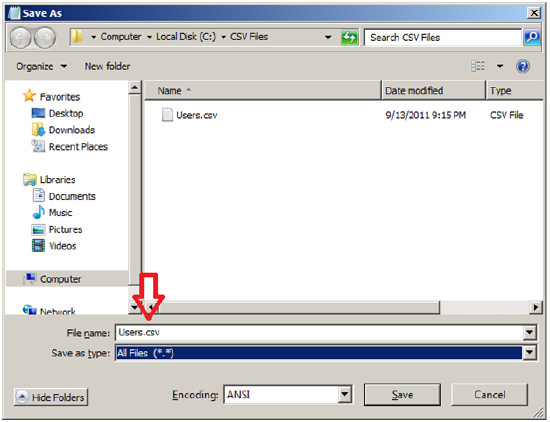
6. Enter the File name with a .csv extension.
7. Select the Save As type drop down as All Files (*.*).
8. Click Save.
Import users to inSync
To import the users from the .csv file into inSync perform below steps:
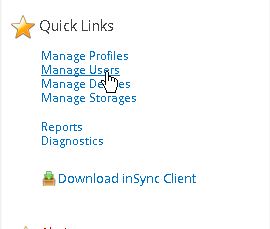
1. On the inSync Web Control Panel, under the Quicklinks , click on Manage Users.
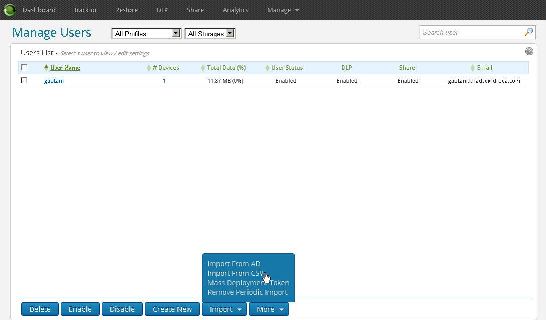
3. Click Browse and select the .csv file that you created earlier.
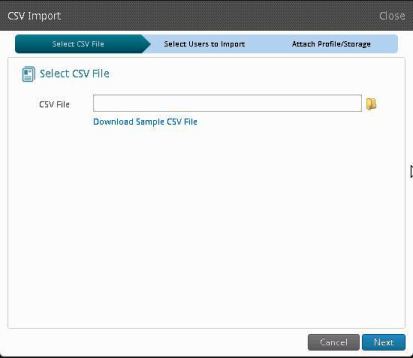
4. Once you browse and select the CSV file, it displays all the users in the CSV. Select the users you wish to import and click on Next.

5. On the next screen select the Storage, Profile and Quota to be designated to the users.
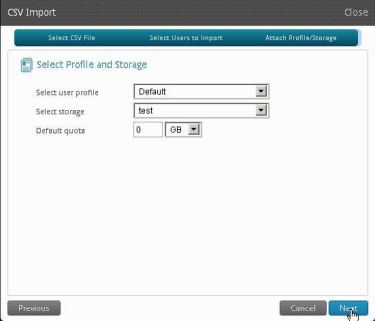
6. Click Next.
7. The next screen shows the list of users that were imported form the CSV files. From this screen we can choose to either send an activation email (Send Email) to the end user or Save activation keys (Save Keys) for the specific users.
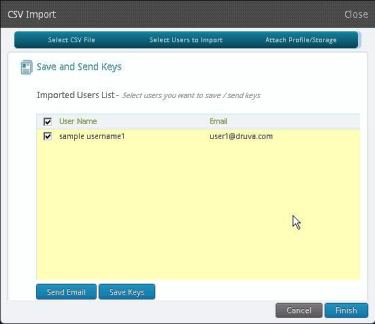
8. After performing the required operation click Finish. This would complete the process of Importing users form CSV.
In case of any queries or concerns, please feel free to contact us via Support Portal.