How to enable debug logging for Phoenix on Windows Server
Overview
This article explains the procedure to enable debug logging for Phoenix on a Windows Server.
Procedure
- Open Services console and stop Druva Phoenix Agent Client Service.
- Open Task Manager and kill all Druva or Phoenix related processes.
- Navigate to C:\ProgramData\Phoenix\FS. ProgramData is a hidden folder in Windows. To access ProgramData, perform the following tasks:
- In Windows Search, search for File Explorer Options.
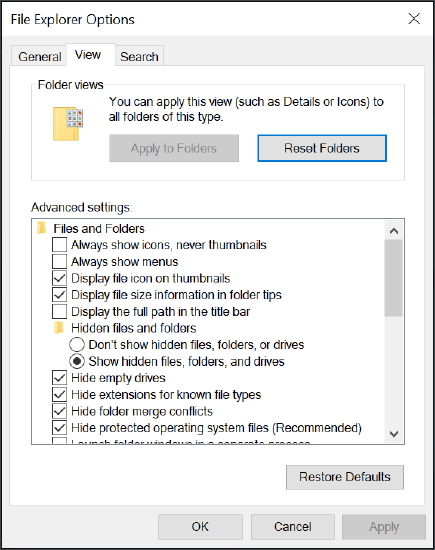
- In the File Explorer options, go to the View tab.
- In the Advanced Settings section, under Files and Folders, click Hidden files and folders > Show hidden files, folders, and drives.
- Click Apply and then click OK.
You should now find ProgramData under the C: drive in File Explorer.
- Take a backup of Phoenix.cfg from C:\ProgramData\Phoenix\FS
- Open Phoenix.cfg file in notepad.
- Look for DEBUGLEVEL flag and change the value from DEBUGLEVEL = 0 to DEBUGLEVEL = 9. Ensure you save the changes.
- Start Phoenix Agent Client Service and initiate a backup/restore job. This will enable debug mode logging for Phoenix agent and will help Support with detailed information. After the job finishes/terminates, zip and upload following files to the case.
- Zip the C:\ProgramData\Phoenix\FS\logs folder.
Note: The logs folder is located at the following location: C:\ProgramData\Phoenix\<workload>. For example:
- C:\ProgramData\Phoenix\FS\
- C:\ProgramData\Phoenix\HyperV\
- C:\ProgramData\Phoenix\NAS\
- C:\ProgramData\Phoenix\SQL\
- Phoenix.cfg from C:\ProgramData\Phoenix\FS\Phoenix.cfg.
- Windows Application and System event logs in .evt or .evtx format.