Allowing the backup proxy to have access privilege to a specific resource pool
Steps to allow the backup proxy to have access privilege to a specific resource pool
- Deploy Druva Backup Proxy OVF (do not activate) in the same resource pool for which you want to get the listing of virtual machines.
- Create an admin for the resource pool. (This admin will be using during activation).
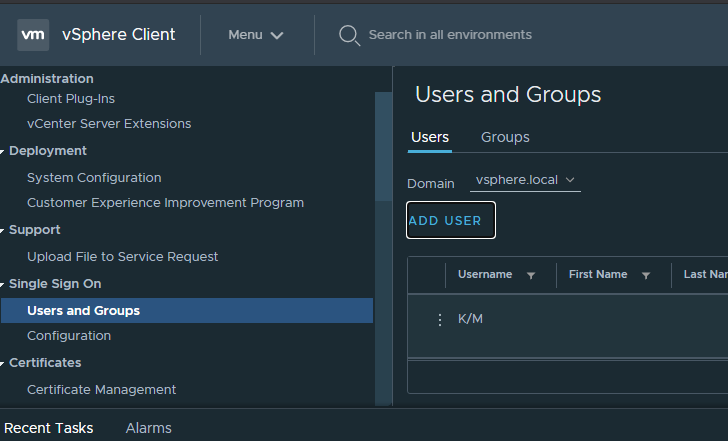
Go to Menu > Administration > Single sign on > Users and group > select the correct domain > click Add User.
-
Log in to vCenter as Administrator.
-
Add permission of the new user for each entity for which you want the access for all the views: Host and Cluster view, VM and template view, Storage view, and Network view.
-
Apply permission to the Host and cluster view .
-
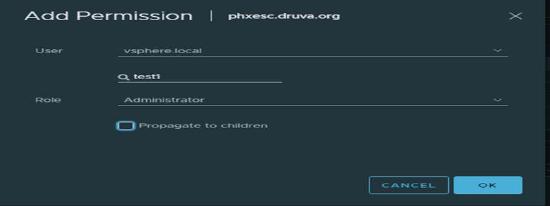
Login to vCenter and click on vCenter > Permission tab.

-
Click on “+” icon and add permission with the user. Select role as Administrator and un-check the Propagate to children checkbox.
-
Perform the same steps for the resource pool hierarchy which is: datacenter, cluster, host, etc .
-
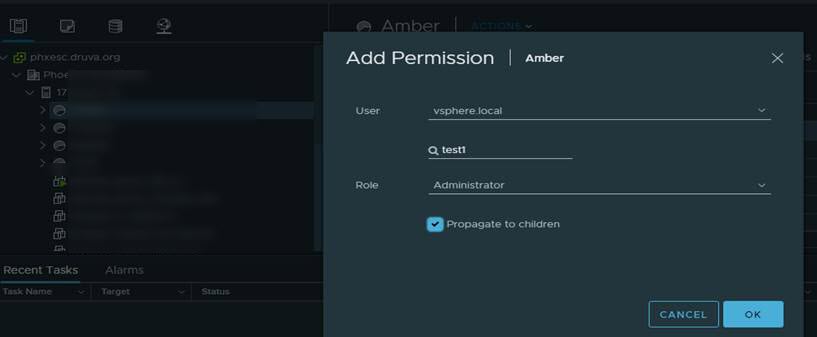
Select the resource pool and change the permission of it by selecting the Propagate to children checkbox. This will ensure all VMs can be accessed by admin.
-
-
Apply permission to the VM and template view.
-
Apply permission in the folder hierarchy as well. Uncheck the Propagate to children checkbox.
-
-
Apply permission to the datastore view.
-
Perform similar steps for the datastore view. Ensure that you add permission to all the datastores where the vmdks resides. Uncheck the Propagate to children checkbox.
-
-
Apply permission to Network view.
-
Perform similar steps for the Network view. Ensure that you add permission to all the Network and hierarchy that all the residing VMs utilize. Uncheck the Propagate to children checkbox.
-
-
-
Verify all resources are visible in the vCenter by logging in with the newly created administrator.
-
Activate the backup proxy.
Enter the newly created vCenter admin details and Phoenix Activation token in the OVF template and power on the backup proxy.
Username should be in format: tes1@vsphere.local
Or
Use the ProxyConf command to configure vCenter admin details.
Use the PhoenixActivate command with a token to get it registered with Phoenix.