Deploy VMware proxy using VMware Proxy Deployer
 Business Enterprise Elite
You can protect VMware workload and deploy a VMware proxy with the common agent. The workload can be deployed using the VMware Proxy Deployer tool.
VMware Proxy Deployer tool
The user interface and steps for macOS are the same as those for the Windows client.
Before you begin
- Enterprise Workloads agent supports the following:
- Windows 8 and later.
Note: For more information on the versions, see Support matrix.
- macOS 10.15 or later (Catalina)
- Ensure that the VMware Proxy Deployer tool runs in administrator mode.
- Ensure that the ICMP protocol is not blocked and you can execute PING commands.
Prerequisites for backup proxy installation
Ensure that you meet the prerequisites for installing the backup proxy. For more information, see Prerequisites to install the backup proxy.
Considerations for verifying an OVA file
- OVA signature verification is a security check done during the agent deployment and can take some time. This is done when you upload the OVA file.
- The digital signature needs to be successfully verified to continue with deployment.
- While uploading the OVA file, we recommend you use the latest version.
How to use the VMware Proxy Deployer Tool
The steps to deploy the proxy are as follows:
Download VMware Proxy Deployer Tool and generate activation token
The steps to download the agent installer and generate an activation token are as follows:
Note: VMC is not supported with this tool.
- Log in to the Management Console.
- From the top menu bar, select your organization if organizations are enabled.
- Click Protect > VMware.
- Click Register New Setup.
- From the Register VMware Setup dialog box, download the VMware Proxy Deployer. You can also download the VMware Proxy Deployer from the Downloads page. Select the Copy Token icon under the Activation Token section. The activation token is copied successfully.
This token is valid for 25 servers and 7 days. This is required for connecting with the Druva Cloud during proxy deployment.
Note: If this token has expired, click Generate New Token. In the Generate Token dialog box, enter the required details and click Generate. Alternatively, if you have generated an activation token earlier, you can copy it from the Manage Activation Tokens page.
VMware Proxy Deployer Tool pre-checks
The following table describes the pre-checks and remedial actions you must take in case of pre-check failures.
| Pre-check | Recommendations if the check fail |
|---|---|
| Incorrect credentials for vCenter/ESXi access | The credentials supplied for the vCenter or ESXi host are incorrect. Provide the correct credentials. |
| Unsupported vCenter/ESXi version check | Check if the vCenter or ESXi host version is supported. For more information, see Support Matrix. |
| Verification of user permissions for backup and restore operations | Check if the user has the required permissions. For more information, see Required vCenter or ESXi user permissions for backup, restore, and OVA deployment. |
| Compatibility check for downloading OVA files | Check if the Internet is connected and if enough disk space is available to download OVA. Also, check if the Druva Download page is reachable or not. |
| Check for the selected OVA certificate | Verify if you are using the latest and valid OVA provided by Druva. |
| Validate and prevent IP address conflicts | Check if the IP address you are using is not already assigned. |
| Verification of available free space on the datastore | Make sure the selected datastore has sufficient free space to deploy the proxy. |
| Backup proxy name validation | Verify if the backup proxy name is unique and consists only of alphanumeric characters and hyphens. Underscore is not allowed. |
| Activation token validation | Verify if the activation token is valid and correctly entered. |
Deploy the proxy
Install the VMware Proxy Deployer Tool
- Go to the location where you have downloaded the Enterprise Workloads agent installer.
- Right-click and run the Enterprise Workloads agent installer.
- Click Next.
- Use a local system account to install the agent installer on the Windows system.
Note: Ensure that the available disk space is at least twice the size of the installer file.
- Type or select the full path to the installation home directory in the Install location box.
- Click Install.
- After the installation completes, click Finish.
Register and activate VMware proxy
The following is the procedure to configure and activate the backup proxy.
- Double-click the Enterprise Workloads Agent shortcut on the system. Alternatively, you can run the EnterpriseWorkloadsAgent.exe from the installation folder (for Windows OS). The Enterprise Workloads Agent window is displayed.
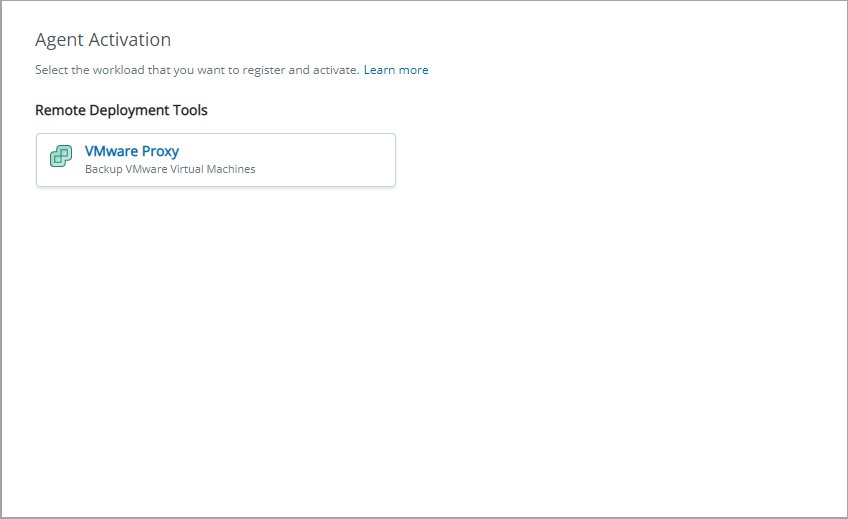
- Select VMware Proxy under the Remote Deployment Tools section.
- Select the type of Cloud deployment: Public Cloud or Gov Cloud.
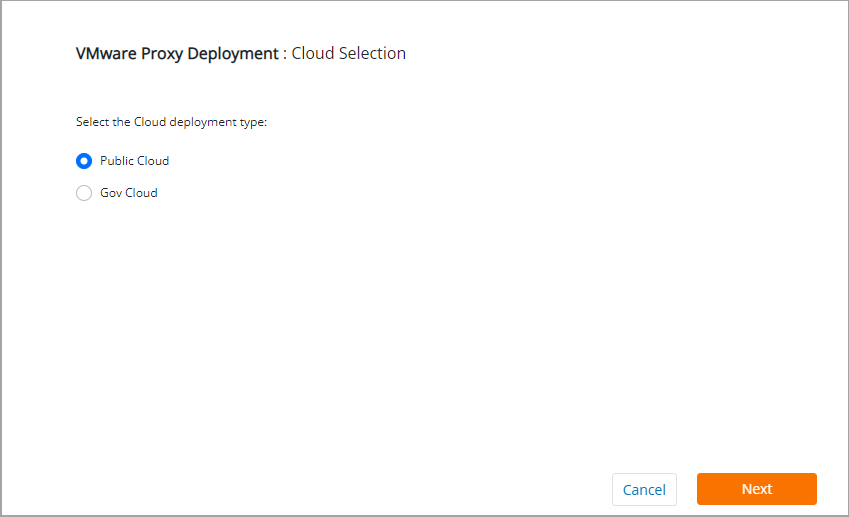
- Click Next.
- In the Connect to vCenter/ESXi page, enter the following to connect to the VMware setup where you want to deploy the proxy.
vCenter/ESXi connection details
.png?revision=1)
Field Description vCenter/ESXi Host Enter the IP address or FQDN of the vCenter or ESXi host. Port By default, port 443 is used to connect to Druva Cloud. If you want to use any other port, contact Support. Username Enter the vCenter/ESXi credentials. Ensure the user has the required permissions. Password Enter the vCenter/ESXi password. Using VMC Select this checkbox if your vCenter is deployed in VMC. For more information, see Druva and VMC integration. - Click Next.
- Download or select the already downloaded OVA file on the Proxy OVA page.
.png?revision=1)
Field Description Download OVA file to a local path and upload it to the vCenter/ESXi
Select or enter the location where you want to download the OVA file from Cloud. The OVA file is then uploaded to the storage container for proxy deployment.
Note: If there is insufficient space in the selected location, click Change to change the location. You can also create space by deleting some data. Click Refresh to see the updated disk space.
Upload the OVA file from a local path to the vCenter/ESXi
Select the location from where you want to upload the OVA file.
- If you have provided vCenter credentials in the previous step, then upload the vCenter OVA.
- If you have provided ESXi credentials in the previous step, then upload a standalone ESXi OVA.
Notes:
- This option is applicable only if you have already downloaded the required OVA file.
- Once you select the OVA file for upload, the OVA file verification starts to ensure that the authenticated file is uploaded. For more information, see Considerations for verifying an OVA file.
- You can only upload .ova files.
- Click Next. In the case of download, the OVA file download will start, and progress can be seen on the left panel.
- On the Proxy Details page, enter the following details:
Note: The fields in the screenshots below differ for the vCenter and ESXi host.
vCenter
.png?revision=1)
ESXi host
.png?revision=1)
Field Description Backup Proxy Name
Enter a unique name for the backup proxy VM.
Note: Underscores are not allowed in the name.
Data Center (Available only for vCenter) Select the target Data Center from the drop-down list on which you intend to create the backup proxy VM. ESXi Host (Available only for vCenter) Select the ESXi host from the drop-down list on which you intend to create the backup proxy VM. Datastore Select the datastore. Ensure that the datastore has at least 110 GB of free space.
Ensure that you have read and write permissions to the datastore.Time Zone
The time zone, by default, is picked up from the local system time zone. Select the time zone based on the region where the backup proxy will reside. The backups are triggered according to the selected time zone.
- Click Next.
- On the Network page, under the Network Settings section, click Add NIC and select the type of network, for example, Static IP or DHCP. You can add a maximum of two NICs.
.png?revision=1)
Field Description Static IP
Enter the Static IP details.VM Network Select the VM networks or Distributed Switch Port groups.
This field is mandatory.IP Address Enter the IP address for the vCenter or ESXi host.
This field is mandatory.Netmask Enter the correct netmask for the provided static IP.
This field is mandatory.Gateway Enter the gateway for the provided static IP.
This field is mandatory.Primary DNS Enter the IP address for the primary DNS.
This field is mandatory.Secondary DNS Enter the IP address for the secondary DNS.
This field is optional.DHCP
Select the network to be assigned to this backup proxy..png?revision=1)
VM Network Select the network on which the required VM resides. The applicable values are auto-populated in the drop-down list. - If you want to connect through a web proxy, then on the Network page, under the Web Proxy section, click Add Web Proxy and enter the web proxy details.
.png?revision=1)
Field Description Proxy Type Select the type of proxy, for example, http. Server IP/FQDN Enter the valid proxy server FQDN. Proxy Port Enter the corresponding proxy port number. Proxy server requires authentication Select this option to provide the username and password for proxy server authentication. This indicates that the proxy is secured. Authentication Type Select the type of authentication. The values are Basic and None. Username Enter a valid web proxy username. Password Enter the valid web proxy password. - Once the web proxy details are successfully added, click Save.
- Verify the network and web proxy settings. Click Edit or Delete to modify web proxy settings or remove a web proxy. Click Next.
.png?revision=1)
- On the Activation page, enter the activation token that you have copied.
Note: This is the token copied from the Register VMware Setup dialog box.
.png?revision=1)
- Select Deploy Proxy to start the proxy deployment.
- Deployment creates a backup proxy VM at VCenter/ESXi. This process may take some time. If you get any error on the screen, follow the instructions given on the screen or contact Support for additional help. For Error codes, see article.
Note: Click the Download Logs to check the logs for any troubleshooting.
.png?revision=1)
- After successful deployment, the registered vCenter/ESXi host displays on the Management Console.
- Note down the IP address of the new proxy VM, which will be required during the ProxyConf steps. Alternatively, you can find this IP from the VMware console.
.png?revision=1)
To change the password and other configurations of the backup proxy, login to the backup proxy via the VMware console. Alternatively, you can access the backup proxy by doing ssh at the IP address of the proxy VM using any terminal and then entering the ProxyConf command. For more information, see article.Note: Default username is root and password is druvaphoenix.
Troubleshooting and FAQs
- I am not able to install ‘Enterprise Workloads agent’ (.msi file).
This file needs to be run by the administrators only. Run the Enterprise Workloads agent installer in administrator mode, or you can open the command prompt in administrator mode and run the Enterprise Workloads agent installer file.
- How and where can I get the VMware Proxy Deployer tool logs?
Click Download Logs on the top right of the VMware Proxy Deployer tool during the deployment process. This will download logs to the Downloads folder.
While installing on Windows, the default directory for logs is C:\ProgramData\Druva\EnterpriseWorkloads\logs. - Where can I find the OVA file?
The Druva Proxy Deployer tool has an option to auto-download an OVA file. If you want to download this OVA file manually and upload it in the Druva Proxy Deployer tool, then click the Download link.
During proxy deployment:- For standalone, select the ESXi host and provide standalone ESXi host credentials in the VMware Proxy Deployer tool during the first proxy deployment.
- For vCenter, select the vCenter server and provide vCenter credentials in the VMware Proxy Deployer tool during the first proxy deployment.
- What does ‘Connection to the selected vCenter not secure error’ mean?
Druva verifies the CA certificate of vCenter during proxy installation. If the CA certificate is verified, then the connection is secure. All internal API calls by Druva proxy are https-based and already secured. This option is provided for additional security. - What if the OVA downloading is stuck in between processes?
Click Exit on the VMware Proxy Deployer tool. Restart the VMware Proxy Deployer tool, download OVA manually, and select the Upload OVA option.
- What communication protocol and authentication types are supported on Web Proxy?
In communication protocol, HTTP and Socks5 are supported. In authentication types, Basic authentication is supported, and Kerbores and NTLM are not supported.
- I am not able to connect to the vCenter/ESXi host.
- Ensure that vCenter/ESXi IP/FQDN is correct.
- Verify username and password.
- Port 443 is open to Druva Cloud. Try telnet to the following site and port.
- telnet phoenix.druva.com 443
- telnet globalapis.druva.com 443
- telnet downloads.druva.com 443
- Ensure that connectivity to Druva Cloud is not blocked by a firewall or antivirus.
- If you still have connectivity issues, contact Support.
- Proxy deployment failed at the network stage.
Retry with the correct network settings. For example, network, static IP details, and web proxy details.
- Proxy deployment failed at the activation stage.
- Ensure that the token is correctly copied from the Management Console.
- Ensure it's not expired, or generate a new token and enter.
- Ensure that there are no additional spaces.
- If it still doesn't work, activate the proxy using the ProxyConf method. For more information, see Reconfigure backup proxy settings.
- How can I deploy many proxies, for example, 20?
You must deploy at least one proxy using the VMware Proxy Deployer tool mentioned above or the manual deployment method. After that, you can deploy additional proxies. - How do you generate an activation token?
On the Management Console, select VMware from the Protect menu. Note that if the All Organizations menu is enabled, you have to first select an organization and then select VMware from the Protect menu. The Register VMware Setup wizard appears. For more information, see How to use the VMware Proxy Deployer tool.
Next steps
You could either:
Or
Related articles