Deploy additional backup proxies
 Business Enterprise Elite
To scale up and for load balancing, you can deploy additional backup proxies directly from Management Console. After you deploy the first backup proxy, you can deploy multiple backup proxies in a single workflow.
Backup proxies are deployed in a data center and you can specify the backup proxy pool in which you want to deploy the backup proxies.
The following video provides a quick overview of the process
Prerequisites
Ensure you meet the following prerequisites. For more information, see Prerequisites to install the backup proxy.
Ensure you have the following information:
- vCenter credentials
- Web proxy credentials (If you use a Web proxy in your environment)
- IP settings
Procedure
- Log in to the Management Console.
- From the top menu bar, select your organization if organizations are enabled.
- Click Protect > VMware.
The All vCenters/ESXi Hosts page appears that lists all the registered vCenter/hypervisors. - You can either select the registered vCenter/ESXi host from the card view or list view or select it from the vCenter/ESXi host list in the left navigation pane.
- In the left pane, click Backup Proxies.
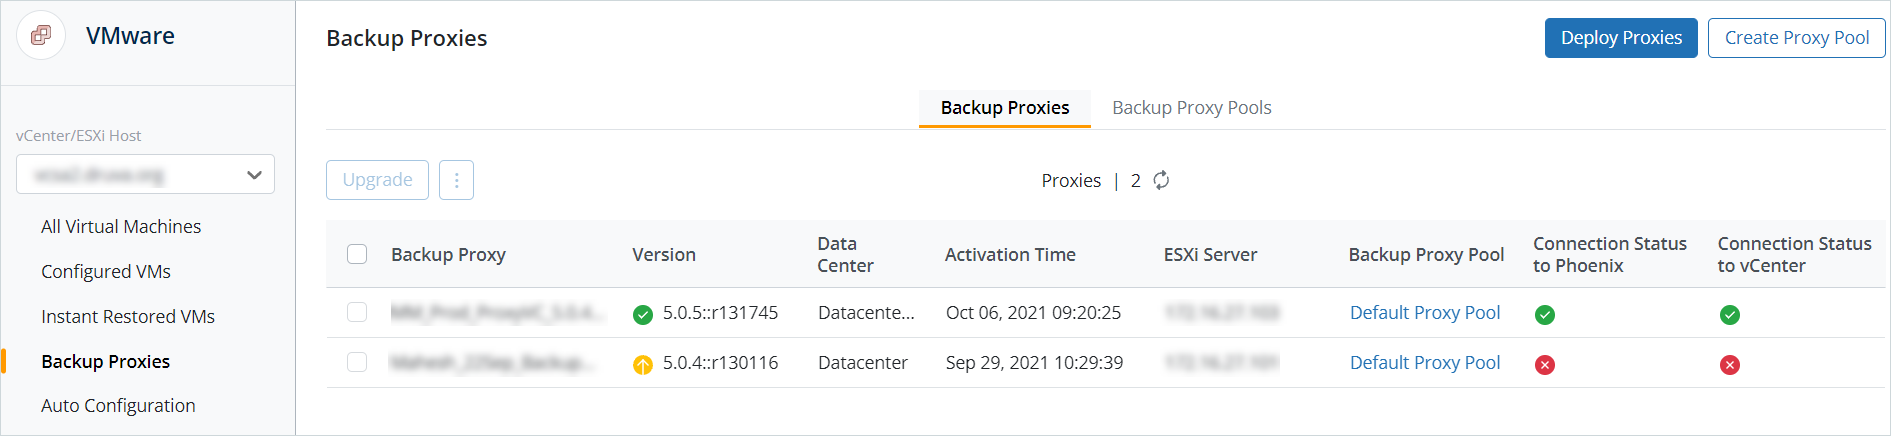
- Click Deploy Proxies.
Note: To deploy additional backup proxies, you must have the backup proxy version 7.0.0 or higher for a vCenter/ESXi host.
- Select the datacenter where you want to deploy the backup proxy.
- Select the backup proxy pool. You can also choose to create a new pool. See, Create a new backup proxy pool.
- Click Add Proxy and provide the following details:
- Name: Enter the name of the backup proxy. Ensure that the name is not used by another backup proxy. Also, ensure that the name does not use special characters:
- ESXi Host: Select the ESXi host.
- Datastore: Select the datastore. Ensure that the datastore has at least 110 GB free space.
- Click Next.
Provide the Network settings information:- Static IP: Update the following details:
- IP address - Mandatory
- Netmask - Mandatory
- Gateway - Mandatory
- VM Network - Mandatory
- Primary DNS - Mandatory
- Secondary DNS - Optional
-
Consideration for VMC
You cannot directly assign public IPs to virtual machines in VMC. You must:
- Deploy additional proxies on VMC using the DHCP the option.
- On VMC setup, create a NAT rule and request for public IP against the newly deployed backup proxy virtual machine.
For more information about configuring public IP, see https://cloud.VMware.com/community/2019/07/24/vmware-cloud-aws-internet-access-design-deep-dive/
- DHCP: The IP address is dynamically assigned. Select the VM network.
- Add NIC 2: Update the following details:
- IP address - Mandatory
- Netmask - Mandatory
- Default gateway - Optional
- VM Network - Mandatory
- Primary DNS - Optional
- Secondary DNS - Optional
- Web Proxy:
- Choose authentication type:
- None: Select for unauthenticated proxy.
- Basic
- Kerberos
-
If you select Kerberos authentication method, provide the following details:
-
Enter KDC server name: Provide the FQDN of the Key Distribution Center (KDC) server.
-
Enter KDC user name: Provide a user name that the KDC can authenticate.
-
Enter KDC Password: Provide the password of the user entered in the KDC user name field.
-
Enter KDC port: Provide the KDC port.
-
Enter FQDN of DNS Server Name: Provide the FQDN of the DNS server.
-
Enter DNS Server User Name: Provide a DNS server user name to let the backup proxy virtual machine use the domain you provided in the DNS Server Name field.
-
Enter DNS Server User Password: Provide the password of the user entered in the DNS Server User Name field. Ensure that the FQDNs of the KDC, DNS server, and the web proxy host resolve to the appropriate servers. If the FQDNs do not resolve, add the FQDNs and the respective IP addresses in the /etc/hosts file of the backup proxy virtual machine.
-
-
Proxy Type: Druva supports the following proxy types:
-
http
-
socks4
-
socks5
-
-
Proxy Server IP: Valid IP of proxy server.
-
Proxy Port: Respective proxy port number.
-
Username: Valid proxy username.
-
Password: Valid proxy password
- Choose authentication type:
- Static IP: Update the following details:
10. Click Deploy Now.
You can see the status of the deployment of backup proxy on the individual jobs page. For more information, see, Monitoring VMware jobs.
Note: If the configuration during deployment fails, the virtual machine is powered-off.