Add a NAS share
 Business Enterprise Elite
A NAS device stores data on shares. This article describes how to auto-discover the NAS shares on a NAS device or manually add them in the Management Console.
SMB NAS shares require credentials to perform backups and restores. You can either use the NAS device credentials or assign share-specific credentials.
Auto-discover NAS shares
Druva initiates an automatic discovery of shares on the NAS device as soon as you add or edit the NAS device. Share auto-discovery is particularly useful when the NAS device has a large number of shares, and manual addition one by one is cumbersome. The share auto-discovery process runs at 01:30 AM UTC every 24 hours. The frequency or time of NAS share auto-discovery cannot be altered. You can also use the Discover Shares option to run a share auto-discovery on demand. You can still add shares manually if required.
Procedure
From All Devices page
-
Log in to the Management Console.
-
Select the workload from the Protect menu. Note that if the All Organizations menu is enabled, you have to first select an organization that has your NAS device and then select the workload.
-
In the left pane, click All Devices.
-
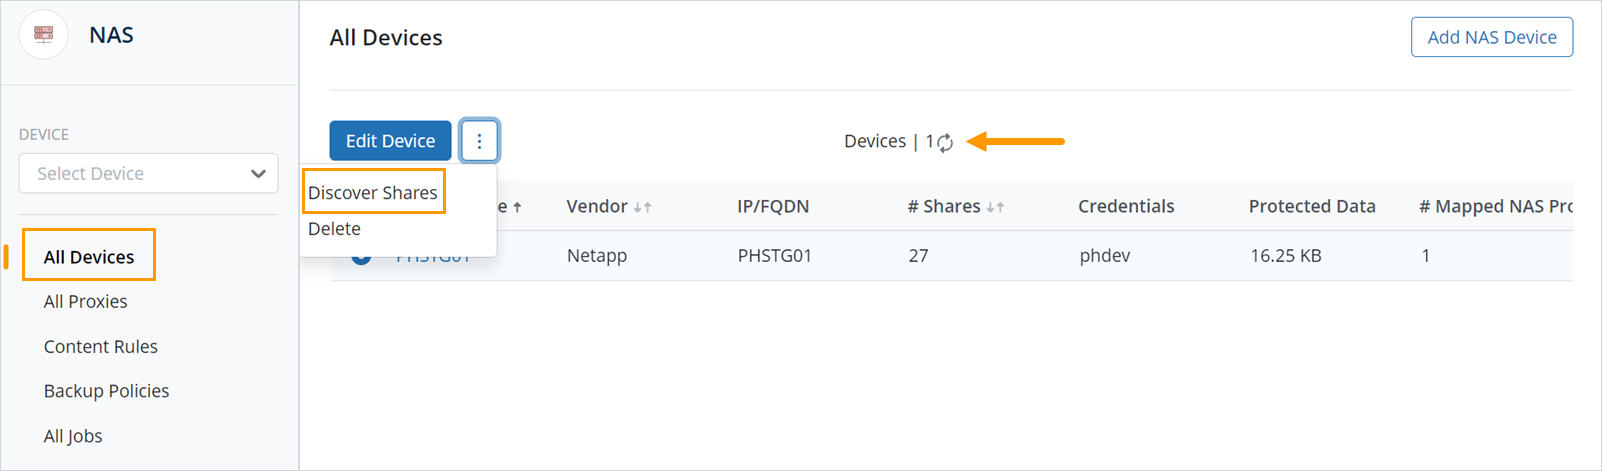
In the right pane, select the device whose shares you want to discover, click on more options, and click Discover Shares. You can also click the Refresh icon to initiate a NAS share auto-discovery.
From the NAS shares page
-
Log in to the Management Console.
-
Select the workload from the Protect menu. Note that if the All Organizations menu is enabled, you have to first select an organization that has your NAS device and then select the workload.
-
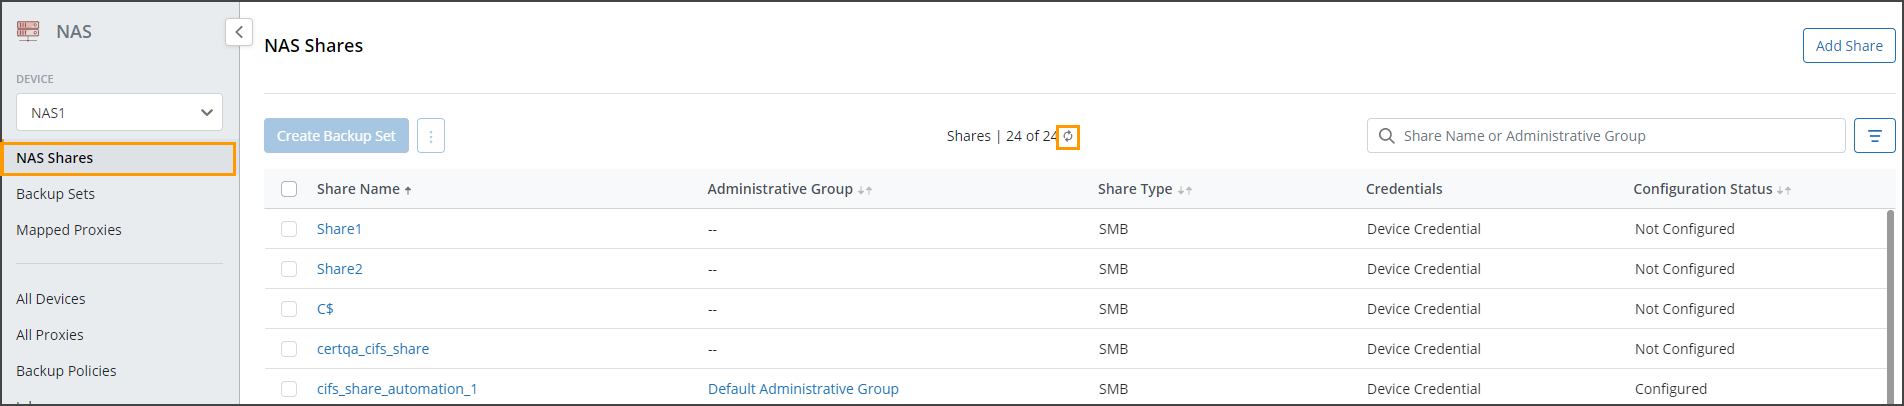
In the device-specific navigation pane on the left, select the NAS device from the DEVICE drop-down list.
-
On the NAS Shares page, in the right pane, click the Refresh icon to initiate a share auto-discovery and update the NAS Shares page with the latest discovered shares.
If the client service on the NAS proxy restarts when an on-demand NAS auto-discovery (via the Discover Shares button) is in progress, the share auto-discovery fails. The scheduled automatic discovery of shares that runs at 1:30 AM UTC, initiates a NAS share discovery again. To manually run a share auto-discovery outside of this schedule, click Discover Shares.
Assigning credentials
If you have selected the Use device credentials for auto-discovered shares option while adding the NAS device, you are not required to assign credentials to the automatically discovered SMB shares. The auto-discovered SMB shares show Device Credential under the Credentials column.

You can, however, update the credentials for an SMB share and assign it share-specific credentials. Share-specific credentials once assigned, take precedence over NAS device credentials.
For more details on assigning credentials manually, see the Credentials in NAS share section, in the Manage your NAS share article.
Add a NAS share manually
- Log in to the Management Console.
-
Select the workload from the Protect menu. Note that if the All Organizations menu is enabled, you have to first select an organization that has your NAS device and then select the workload.
-
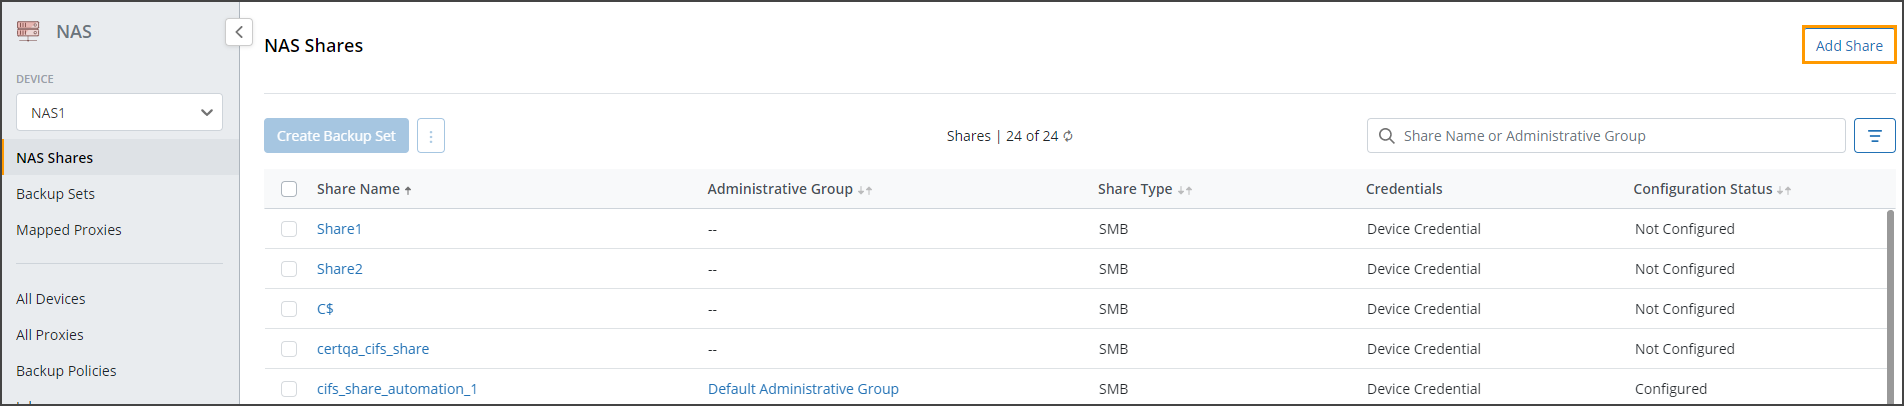
In the device-specific navigation pane on the left, select the NAS device that has NAS shares you want to add.
-
On the NAS Shares page, in the right pane, click Add Share.
-
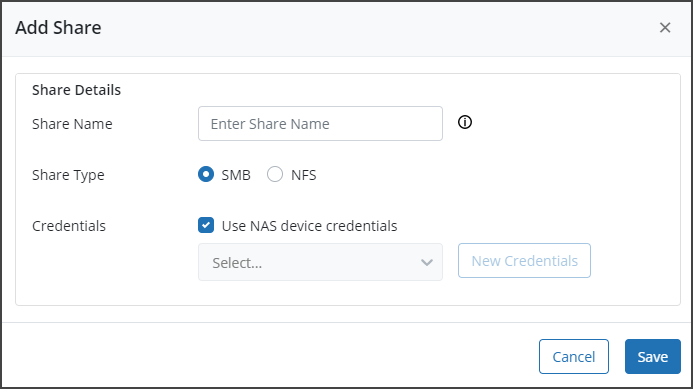
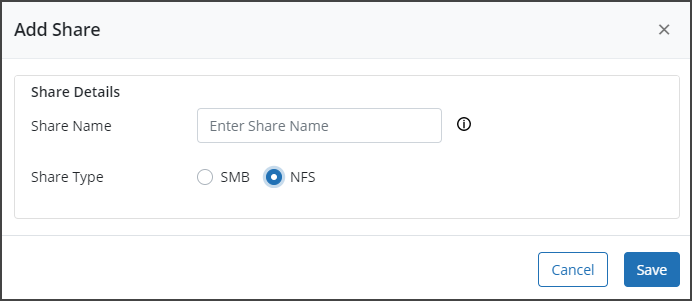
In the Add Share dialog box, enter the following details:
| Field | Description |
|---|---|
|
Share Name |
Path to NAS share on the NAS device. The NAS share name must be the exposed name of the share with which it is registered on the NAS device. For example, if an NFS share is created with /vol/dir1 as the exposed name on the NAS device, enter vol/dir1 as the NFS share name in the Management Console. For Azure files, enter NFS share name as storage name/share name. Druva does not support Unicode characters in share names. Additionally, the following characters are not supported in share names \ / [ ] : &# ; < > + = ; , * ? " |
| Share Type |
Select SMB or NFS as the share type. The option to provide NAS credentials is available only when SMB is selected. Druva does not support backup and restore from mixed share types. Map a NAS device that has SMB and NFS shares to a Windows and Linux proxy to backup shares of both types. |
|
Credentials
|
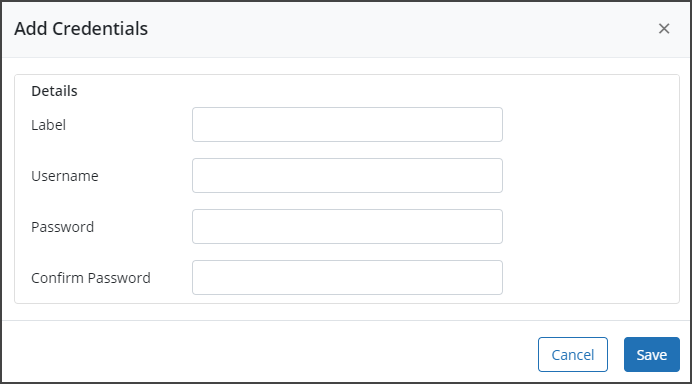
Credentials are required only for backup and restore of SMB shares and get validated every time a share is added. If the share type is SMB, you can:
You don't have to enter any credentials if you want to add an NFS share. |
The Management Console displays the newly added NAS share in the device-specific NAS Shares page. You can use this procedure to add more NAS shares.