Hyper-V virtual disk restore
 Business Enterprise Elite
Druva lets you restore virtual disks that you can then attach to a virtual machine. You can use the restored virtual disk to replace the original virtual machine's disk or attach it to a different virtual machine.
Perform a virtual disk restore
- Log in to Management Console.
- select the workload from the Protect menu. Note that if the All Organizations menu is enabled, you have to first select an organization and then select the workload.
- In the left navigation, click Configured VMs.
- In the right pane, select the virtual machine you want to restore.
- Click Restore. The Restore VM wizard appears.
- The Data Restore option is selected by default.
- You can select Virtual Disks or Files & Folders tab to restore disks or files and folders.
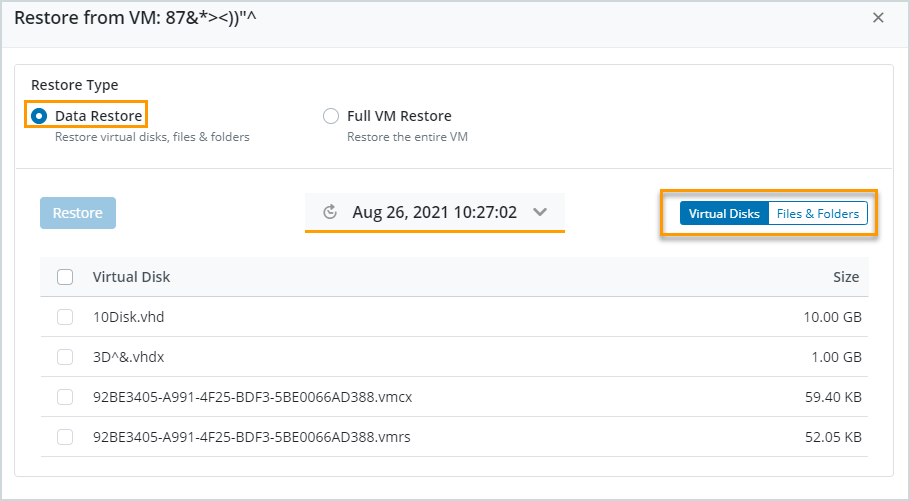
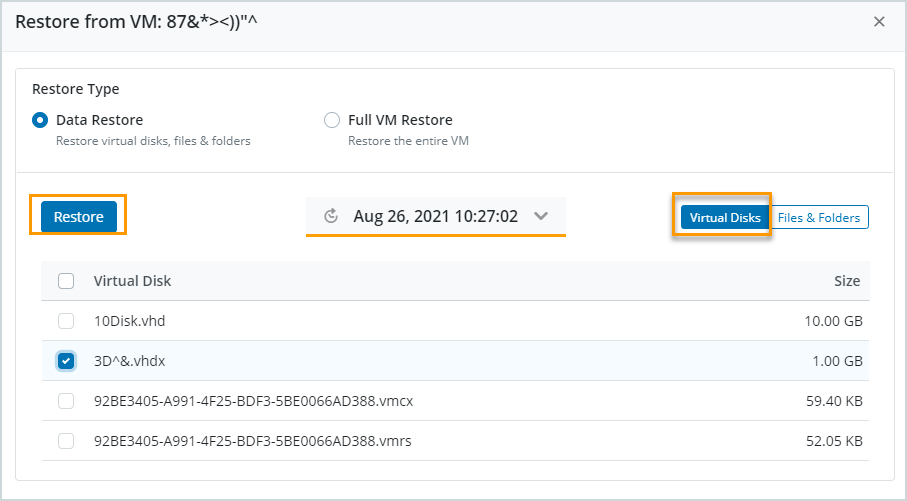
- Click Virtual Disks to restore the disks. Perform the following:
- Select the type and date and time of the recovery point from the drop-down.
- Select the virtual disks and then click Restore.
- Enter the following information in the Disk Restore dialog:
Field Description Destination Hyper-V Host
Select a Hyper-V host from the drop-down.
This is a required field.Cluster Cluster on which the selected host is present. SCVMM SCVMM on which the selected host is present. Restore Location Specify the location where the virtual disks and configuration files are downloaded. You can choose: - A local folder
You can browse and select the destination folder - SMB share
Type the shared folder path
- A local folder
- Click Finish.
-
Click Files & Folders to restore files and folders. Perform the following:
- Select the type and date and time of the recovery point from the drop-down.
- Select the files and folders and then click Restore.
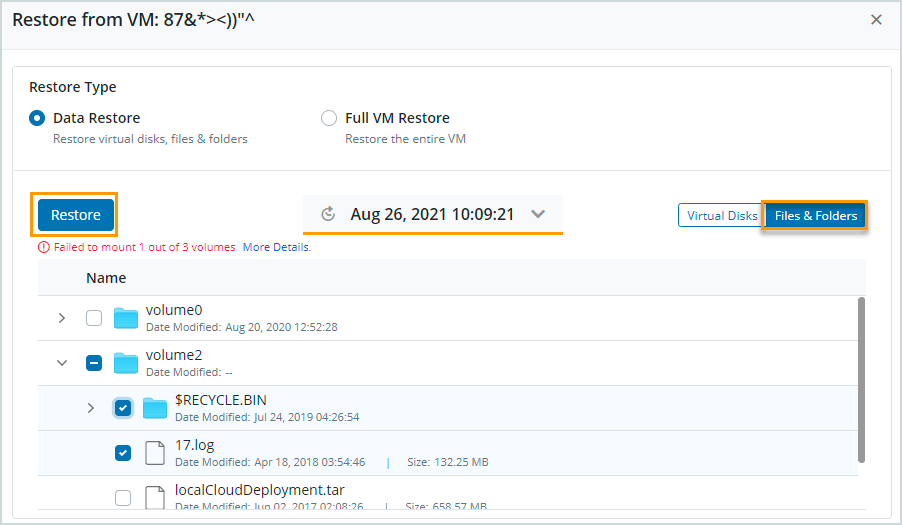
The File Restore dialog appears. - Enter the following information under Restore Target:
Field Description UNC Path
Valid UNC share (network share) path that is reachable from the selected FLR proxy.
Valid format:
\\<hostname> or<Ip address>\<Sharename>
//Host/FolderUsername
Valid username of UNC share.
Supported format for username with a domain is domain@username.
Note: You can specify domain name in the username of the UNC share in the "domain@username" format.
Password Valid password for UNC share. FLR Proxy
From the drop-down list, select a proxy. It is recommended that you select a proxy that has low latency to the UNC share.
- Click Finish.
After you restore a disk, the Hybrid Workloads agent creates a folder with the format Phoenix-${restore_job_id} and downloads the disk and configuration file in the folder. If the virtual machine checkpoints produce differential or delta disks, Druva merges those delta disks with the disk that the agent downloads after the restore.