Delete a virtual machine configured for backup
 Business Enterprise Elite
Overview
As an administrator, you can delete a virtual machine. Once deleted the virtual machine will move into an unconfigured state and won't be displayed on the Configured VMs page. If you are a cloud administrator, you can delete any virtual machine. If you are a group administrator, you can delete a virtual machine that belongs to the Server group you manage.
You might want to delete virtual machines in the following scenarios:
- You configured virtual machines during evaluation, and you now want to reclaim the storage consumed.
- You are planning to deprecate virtual machines, and you no longer need to keep data.
- You plan to replace virtual machines, and a backup of the replacement machines might consume additional storage for the same data.
- You no longer want to back up a virtual machine.
- You migrated a virtual machine to a different Prism Element or Prism Central that is not configured for backup.
After you delete a virtual machine, Druva purges the backup data of that virtual machine. The time required for purging data after deleting a virtual machine depends on the size of backed-up data. For large-sized datasets, Druva might take longer to complete a purge operation.
When a virtual machine configured for backup is deleted from the Nutanix environment, the first backup job after the virtual machine deletion fails. However, the virtual machine is disabled from backup to avoid subsequent job failures. The virtual machine disabled for the backup will still be available for restore.
Procedure
- Log in to the Management Console.
- Select your Organization if Organizations are enabled.
- On the menu bar, click Protect > Nutanix AHV.
- On the Prism page, click the Prism Element or Prism Central that hosts the virtual machine you want to delete. Alternatively, select the Prism Element or Prism Central from the Prism dropdown menu.
- In the left navigation pane, click Configured VMs.
- Click the VM that needs to be deleted.
- In the virtual machine details page, click more options in the top right corner, and then click Delete.
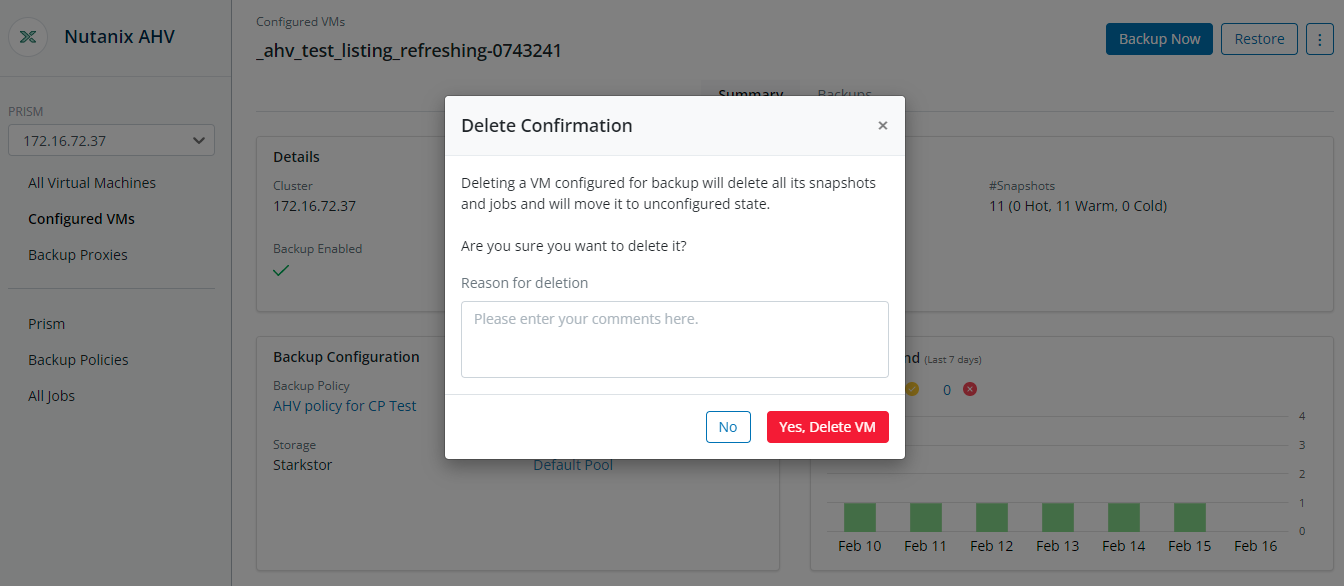
- A confirmation dialog is displayed. Provide a reason in the Reason for deletion box and click Yes, Delete VM.
The reason is required to confirm your action and to prevent any accidental deletion. This is a mandatory field, and you can use a minimum of 10 characters and a maximum of 150 characters to provide the reason for deletion.
Note that all deletion requests with a reason will be reported to the Audit Trails.
For more information, see View Admin Audit Trails page.