Add users individually
Overview
Before you begin
Procedure
- Login to the inSync Management Console.
- On the inSync Management Console menu bar, click Users. The Users page appears.
- Click Add User. The Add New User window appears.
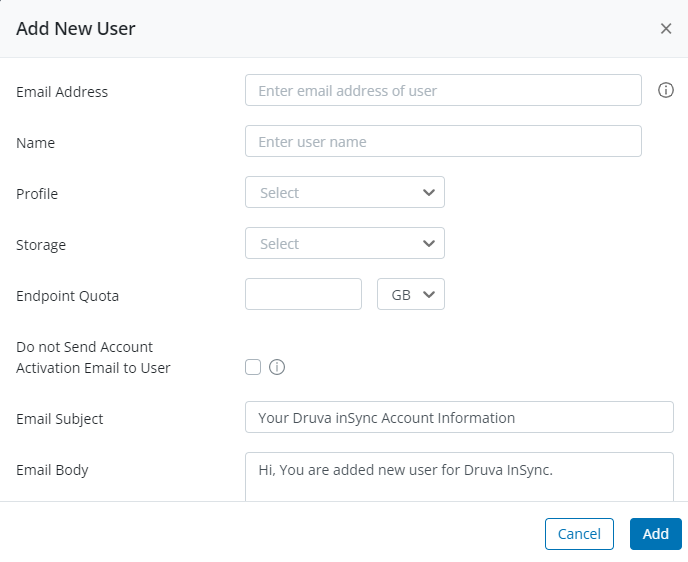
Provide the following details of a user.
| Field | Action |
|---|---|
| Email address | Type the email address of the user. |
| Name |
Type the display name for the user. |
| Profile |
Click the profile to which you want to associate the user. In the drop-down list, the After selecting this profile you cannot:
For more details, see Data Lock. |
| Storage |
Click storage where you want to back up the user data. If you do not select a storage, inSync selects the storage where inSync backs up the user's data. |
| Endpoint Quota |
Type the maximum data that the backup and share folder of the user's devices can contain. If the data exceeds the quota, backup or share operations from user devices fail. If you do not want to set any restriction on the amount of data that the user can back up or share, type 0 (zero). Note: By default, the quota assigned to the profile is set as the user quota. You can assign a different quota for the user that you are creating. If you update the endpoint quota, updates that administrators make to the profile quota are not applicable for this user. |
| Do not send an account activation email to the user | Select this checkbox if you don't want the users to receive any account activation email for inSync Web. |
| Email Subject | If you want to update the subject of the account activation email, type the new content in the Subject box. |
| Email Body |
If you want to update the body of the account activation email, type the new content in the Body box. |
 icon is displayed for the data lock-enabled profile.
- Click Create User.
The new user receives an email containing the inSync credentials. These credentials are used for logging into the user's portal where users can download and restore the data.
The user license status is unlicensed after the user is added.