Add a group of users by importing information from a CSV file
License editions: To understand the applicable license editions, see Plans & Pricing.
Overview
Guidelines for creating the CSV file
Before you begin
Procedure
To create users by importing a CSV file
- On the inSync Management Console menu bar, click Users.
- Click Import > Import Users from CSV. The Import Users window appears.
- Download a sample CSV file. Add details to it as explained in the Guidelines section and save it.
- Click Browse and then select the CSV file that contains user information. inSync processes the file and lists all the users in a tabular format.
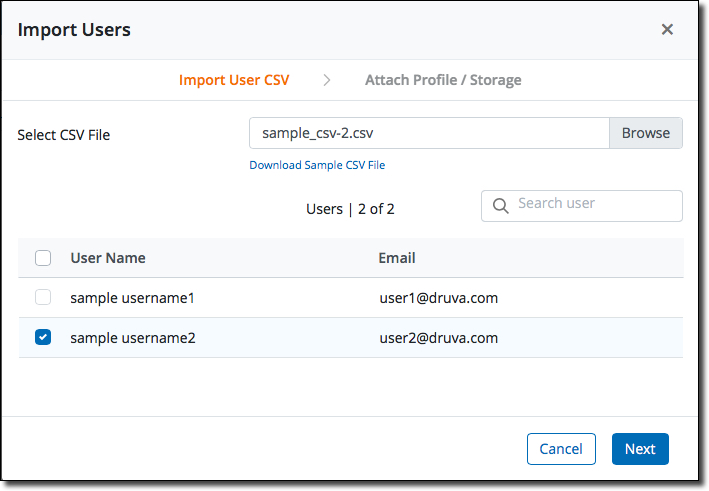
- Select the users which you want to import for now and click Next.
- On the Attach Profile and Storage window, provide the following information.
- Profile - Select the profile that you want to assign to the selected users.
- Storage - Select the storage region where you want inSync to backup the user data.
- Endpoint quota - Type or select the storage quota that you want to assign to the user
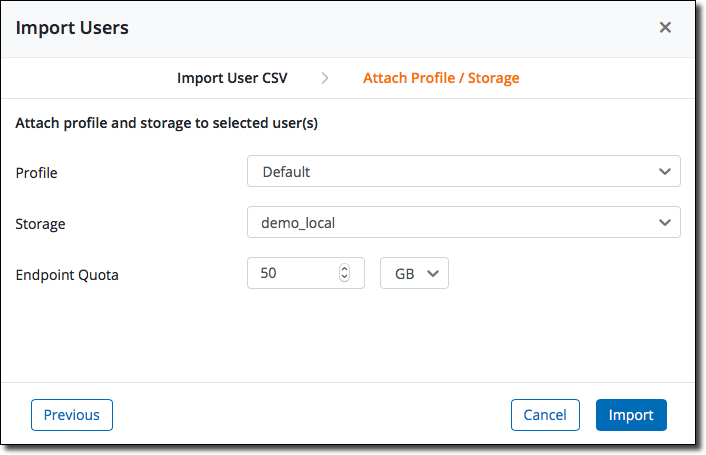
- Click Import.
- (Optional) Send activation emails to users or download their activation keys.
- If you want to send an activation email to users, select the user names and then click Send Passwords Activation Email.
- If you want to download activation keys for users, select their user names and click Save Keys.
- Click Done.
- Users who receive the activation email can install and activate inSync Client on their devices.
- Users for whom you choose to download activation keys, you must download, install, and activate inSync Client on their devices. For more information, see Activate inSync on user devices.
- You can also choose to not send activation emails or download activation keys for the users you selected.
- You can also choose to install and activate inSync Client at a later time.