Register Azure subscriptions
 Business Enterprise Elite
 Before you begin
-
To assign roles or grant access, ensure you have Microsoft.Authorization/role assignment of Global Administrator.
-
To add a subscription to the Druva console, you must be an administrator or owner of the subscription in the Azure console.
-
You must have the Azure Key Vault service registered for the subscription that you want to onboard.
-
Make sure that if you want to onboard or register subscriptions, you must have the Users can register applications permission enabled for your user account in the Azure environment.
Add subscriptions: First time
-
Log in to the Management Console.
-
On the console, from the top menu, select Organization.
-
Select Protect > Azure Workloads > Virtual Machines.
-
Click Register.
-
On the Microsoft Sign in page, enter the Microsoft Azure credentials and click Next.
-
Accept the default permissions.
-
On the subscriptions modal window that appears, do the following:
-
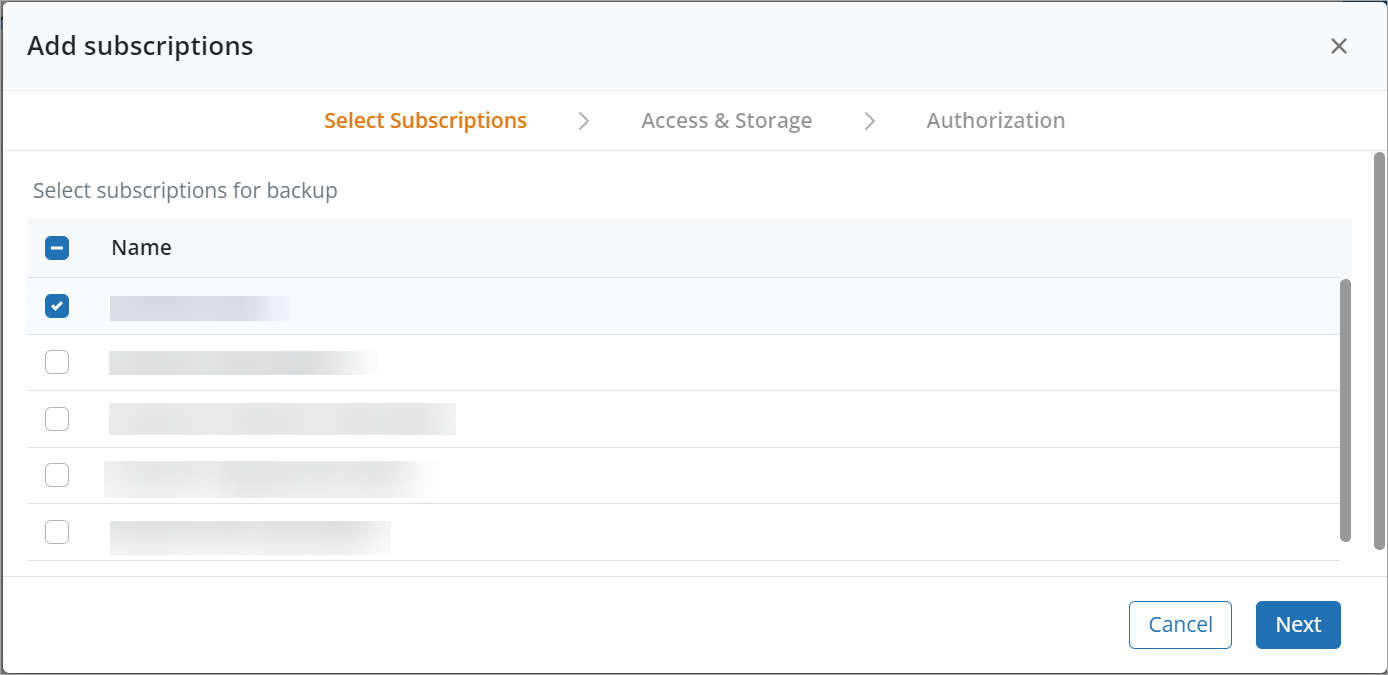
Select the subscription(s) you want to protect and click Next.
Note: You cannot select subscriptions that are already registered or onboarded.
-
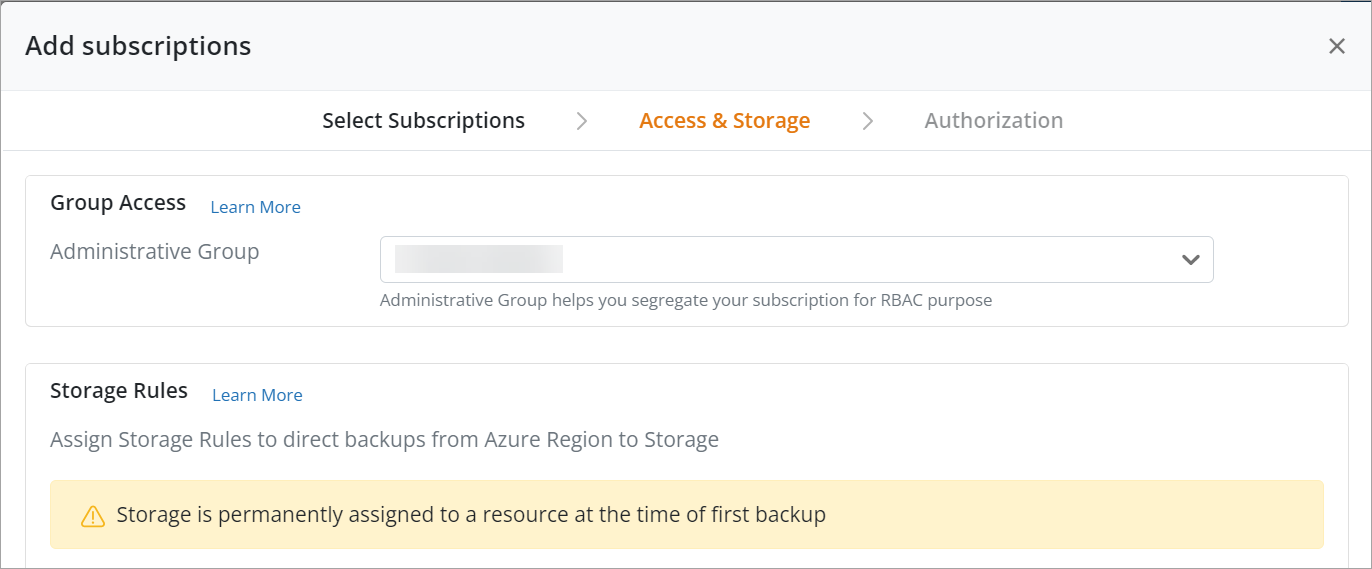
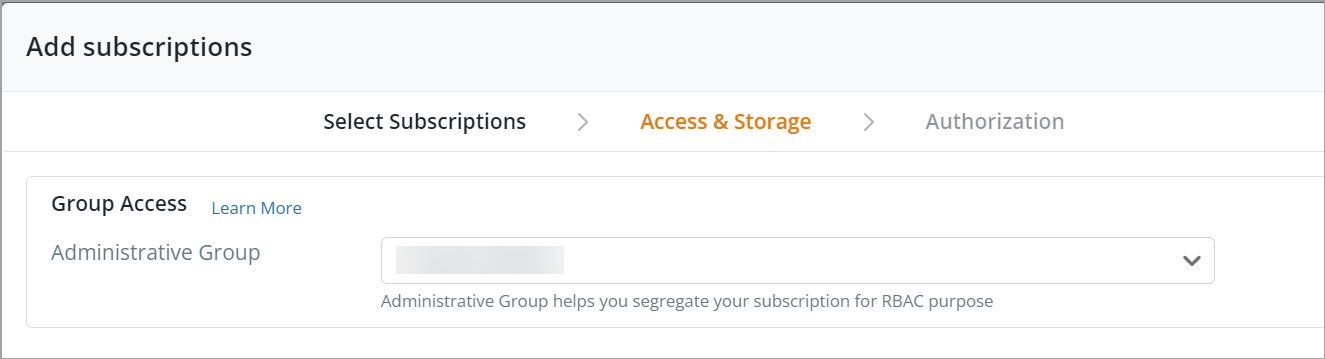
On the Access & Storage tab, in the Group Access section, either select an Administrative Group or create a new Administrator Group.
-
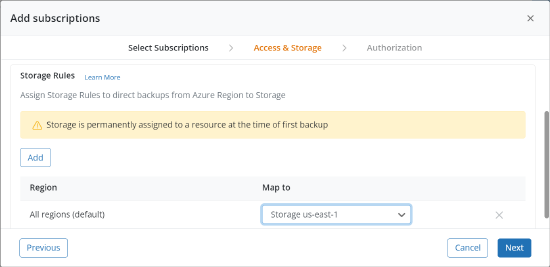
In the Storage Rules section, select a default Druva storage for all regions and click Next. You can also add additional storage rules.
Notes:
- Once you assign a default storage rule, you cannot delete it later. However, you can delete other storage rules created subsequently.
- You can create multiple storage rules.
- When assigning storage rules, adhere to your compliance and governance policies.
- Once storage is assigned to a region then it gets permanently associated with that region. Consequently, all the VMs will continue to get backed up and stored in this region.
- On the Authorization tab, in the Authorize section, select the Authorize subscriptions check box and click Finish.
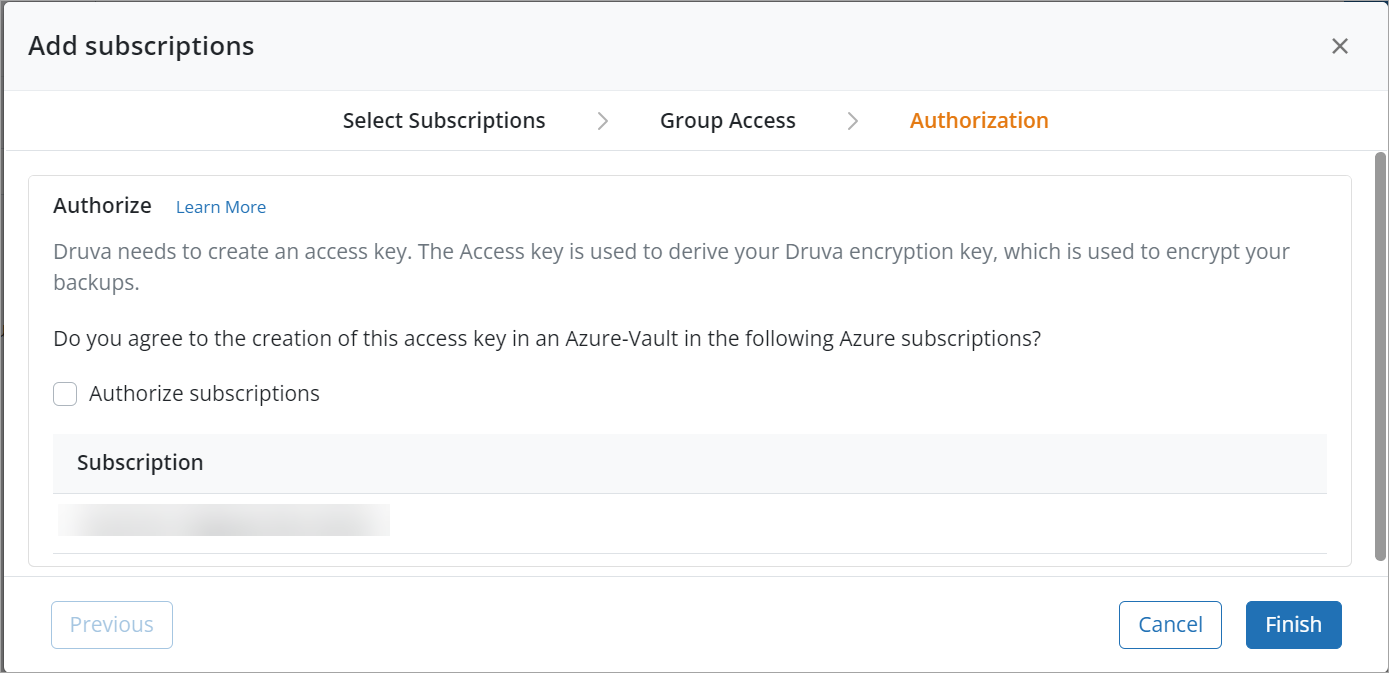
The subscriptions are onboarded successfully and are listed on the Azure subscriptions listing page.
-
Add subsequent subscriptions
You can add subscriptions during onboarding or later at any point in time. To add subscriptions for the first time, see Register Azure subscriptions.
For adding more subscriptions at a later stage, see the following procedure:
-
Log in to the Management Console.
-
On the console, from the top menu, select Organization.
-
Select Protect > Azure Workloads > Virtual Machines.
-
On the Azure subscriptions page, click Add Subscriptions.
-
On the Microsoft Sign in page, enter the Microsoft Azure credentials and click Next.
-
Accept the default permissions.
-
On the Add Subscriptions window, do the following:
-
Select the subscription(s) you want to protect and click Next.
Note: You cannot select subscriptions that are already onboarded.
-
On the Access & Storage tab, in the Group Access section, either select an Administrative Group or create a new Administrator Group and click Next.
-
On the Authorization tab, in the Authorize section, select the Authorize subscriptions check box and click Save.
The subscriptions are onboarded successfully and the Azure subscriptions listing page is displayed.
-
Considerations
The subscriptions are onboarded successfully even if you do not authorize the creation of an access key in your Azure vault. However, resources in these subscriptions will not be backed up unless you authorize the subscriptions.
Administrative groups
An administrative group is a logical categorization of subscriptions. For example, subscriptions with resources located in one region can belong to one administrative group. An administrative group allows you to segregate subscriptions for Role-Based Access Control (RBAC) purposes, enabling more granular and organized management of resources and permissions.
While onboarding Azure subscriptions, you must assign administrative groups. You can assign one administrative group to manage multiple subscriptions. If no administrative group is available, you can create an administrative group.
Considerations
The following are some of the important points to consider for administrative groups:
-
You should be a Cloud Admin to create or edit an administrative group.
-
Administrative group is associated with an organization. If you want to create an administrative group for a specific organization, you must select that particular organization.
-
You can select an administrative group while onboarding Azure subscriptions.
-
You can select one existing administrative group for the multiple subscriptions. If no group exists, you can create an administrative group while onboarding Azure subscriptions.
-
You can delete an administrative group. However, before deleting, you must move the Hybrid resources, AWS accounts, and Azure subscriptions to a different group.
-
If you want to give granular access to the onboarded subscriptions, you can do so from DCP or Enterprise Workloads console where you can specify Azure subscriptions for specific group admins.
Create a new administrative group
-
Log in to the Management Console.
-
On the console, from the top menu, select Organization.
-
Select Protect > Azure Workloads > Virtual Machines.
Delete an administrative group
-
You can delete an Administrative group. However, before deleting, you must move the Hybrid resources, AWS accounts, and Azure subscriptions to a different group.
-
On the Azure subscriptions page, click Add Subscriptions.
-
On the Select Subscriptions tab, select the subscription(s) that you want to protect and click Next.
Note: You cannot select subscriptions that are already onboarded.
-
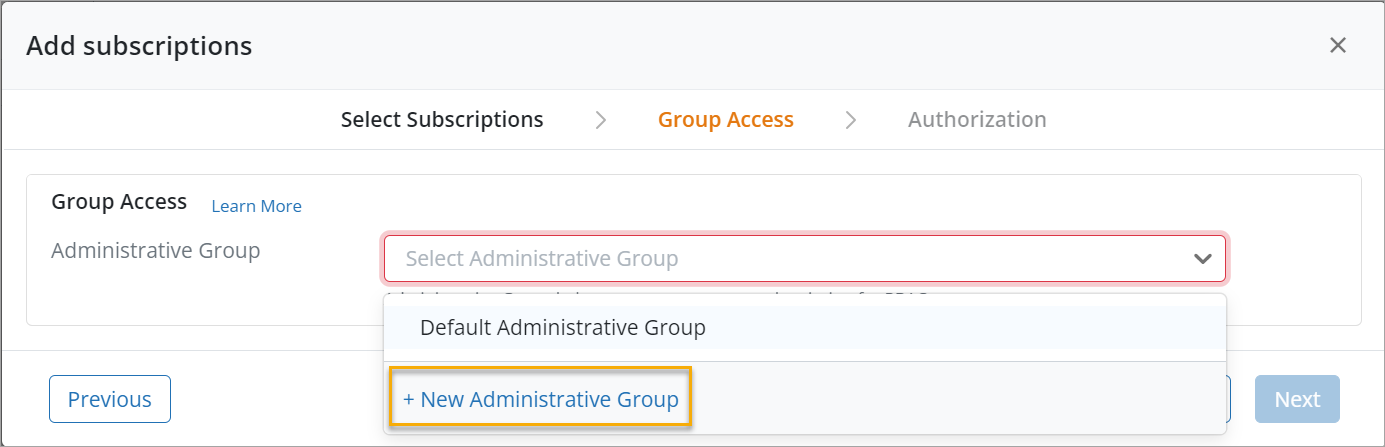
On the Access & Storage tab, in the Group Access section, click on the Administrative Group dropdown.
-
Click + New Administrative Group.
-
On the New Administrative Group window, provide name and description and click Save.
Procedure
-
Log in to the Management Console.
-
On the console, from the top menu, select Organization and then click Manage > Administrative Groups.
The Manage Administrative Groups page displays a list of available administrative groups. -
To delete an administrative group, do either of the following:
-
Select an administrative group and click Delete.
-
Click on the administrative group that you want to delete, and on the Administrative group details page, click Delete.
-
- Click Yes on the confirmation dialog box to proceed with the deletion.