Manually import users
License editions: To understand the applicable license editions, see Plans & Pricing.
You can quickly import and add a user(s) as per your need using the Import Users from Azure AD option.
- On the inSync Management Console menu bar, click Users.
- Click Import > Import Users from Azure AD. The Import Users window appears.
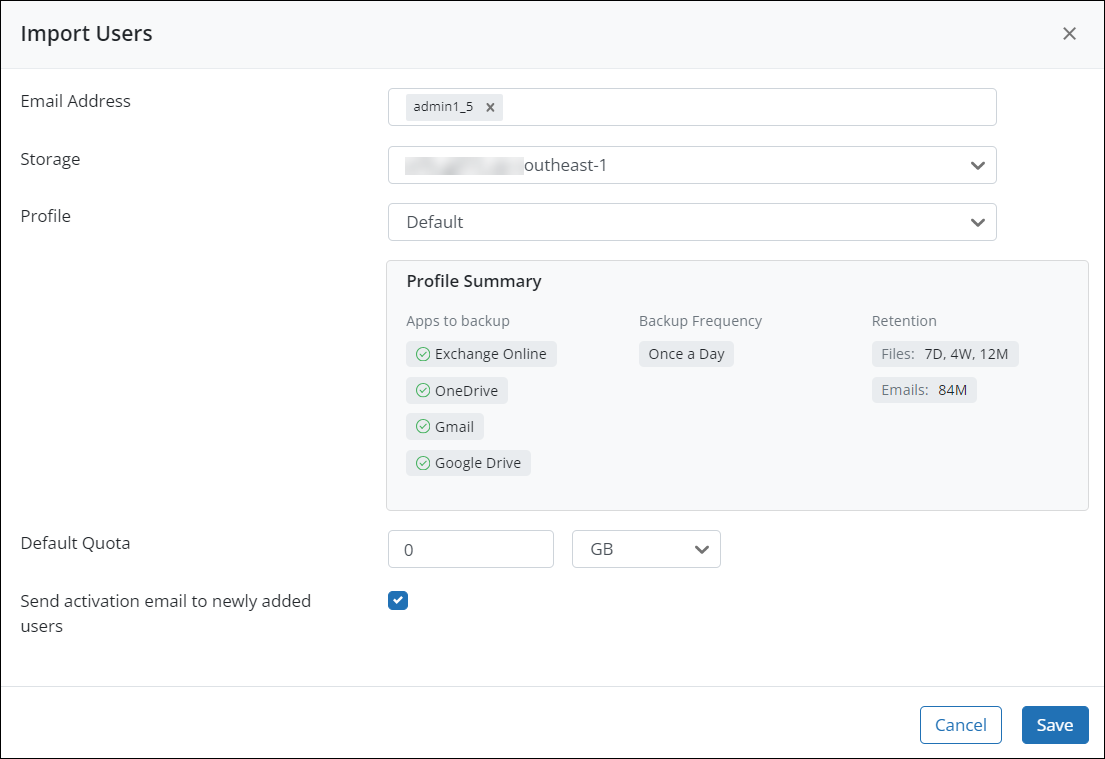
- Enter the following details:
- Email Address: Search and enter the email address of the user(s) that you wish to import.
- Storage: Select storage where the users' data should be backed up.
- Profile: Select a profile you want to assign to the users you import using Azure AD. The data lock enabled profile has the lock icon. If you select this profile, you cannot:
- Delete the snapshots, users, and applications associated with the profile.
- Change the profile of users.
- Remove the license of the user. For more details, see Data Lock.
- Default Quota: Provide a default storage quota per user as per your requirement. The default value is zero which is unlimited storage.
- Send activation email to newly added users: Select this check box to notify the newly added users via email. By default, this option is selected.
- Click Save.