Manage and monitor Exchange Online
As an inSync Cloud administrator, you can enable alerts to manage and monitor the status of your Microsoft 365 app. You can generate and view reports and get insights into the ongoing activities on your app.
In addition, you can perform the following tasks to manage Exchange Online backups.
Enable alerts for monitoring app status
After you have configured inSync with Microsoft 365, you can choose to receive alerts whenever the Microsoft 365 app status changes. For example, alerts when Microsoft 365 is not connected.
Procedure
To enable the alerts for Exchange Online app status, execute the following steps:
- On the inSync Management Console menu bar, click
 . The list of all alerts appears under the Active Alerts tab.
 - Click the Alert Subscriptions tab. A list of available alerts is displayed.
- Select the SaaS Apps Status alert, and then click Edit. The Edit Alert Notifications window appears.
- In the Admins to be notified field, select the administrators who must receive the alerts. By default, the server administrators are notified about the alerts for SaaS Apps status.
- If any user action is required, select the Notify user checkbox.
- Click Save.
To learn more about configuring and managing alerts, see Alerts.
View and receive reports
inSync provides reports that contain a summary of events and activities that have occurred during a specific period.
This topic explains the types of reports and contains instructions for viewing and receiving reports. For more information, see Reports.
View Live Activities
Use the Live Activities page to view the status of the backup and restore activities that are in progress for both, the user devices and the SaaS Apps.
Enable or disable Exchange Online backup
You can enable or disable Exchange Online backups for a user using the following steps.
- Sign in to Druva Cloud Platform Console and navigate to Microsoft 365 > Exchange Online.
- Select the user for which you want to enable or disable backup.
- Click the More icon (
 ), and click Enable or Disable. A confirmation dialog box appears.
 - Click Enable or Disable.
Delete Snapshots
You can delete maximum 20 snapshots at a time. Snapshots in the data locked user profile cannot be deleted.
- Sign in to Druva Cloud Platform Console and navigate to Microsoft 365 > Exchange Online.
- Click the user of which you want to delete the snapshot.
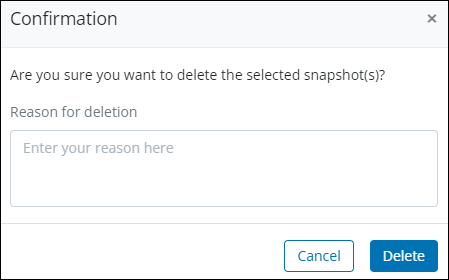
- Go to the Backups tab, select the snapshot(s) that you want to delete and then click the Delete Snapshot button.
- Enter the reason for deletion and click Delete. (the reason is mandatory with a character limit between 10-150. The reason for deletion will be captured in the Admin Audit trail for auditing purposes.)
Snapshot(s) deleted successfully message displays.
Notes:
- The Exchange Online snapshot(s) will be deleted temporarily. You can rollback the deleted Exchange Online snapshot(s) within a configurable rollback window. After the rollback window expires, the Exchange Online snapshot(s) will be deleted permanently. See Rollback Actions for details.
- To use Rollback Actions, you need the Security Essentials license. Contact Support to obtain the license. Currently, this feature is available only for Druva Public Cloud customers.
Delete Exchange Online backup
You can delete Exchange Online backup for a user. Deleting a user will stop any ongoing backup, restore, or download tasks.
Note: You cannot delete a user's backup whose profile is enabled with Data Lock.
- Sign in to Druva Cloud Platform Console and navigate to Microsoft 365 > Exchange Online.
- Select the user which you want to delete and click ->Delete.
- On the confirmation window, specify the reason for deletion (the reason is mandatory with a character limit between 10-150). The reason for deletion will be captured in the Admin Audit trail for auditing purposes.
- Click Delete. The Exchange Online device will be deleted temporarily. You can rollback the deleted Exchange Online device within a configurable rollback window. After the rollback window expires, the Exchange Online device will be deleted permanently. See Rollback Actions for details.
To use Rollback Actions, you need the Security Essentials license. Contact Support to obtain the license. Currently, this feature is available only for Druva Public Cloud customers.
Rollback Considerations:
You cannot rollback Exchange Online device if:
- The user or profile is already deleted. To rollback, you need to rollback the deleted user or profile first.
- The user's profile with which the device is associated is changed. To roll back this Exchange Online device, you need to change the user's profile to the previous one.
The active license limit of the user with which the Exchange Online device is associated has reached the threshold. Contact Support to procure additional licenses.