Onboarding Guide
Protecting your Microsoft 365 data with Druva has never been this simple. You need to perform 2 main steps; tenant authorization and backup configuration. That too, all from the console itself.
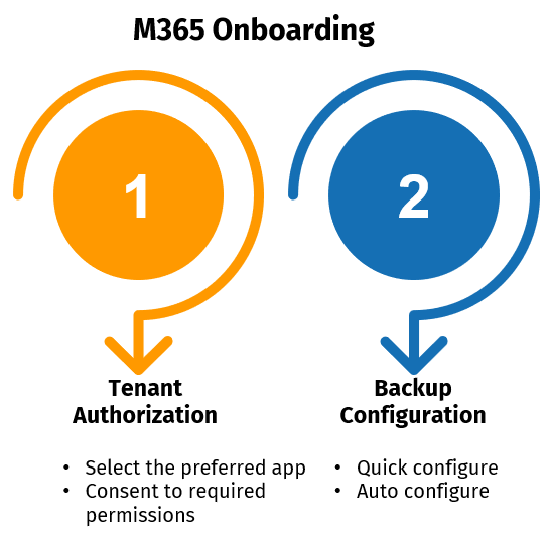
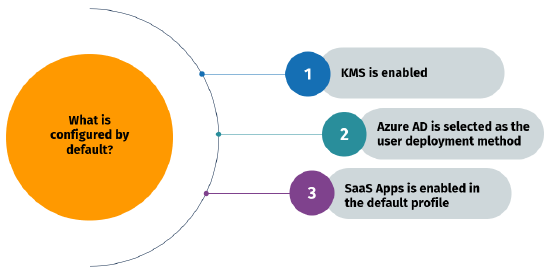
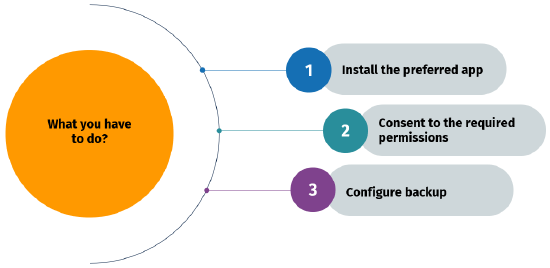
We have configured a few settings by default for you, and you just have to register your M365 tenant and configure your first backup to get started with data protection. The following graphic explains what is the default configuration and what you have to do manually. You have the flexibility the change the default settings later.
The following video provides a quick preview of the M365 onboarding process.
Before you begin
Ensure that you have a Microsoft 365 global administrator account with a valid Microsoft 365 license. This account is used only for giving consent to the required permissions. The global admin role can be reduced to a normal user role later.
Step 1: Register M365 tenant
To initiate onboarding, you must establish a connection between Druva and your M365 tenant. The first step towards that is to register your M365 tenant. You must use the global admin credentials for consenting to required permissions during registration.
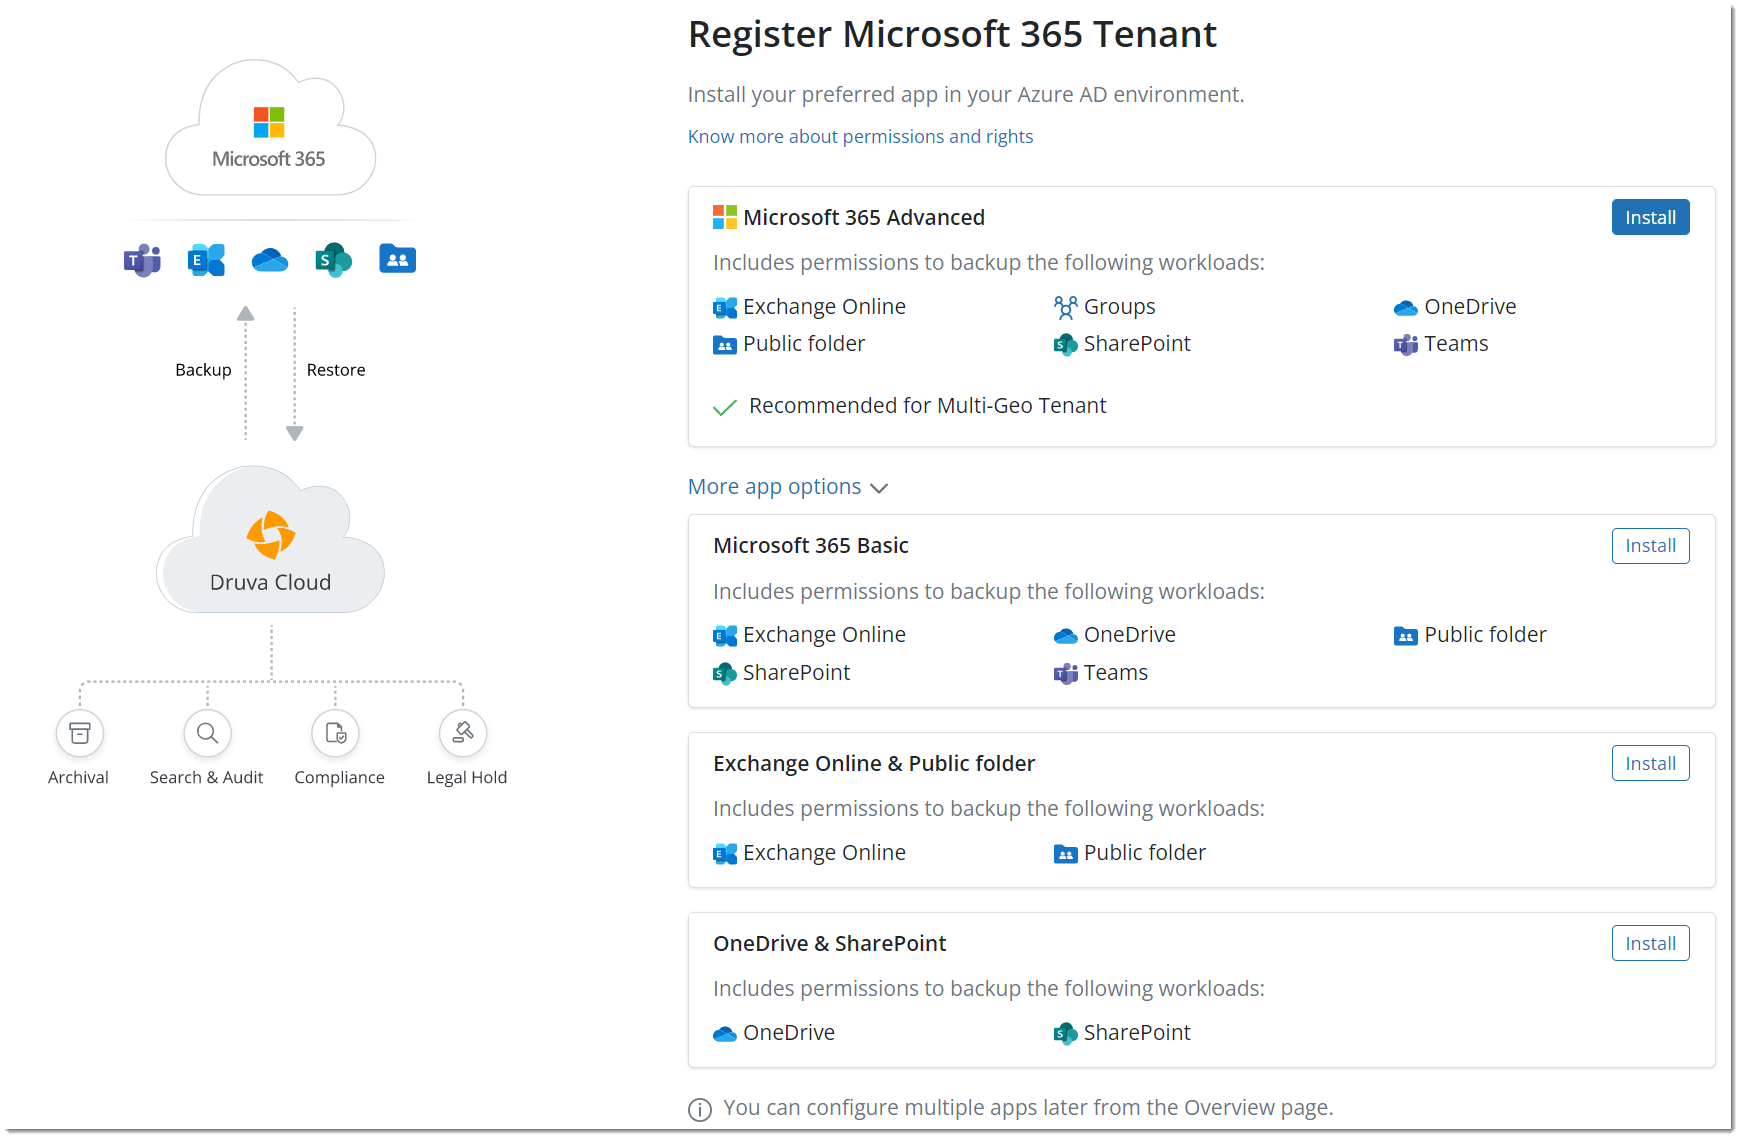
Select the preferred app
On the Register Microsoft 365 page, install the app you want to use to protect the M365 data. For more information about apps, see Configure Druva inSync for Microsoft 365.
Provide required permissions
Each app requires specific permissions. You must provide consent to the permissions to proceed further using the global admin account. For more information about permissions, see Microsoft 365 Permissions for Druva App.
Default configuration
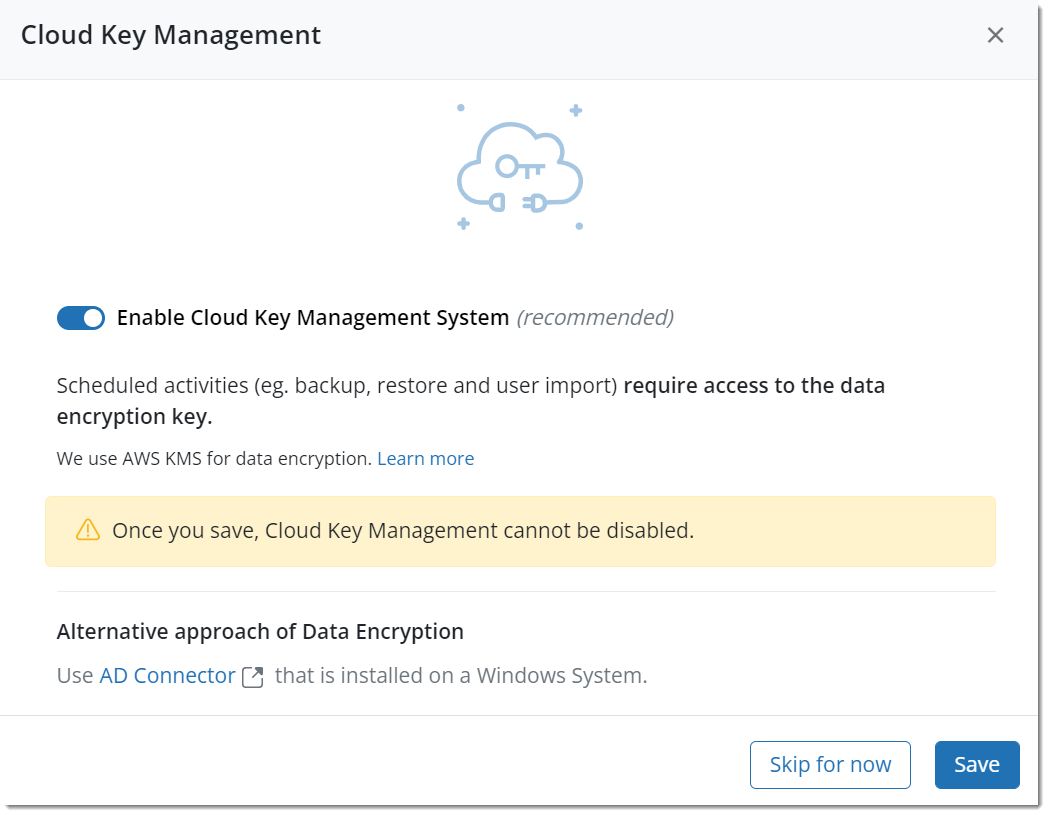
- KMS is enabled
By default, the Cloud Key Management system is selected for data protection. You can opt for AD Connector as an alternative approach for data protection.
For more information, see:
Once you save this setting, you cannot disable it later. You can skip this setting at this step and set it later. Scheduled backups will not be triggered automatically until this is set.
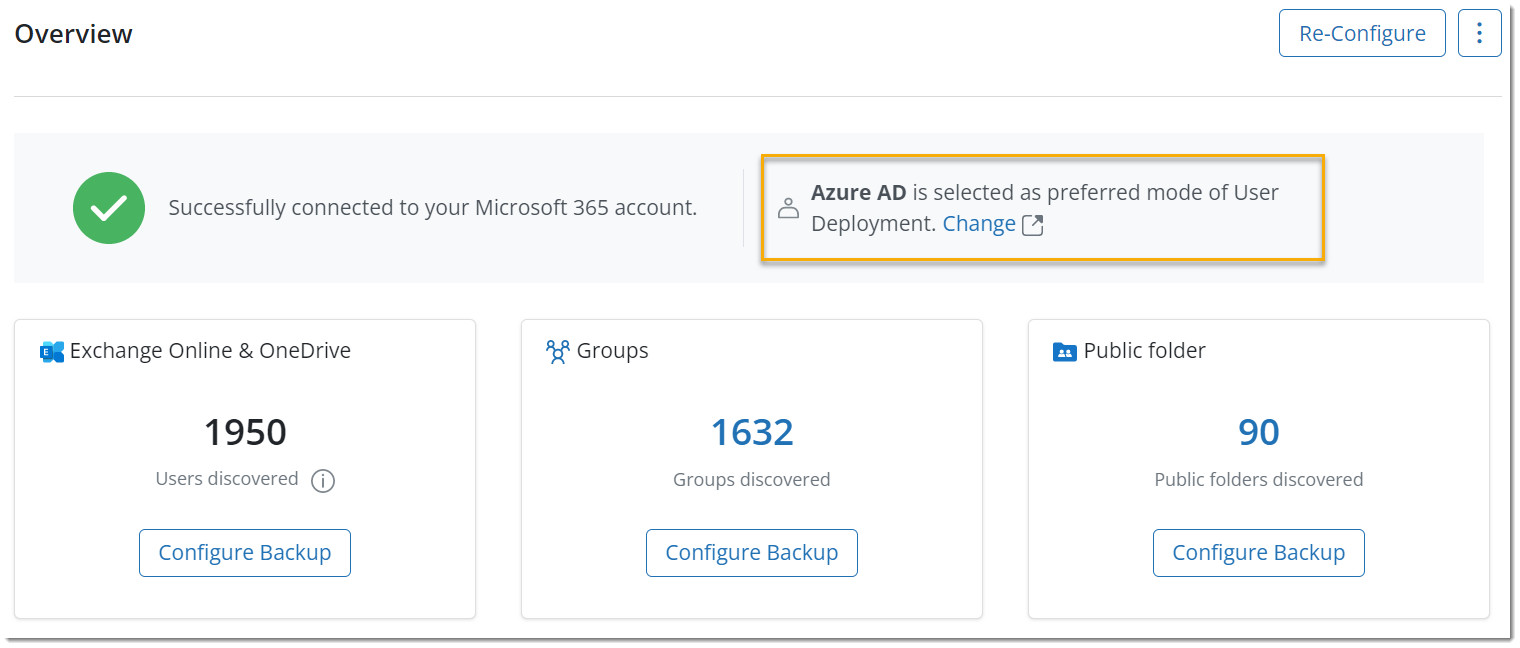
- Azure AD is selected as the user deployment method
The default user deployment method is Azure AD. You can change it later from the Overview page.
For information about user deployment, see Configure inSync for user provisioning.
Important: If you change the user deployment method to SCIM or AD/LDAP, you have to add users manually while configuring users' backup. If you want to automatically configure users' backup by mapping Azure AD attributes to storage and profile, you must do that from the User Deployment page.
After a successful connection between Druva and your Microsoft 365 account, the data is discovered automatically for each workload. The number of members discovered in Azure AD tenant is displayed.
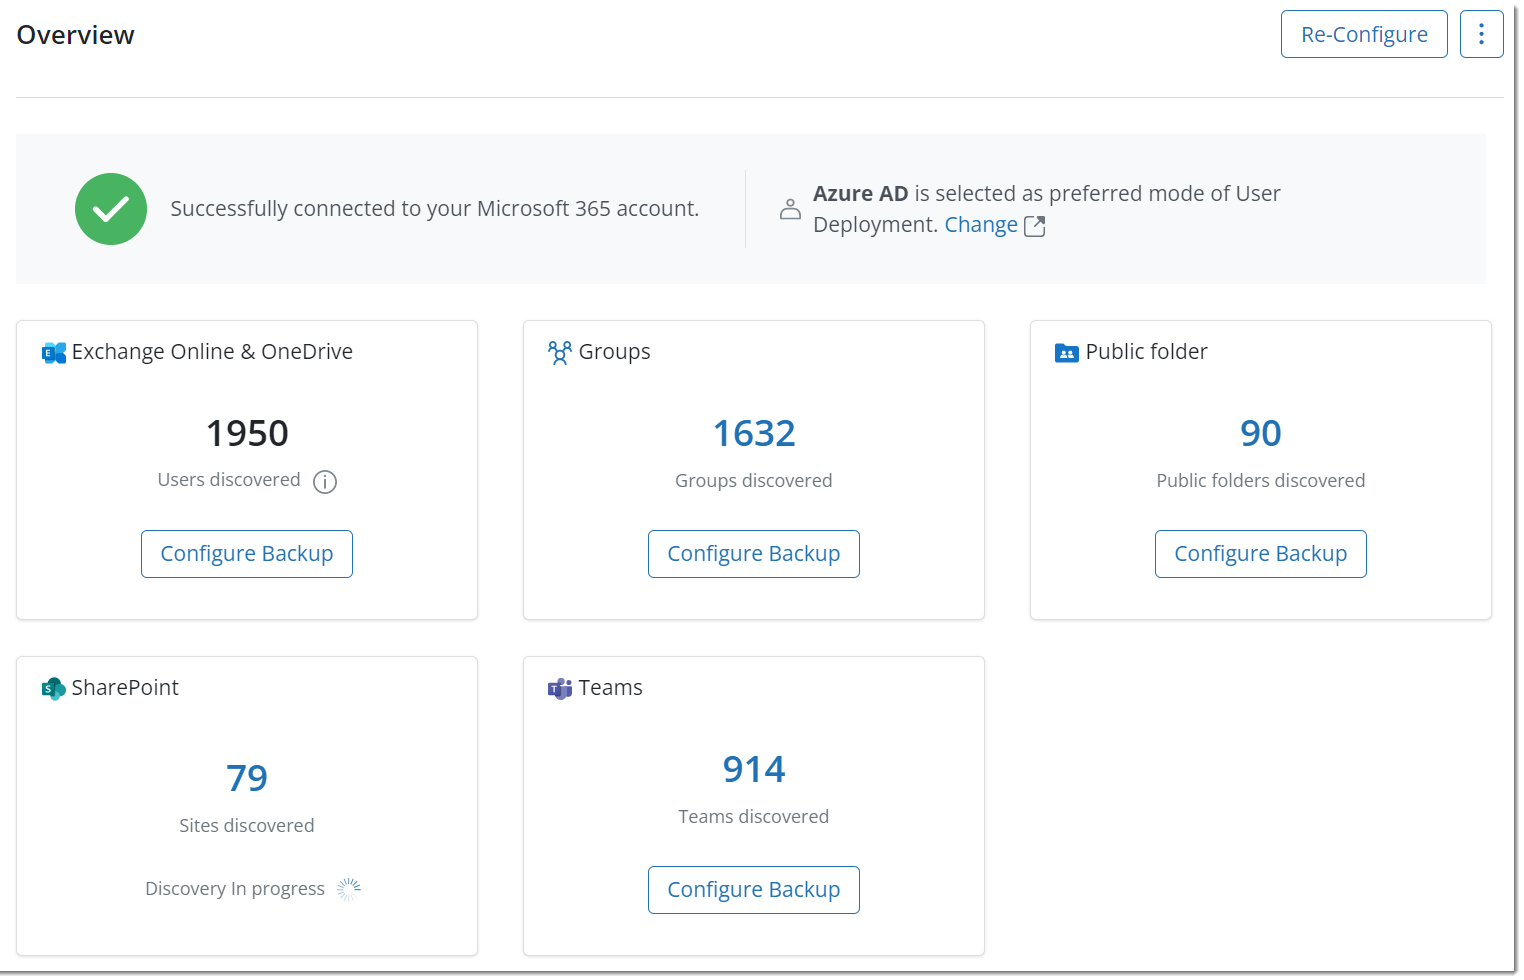
Step 2: Configure backup
On the Overview page, click Configure Backup from the preferred card.
Configure backup for Exchange Online and OneDrive
Import the users automatically and configure the backup for users either manually or automatically by using the AD mappings.
You can configure backup for Exchange Online and OneDrive in two ways: Quick Configure and Auto Configure.
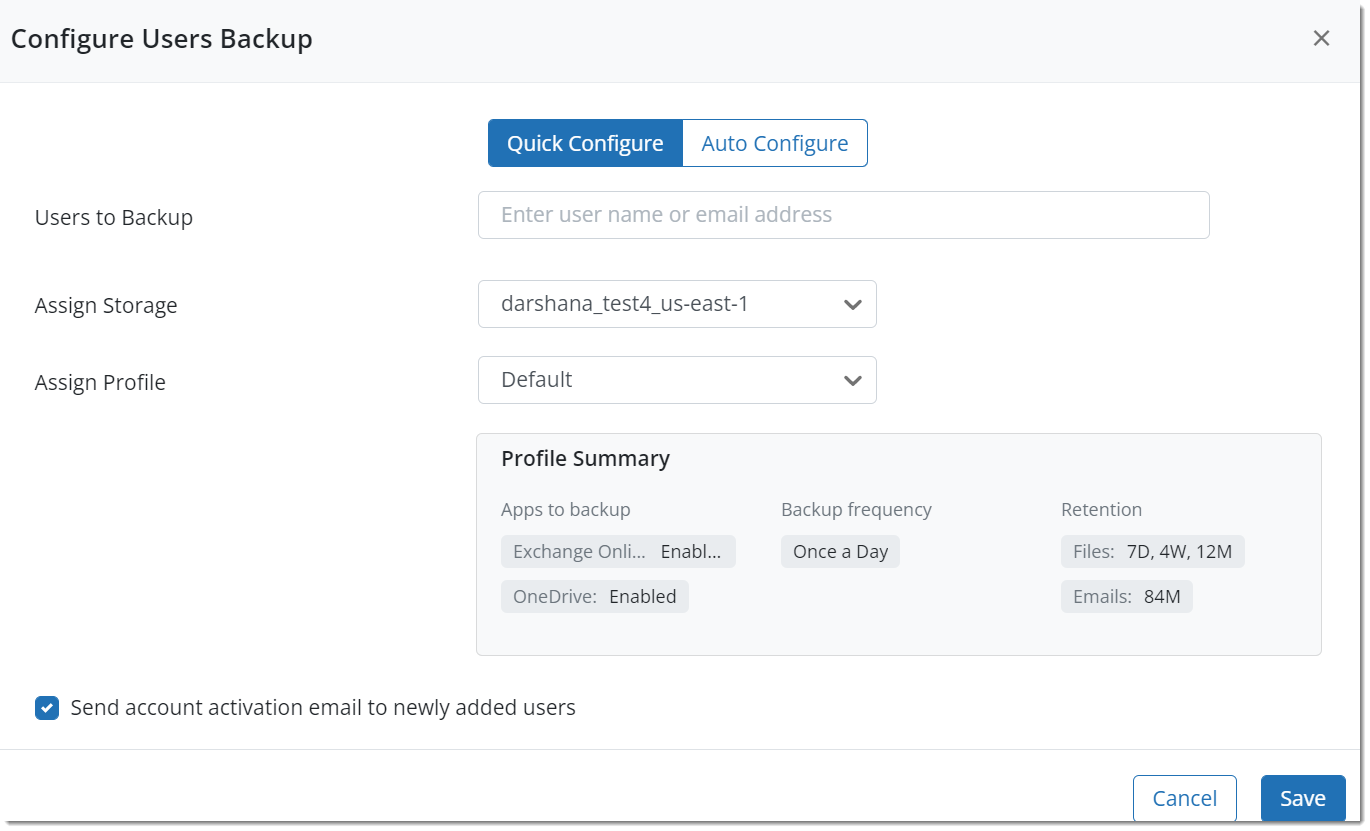
Quick configure
Manually configure the backup by assigning storage and profile to the users to be backed up.
Follow these steps to configure backup:
- Enter the user name or email address of the users to be backed up in the Users to Backup field.
Available users will start showing up while you type. You can select multiple users from the user list. - Select the storage where the users' data should be saved from the Assign storage drop-down list.
- Select a profile from the Assign Profile drop-down list. For more information about profiles, see Configure a profile to protect Microsoft 365 app data.
Note: The default profile has Exchange Online and OneDrive apps enabled for backup.
The Profile Summary section displays the apps to be backed up, backup frequency, and retention settings. - (Optional) Select Send activation email to newly added users if you want to send an invitation email to all the newly added users. You can customize the emails to be sent to the users. For more information, see Customize the new user activation email.
- Click Save.
Backup is initiated automatically for the selected users.
Auto configure
Automatically configure users' backup by mapping Azure AD attributes to storage and profile. You can filter users by using Groups, Azure AD attribute, or you can import all users, and then you can assign storage and profile to the users.
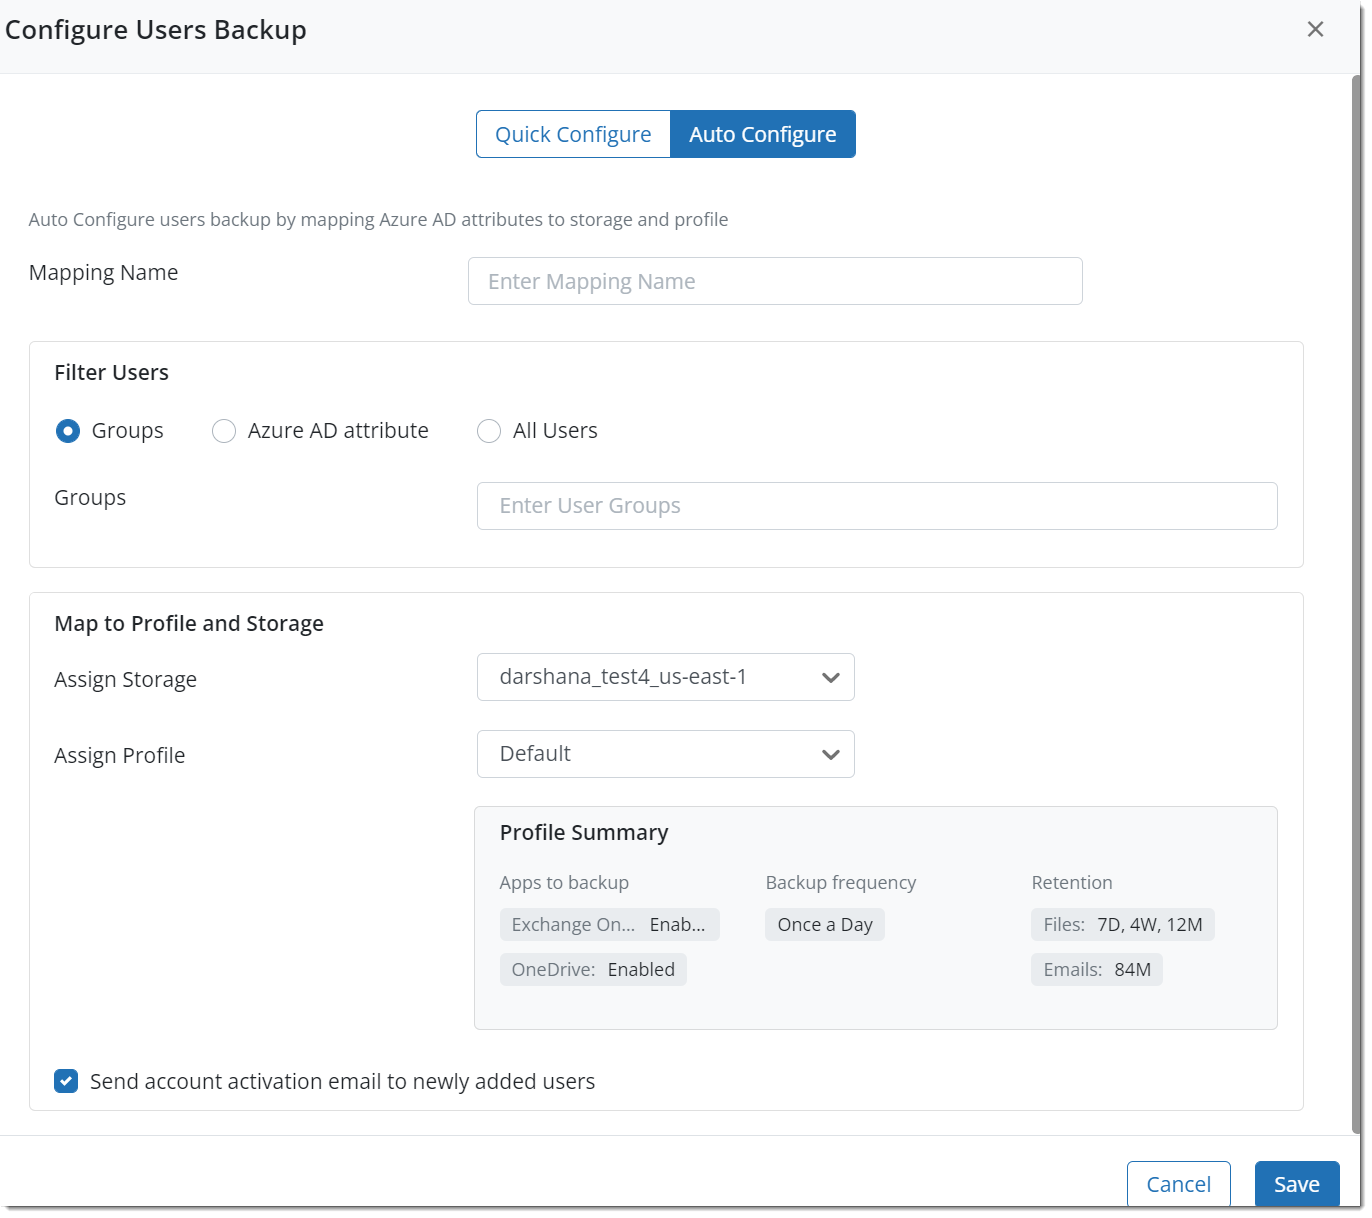
- Specify a name for the Azure AD Integration mapping.
- Filter users by using any of the following methods.
- Groups: Import users that belong to a specific Azure AD group. In the Groups field, enter one or multiple Groups.You can enter the first letter, and a list of the top 10 Azure AD groups is displayed. The supported group types are Microsoft 365 groups, distribution groups, security groups, and mail-enabled security groups.
- Azure AD Attributes: Import users based on a specific Azure AD attribute name and matching values. Specify the Azure AD attribute name. In the Value(s) box, type the value for the attribute. See Reference for Attributes list.
Considerations:- The filter is case-sensitive. The value you specify in the Azure AD mapping and the attribute value should be in the correct case. the same case that graph API returns. For example, displayName, companyName, postalCode, preferredDataLocation.
- Use a comma to specify multiple values for the attribute.
- Only the user accounts, that match the values specified in the box are mapped to this mapping.
- All Users: Import all the users based on no criteria
- Select the storage where the users' data should be saved from the Assign storage drop-down list.
- Select a profile from the Assign Profile drop-down list. For more information about profiles, see Configure Druva inSync for Microsoft 365.
Note: The default profile has Exchange Online and OneDrive apps enabled for backup.
The Profile Summary section displays the apps to be backed up, backup frequency, and retention settings. - (Optional) Select Send activation email to newly added users if you want to send an invitation email to all the newly added users. You can customize the emails to be sent to the users. For more information, see Customize the new user activation email.
- Click Save.
Backup is initiated automatically for the selected users.
Configure backup for Teams, Groups, SharePoint Online, and Public folder
You can assign backup configuration settings to configure Teams, Groups, SharePoint Online, and Public folder. Refer to the topics below to know details about the backup configuration for Groups, SharePoint Online, Teams, and Public folder.
- Configure Druva inSync to protect Groups data
- Configure Druva inSync to protect Teams data
- Configure inSync to protect SharePoint Online
- Configure Druva inSync to protect Public folder data
Note: Along with Groups, its associated Teams and SharePoint sites including private sites are also protected. Along with Teams, its associated SharePoint sites including private sites are also protected.
What's next
After successful configuration, backup is triggered automatically. Additionally, admins can trigger backup manually. For information about manual backup for each workload, see:
- Backup Exchange Online data
- Backup OneDrive data
- Backup Groups data
- Backup Teams data
- Backup SharePoint Online data
- Backup Public folder data
Use the Live Activities page to view the status of the backup and restore activities that are in progress.