Quick steps to back up data using Snowball Edge
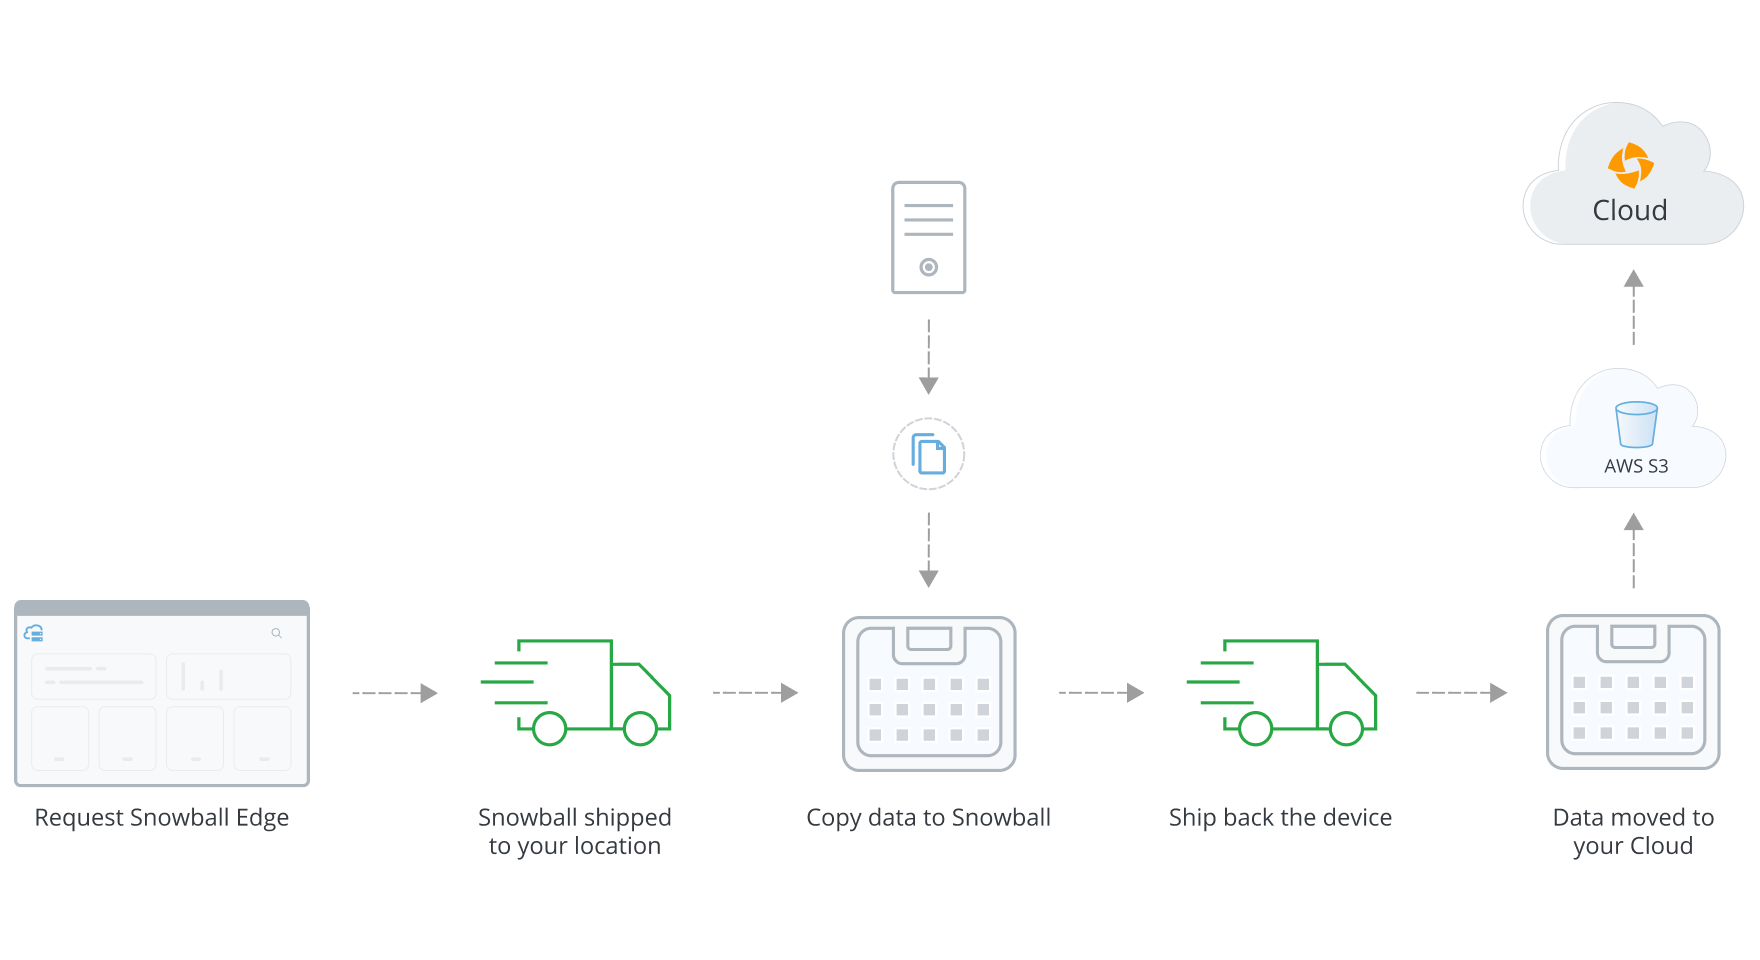
The following diagram depicts the workflow to order a Snowball Edge device, set up the device in your data center, copy the data, ship it to AWS, and transfer the data to Cloud.
Workflow
Steps to back up data using Snowball Edge
The following table summarizes the steps to use the Snowball Edge device for backing up the data.
| Task Number | Task | Description |
|
1 |
Request Snowball Edge from Management Console |
From the Management Console, place a request for a Snowball Edge device. For instructions to request a device, Order a Snowball Edge device. You can use this device to copy your backup data from file servers, virtual machines, and NAS shares and transfer it to Cloud. Druva preloads the Snowball Edge device with the seeding agent and ships the device to the data center. Druva also provides an unlock key and a manifest file to unlock the device. |
|
2 |
Set up and configure Snowball Edge device for seeding |
After you receive the Snowball Edge device, set up and configure the device using the following steps: |
|
3 |
Copy data to Snowball | Copy the backup data of all the mapped backup sets to the Snowball Edge device. |
|
4 |
Ship the Snowball Edge device back to AWS | After copying the backup data to the Snowball Edge device, place a request on the Management Console to ship the Snowball Edge device to AWS.
For more information, refer to Ship a Snowball Edge device to AWS. |
After the Snowball Edge device arrives at AWS, AWS moves the backup data to the Cloud. Druva verifies for the successful import of the data to the Cloud.