Setting up Oracle database instance for Amazon RDS Custom
 Business Enterprise Elite
Overview
Druva extends its backup and restore solution for Oracle databases over Amazon RDS Custom. You can now do away with exhaustive administration tasks such as provisioning, scaling, patching, and so on, and simply focus on backup and restore of your databases. All you need to do is create your database instance for Amazon RDS Custom and get going with your backup and recovery operations!
Creating and connecting to a database instance for Amazon RDS Custom
Perform the following steps to create a database instance for Amazon RDS custom:
-
Log in to the AWS Management Console as an administrator.
-
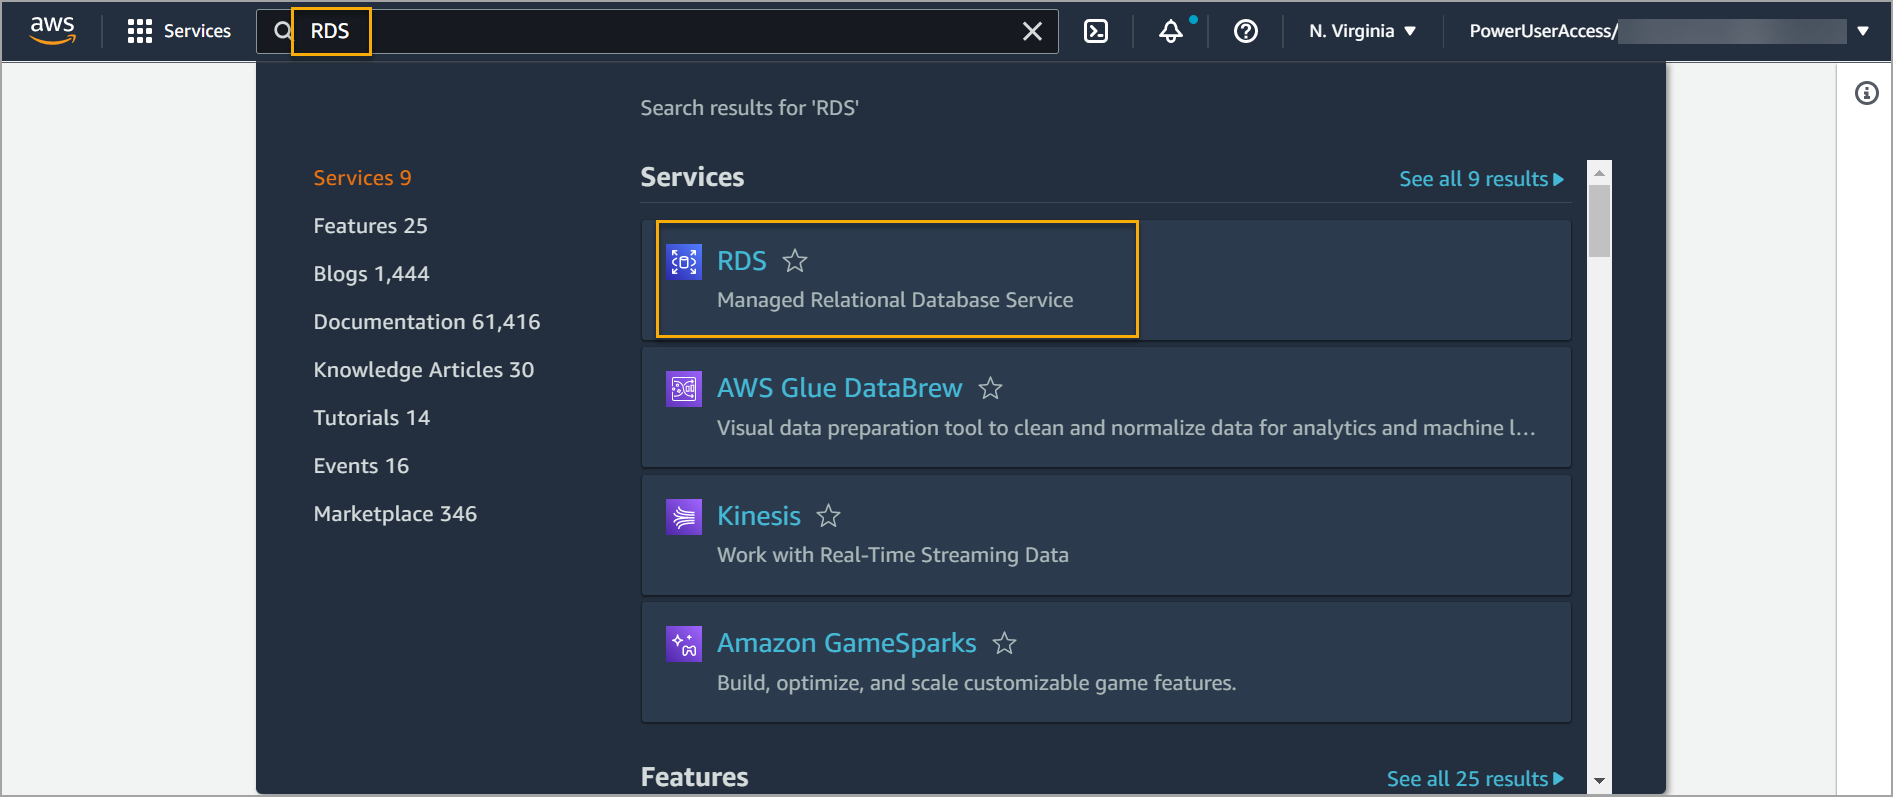
From the top navigation bar, in the search box, search for RDS and select Dashboard.
-
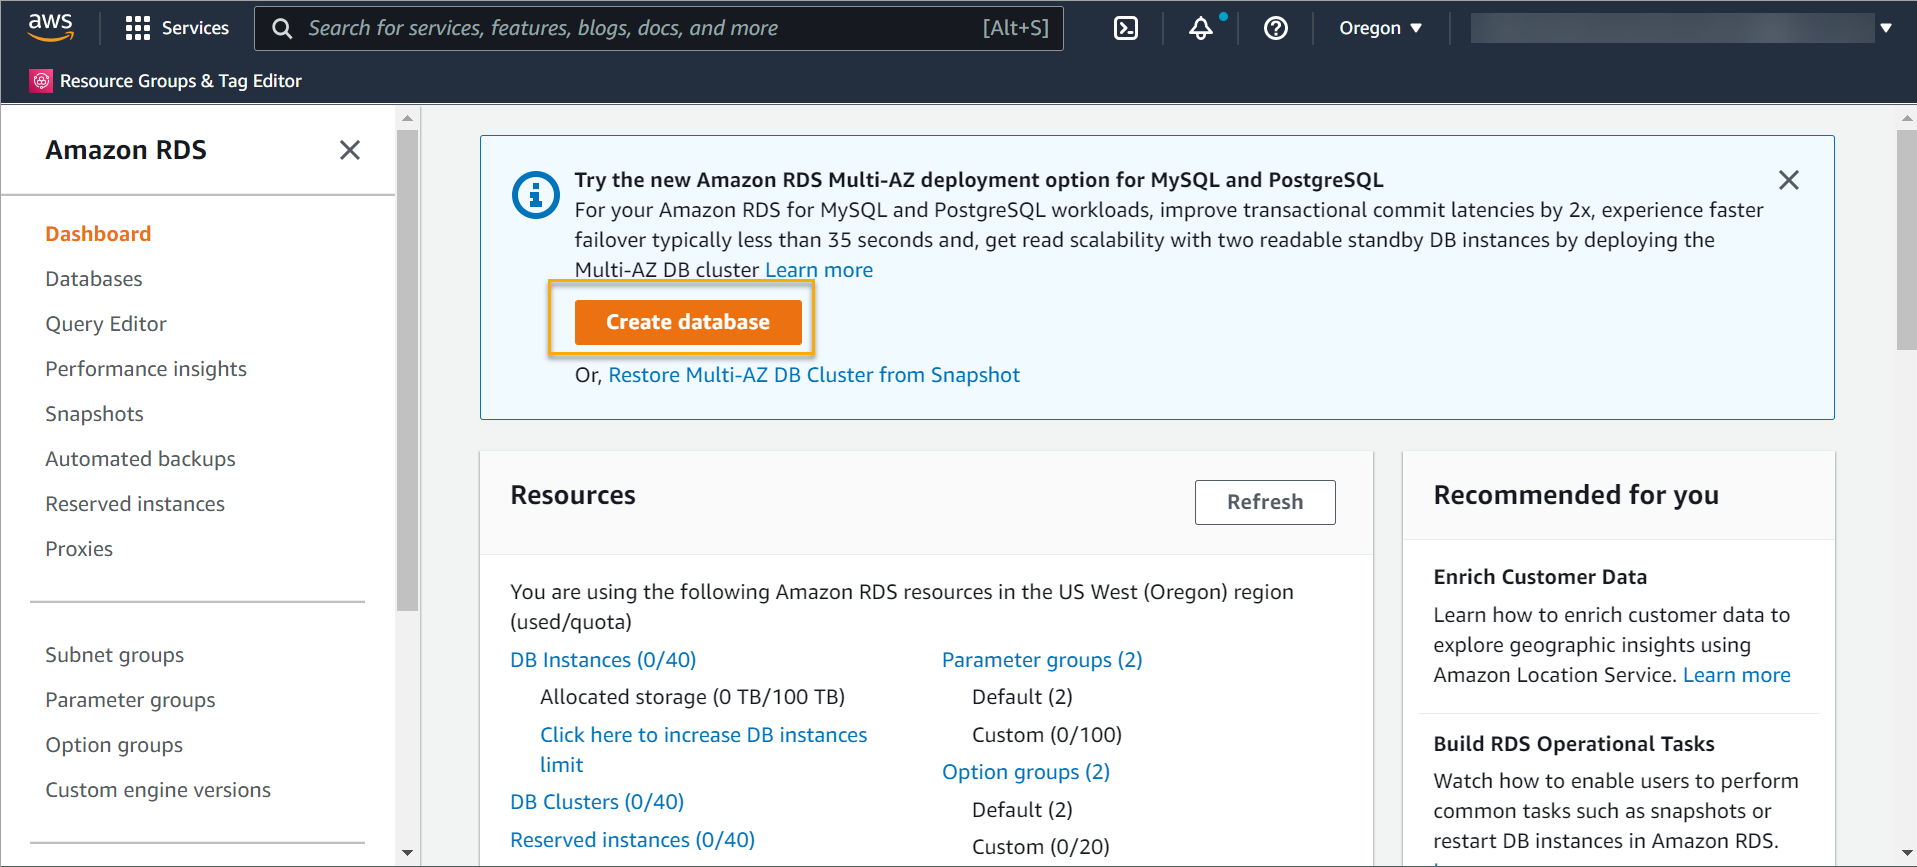
On the Dashboard, in the right pane, click Create database.
-
On the Create database page, do the following:
-
In the Choose a database creation method section, select Standard create.
-
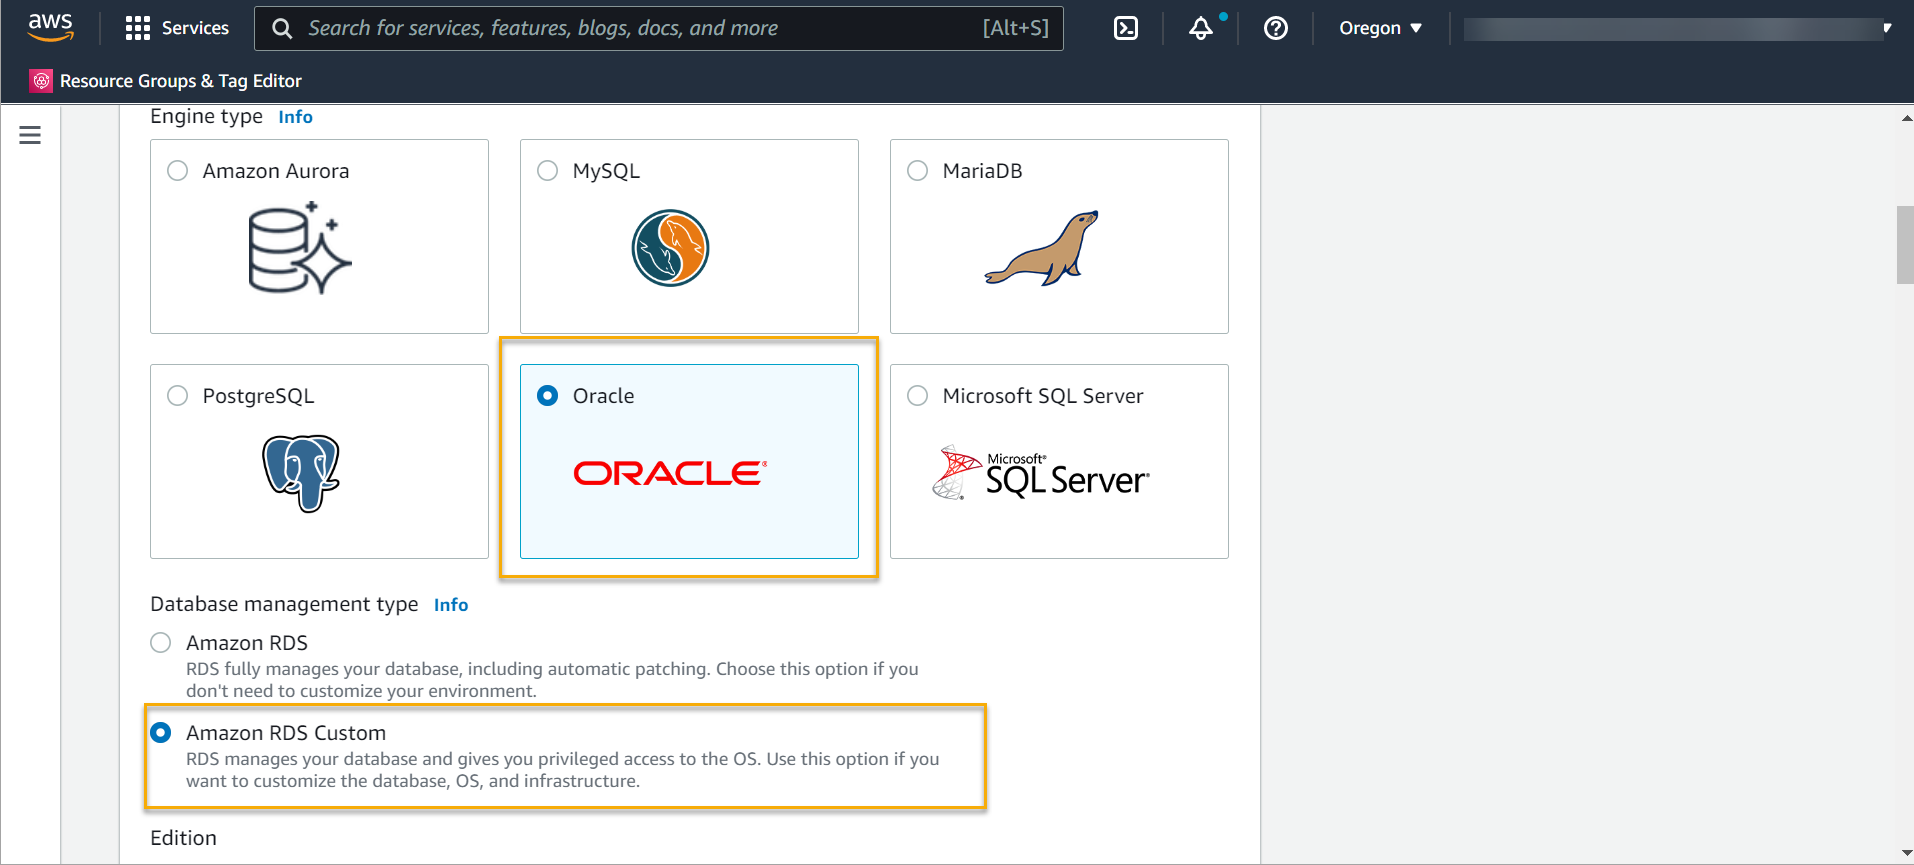
In the Engine options section:
-
Select the Engine type as Oracle.
-
Select the Database management type as Amazon RDS Custom.
-
-
- In the Edition field, retain the default value Oracle Enterprise Edition.
-
From the Version drop down, select the Oracle Enterprise Edition version as 19c. This is also referred to as the custom engine version.
-
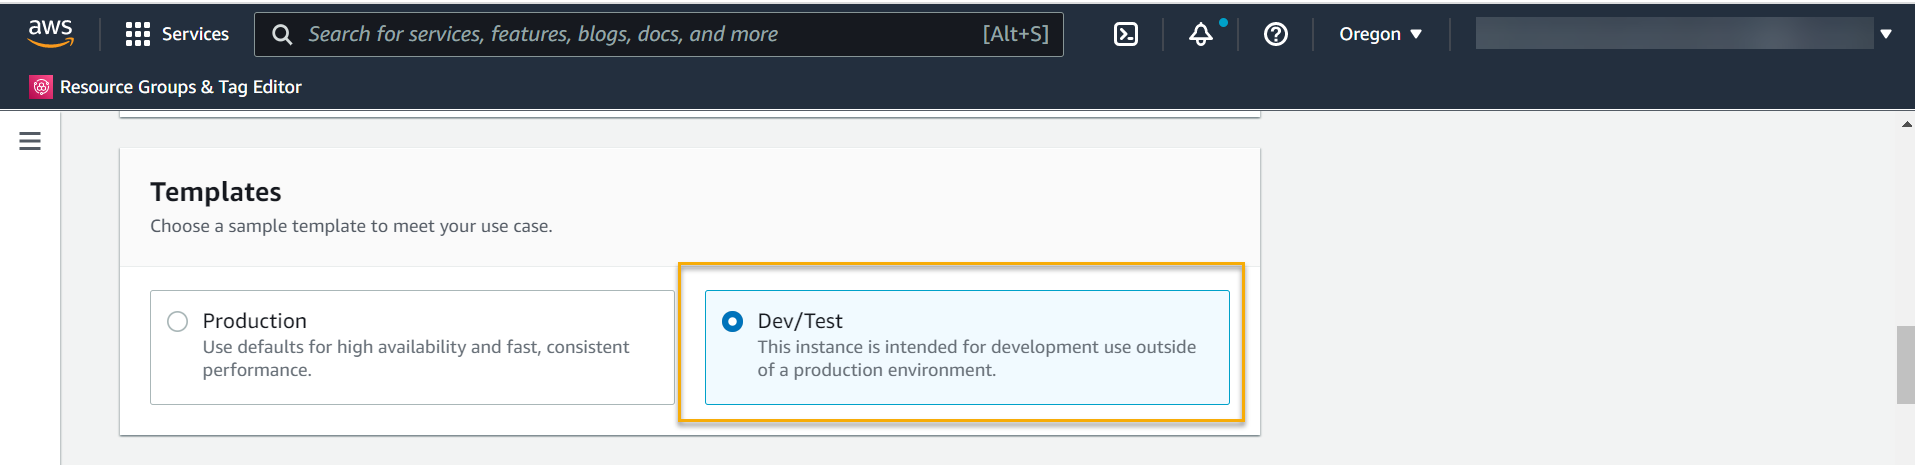
In the Templates, select the template that matches your requirement.When you use this feature, you gain ...
-
In the Settings section:
-
Provide the database instance name.
-
In the Credential Settings section provide the user ID and password for the master user. You can either automatically generate a password by selecting the Auto generate a password checkbox or set the password manually by providing.

-
-
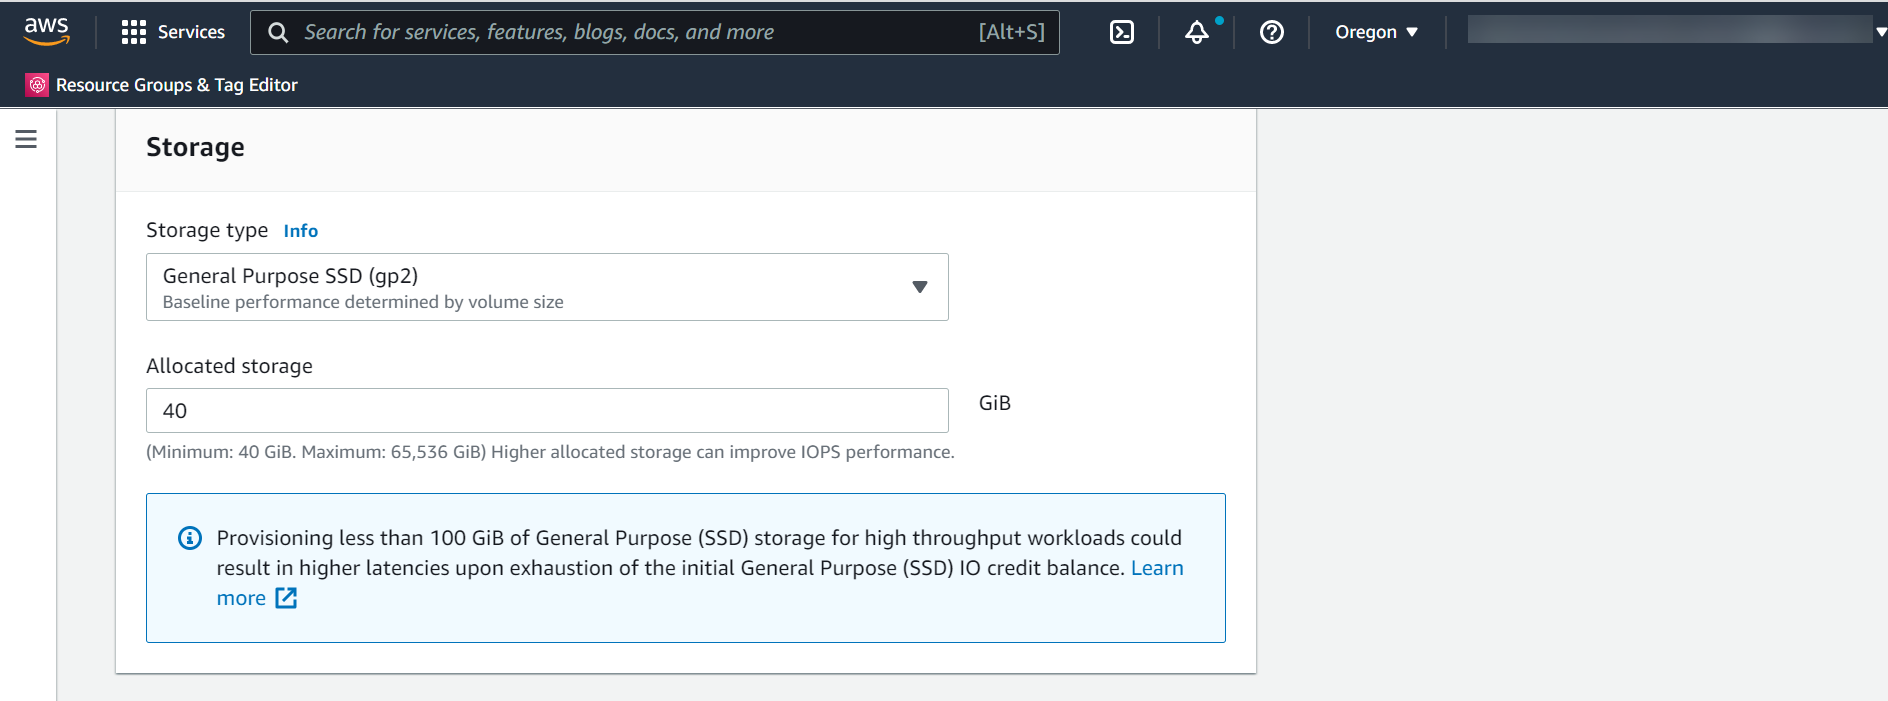
In the Storage section, provide storage requirements for your database instance such as storage type, size in Gigabytes, and so on.
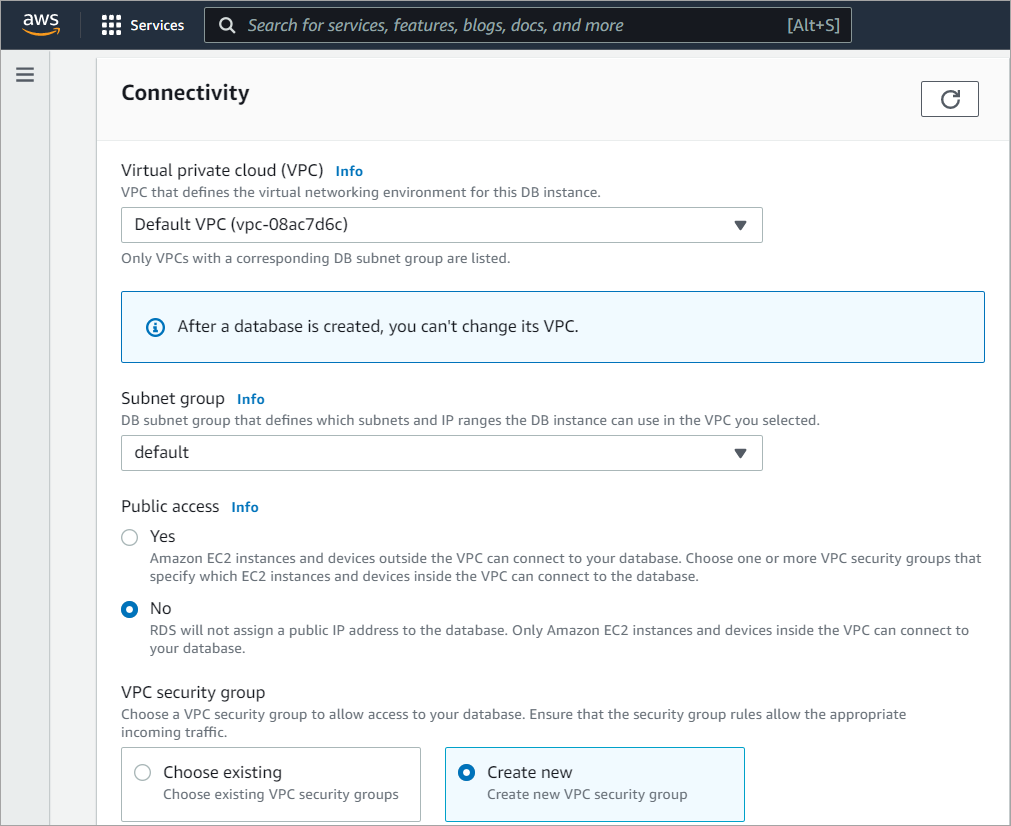
- In the Connectivity section, provide your Virtual Private Network (VPC) details such as VPC name, subnet group, access details, VPC security group details, and so on. You can select an existing VPC security group or create a new one.
You cannot change VPC settings once the database is created.
-
In the Database authentication section, select how you want to authenticate your database.
-
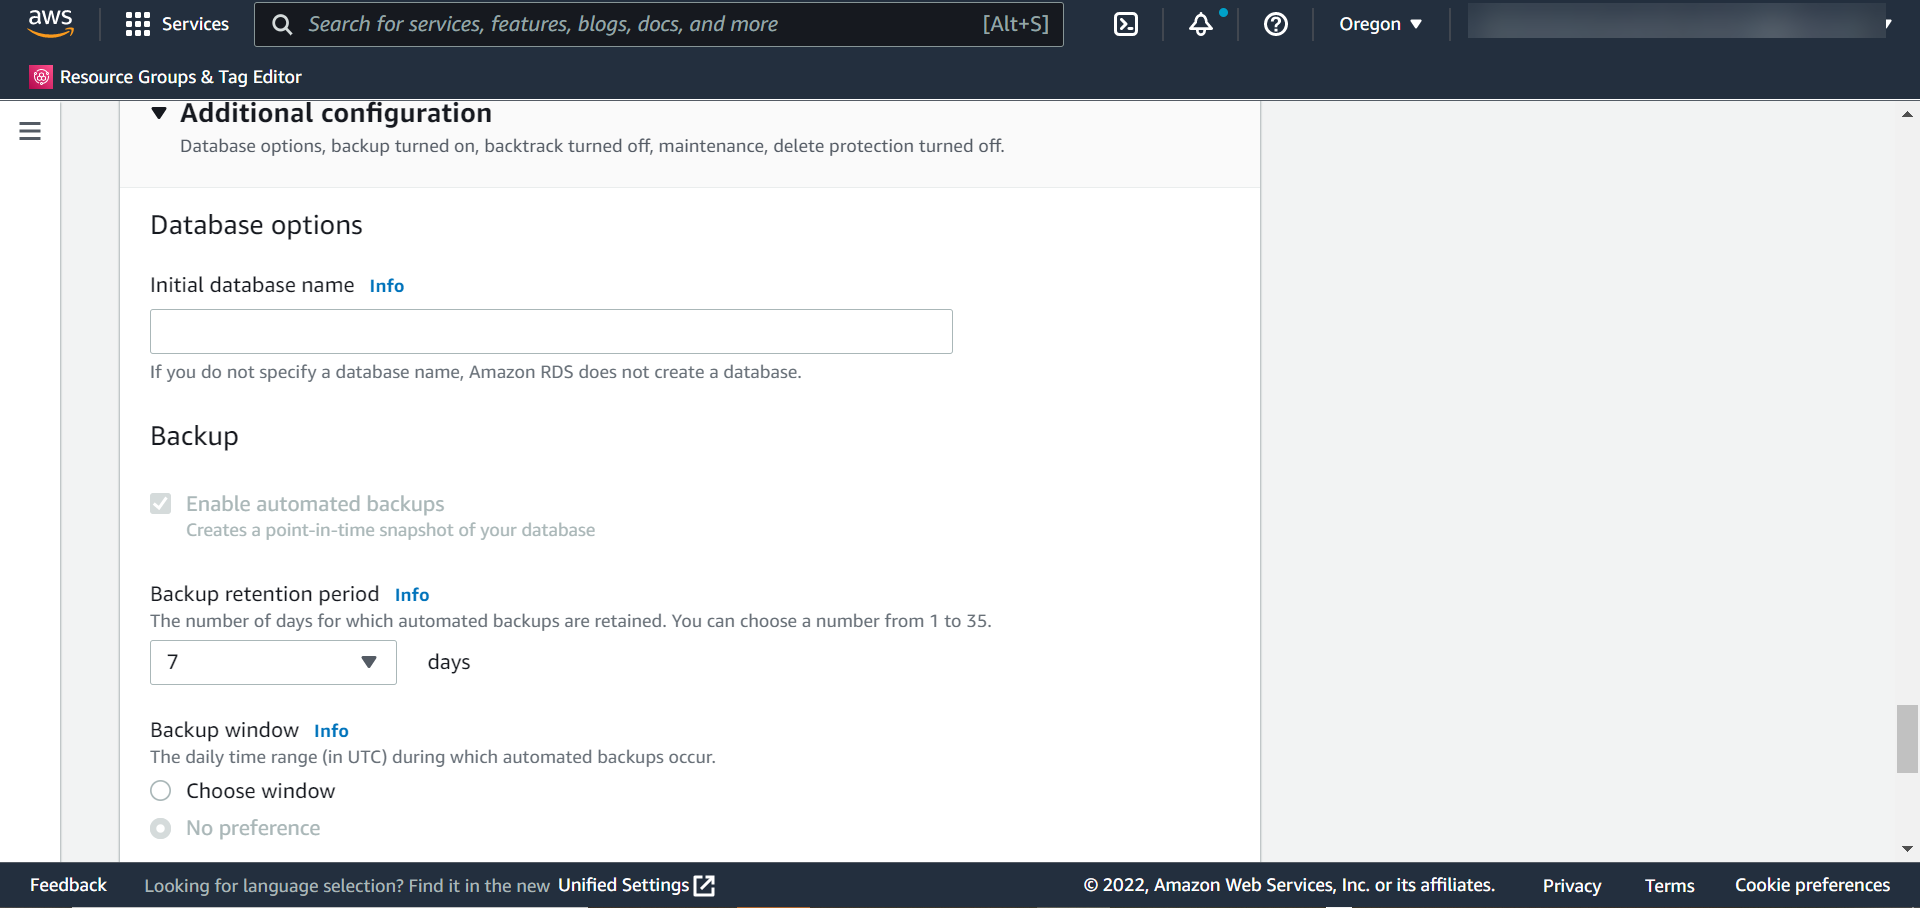
In the Additional configuration section, provide information such as the database option, backup settings, encryption details, and so on.
-
To encrypt your database instance, select Enable Encryption checkbox. Alternatively, you can select the Permissions profile in IAM.
- If you select the Enable Encryption checkbox, select AWS KMS Key from the drop-down.
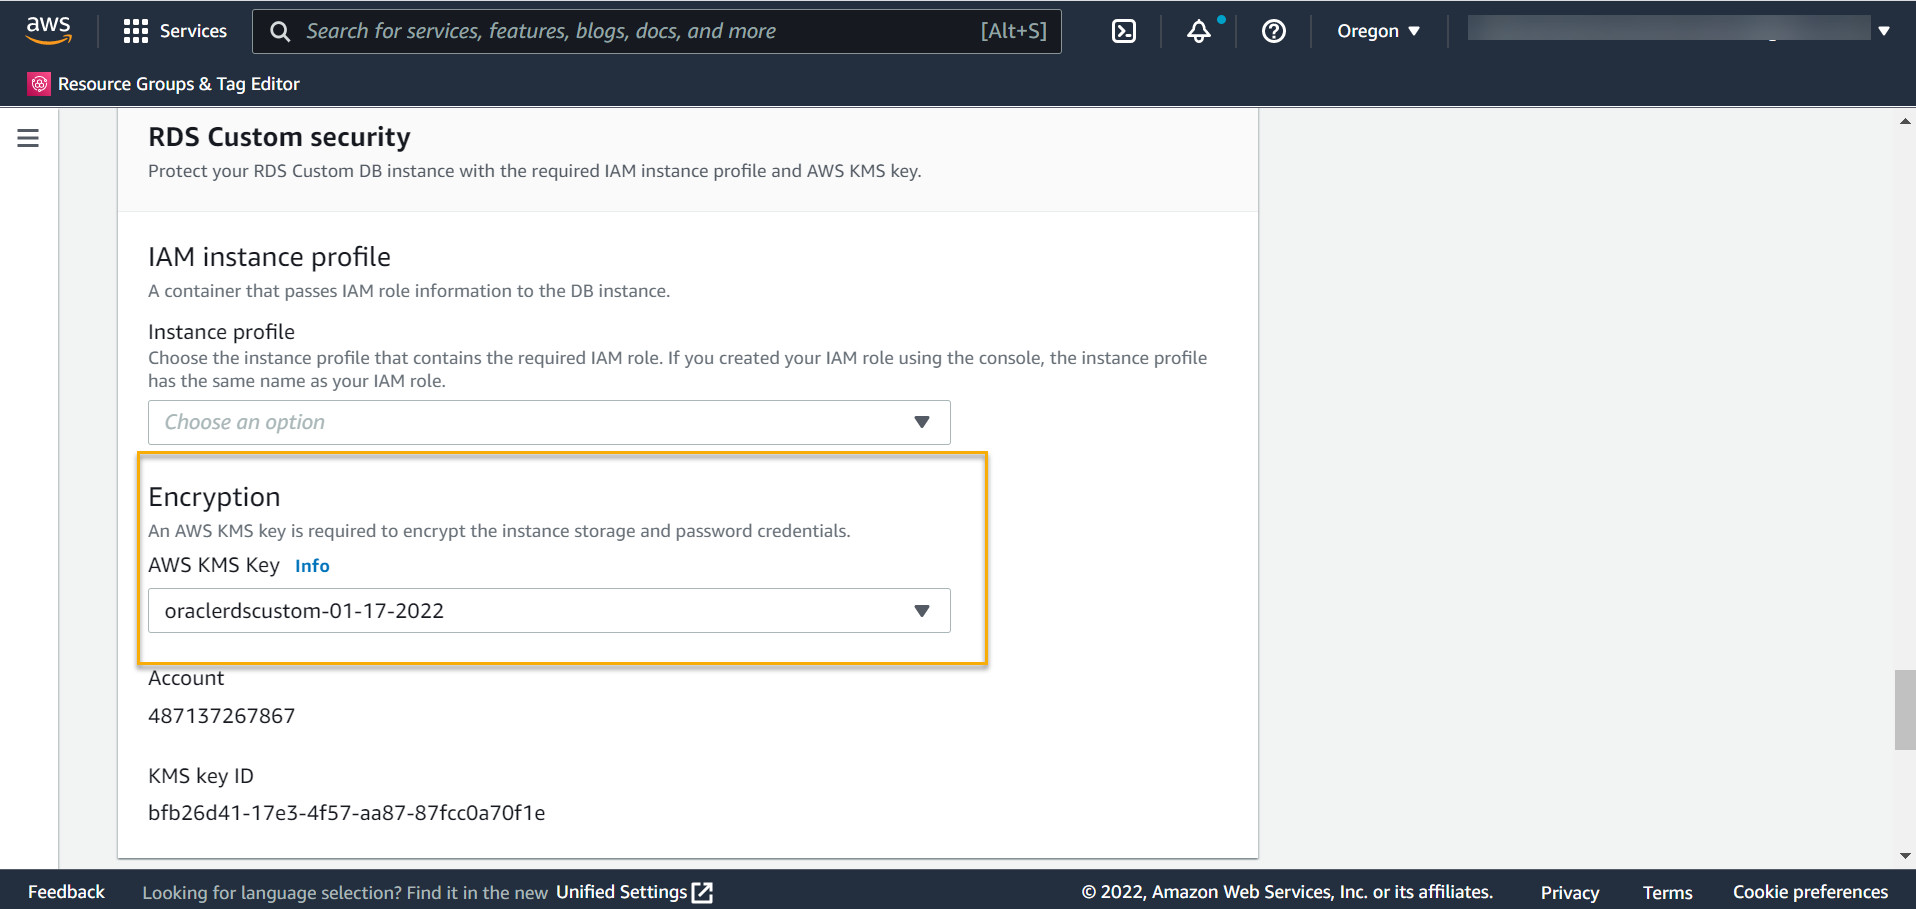
A KMS key ID gets generated. -
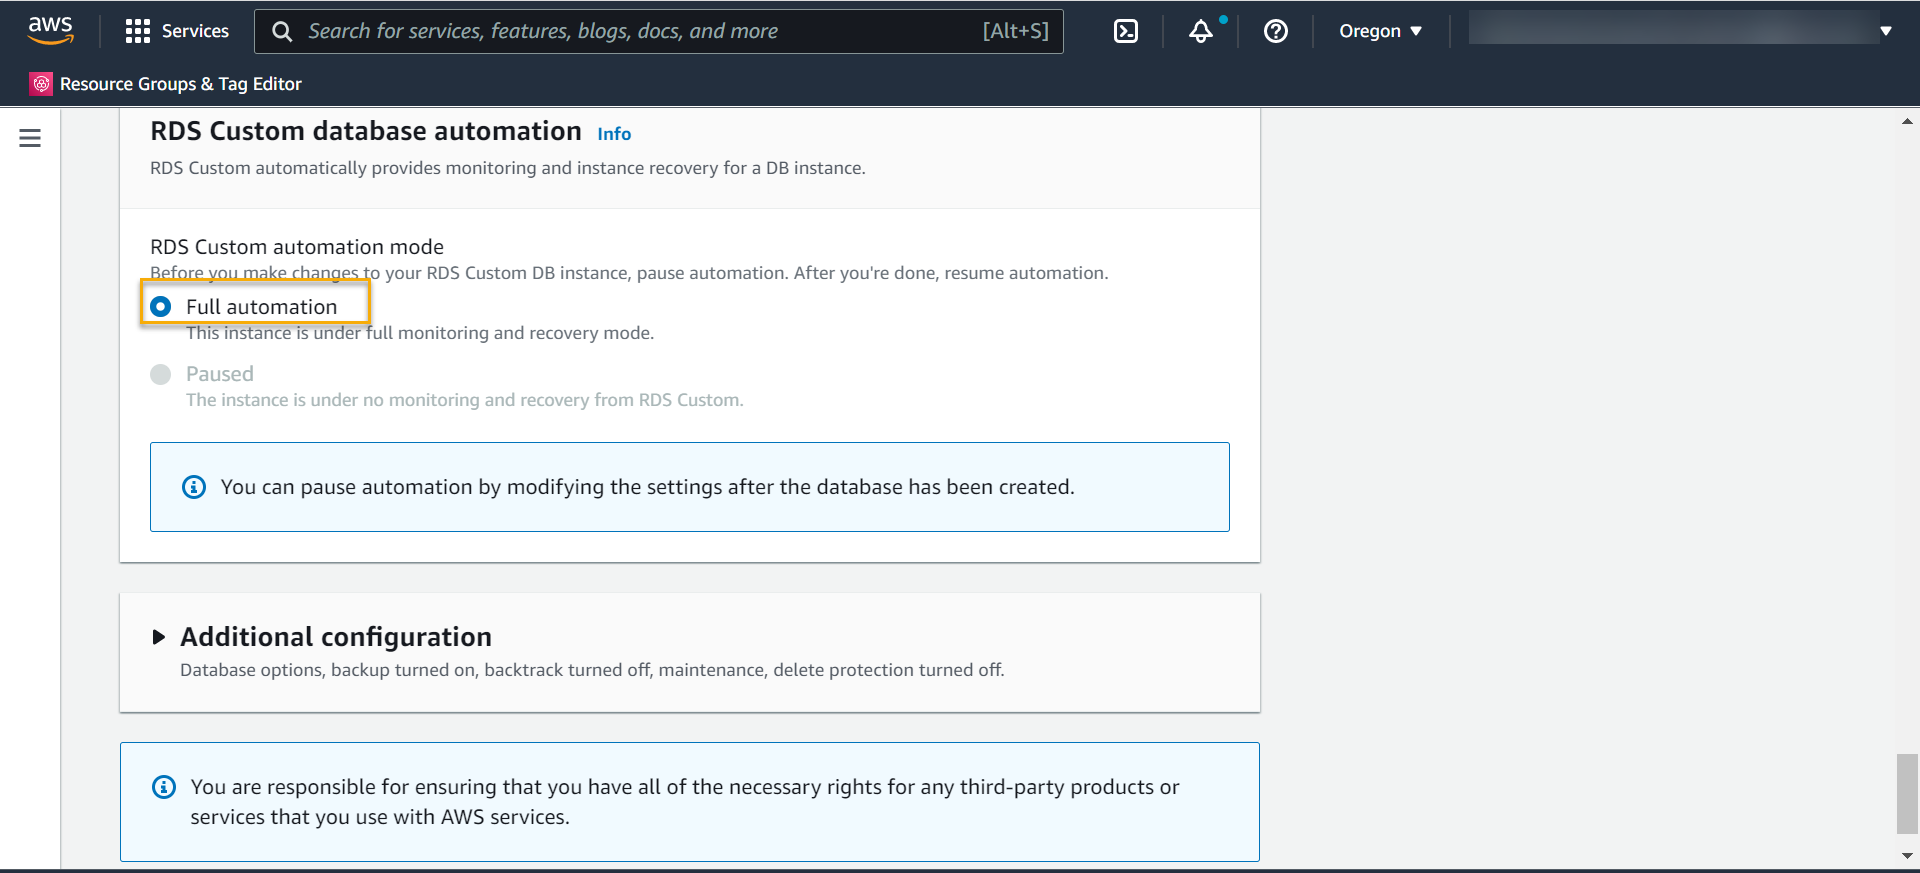
The database instance automatically defaults to Full Automation.
-
In the Additional configuration section, provide details such as the database name, whether you want to enable automated backups, retention period for the backups, and the backup window.
- (Optional) To protect your database from accidental deletions, select the Enable deletion protection checkbox.
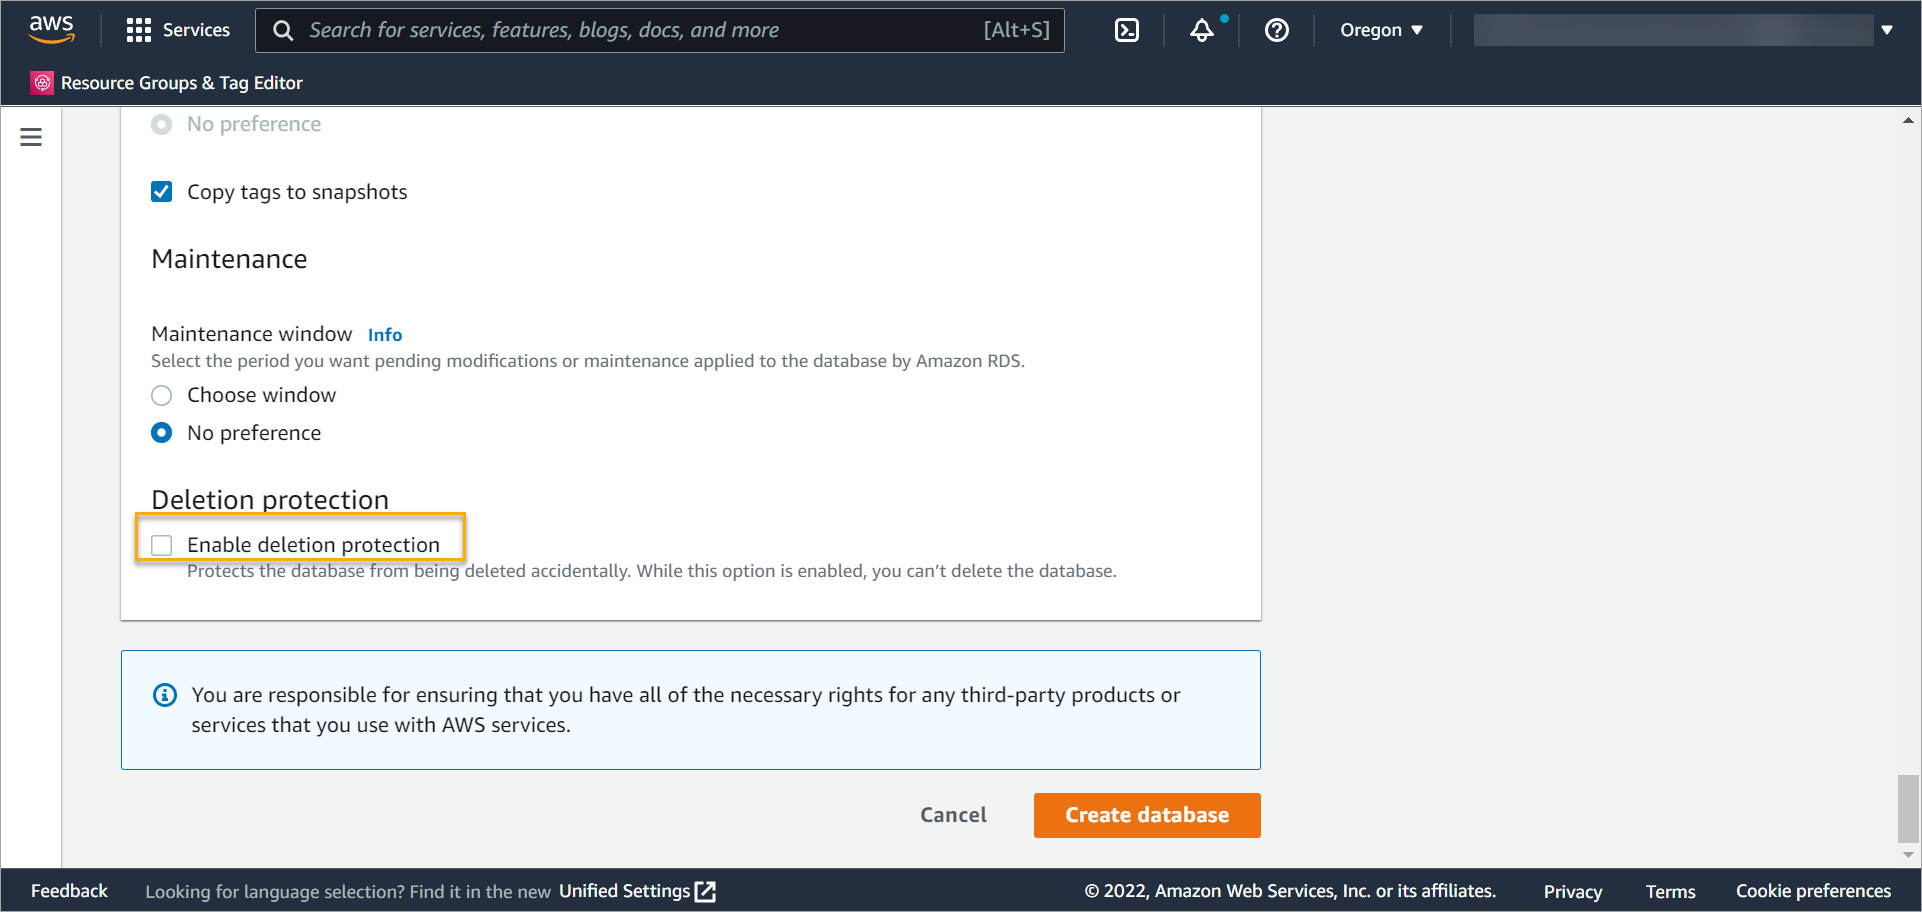
- Click Create database.
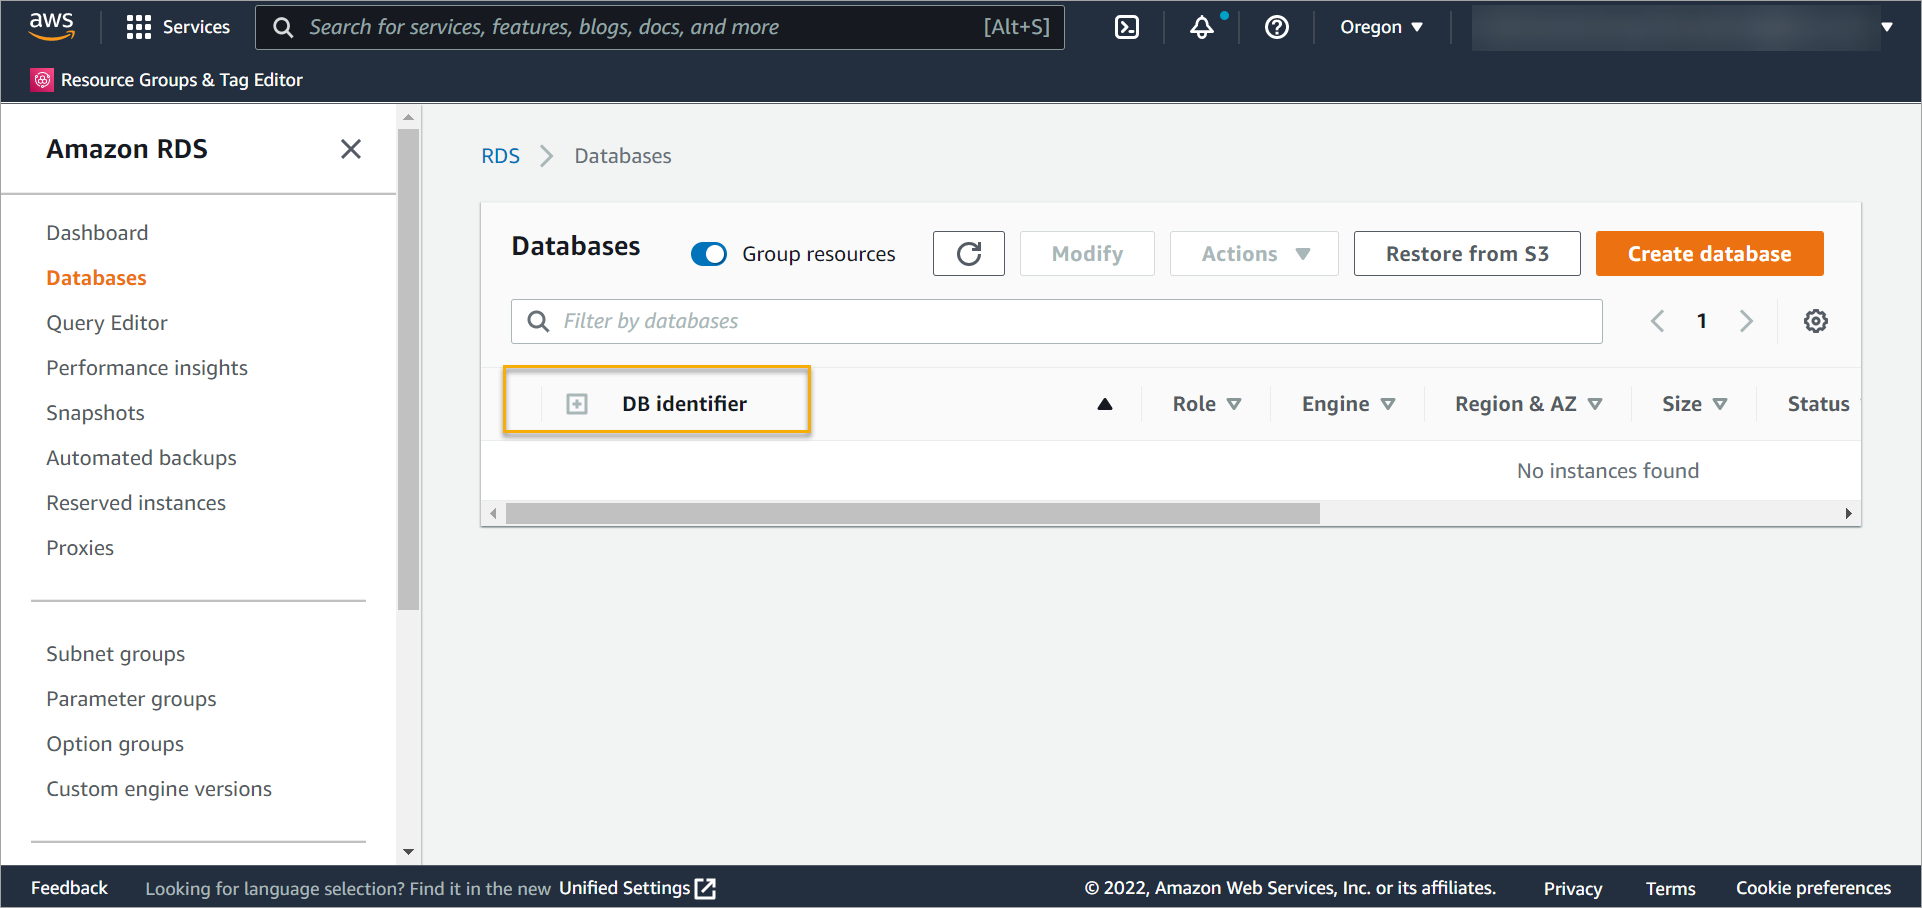
You can see the newly created database as the DB identifier by clicking Databases in the left navigation pane.

Next Steps
Perform the following steps to install the Hybrid Workloads agent for backup and restore:
-
Once the database is created, pause the database. To pause the database:
-
In the left navigation pane, go to Databases and select the database name from the database list.
-
In the RDS Custom automation mode section,do the following:
-
Select Paused.
-
Specify the pause duration.

-
-
-
Login to your RDS custom virtual machine with your ssh key and deploy the Hybrid Workloads agent. For more information, see Install the agent and register Oracle Server.
You need to scp the rpm to your RDS Custom vm in AWS EC2 and then load the rpm as the root you may sudo to root. The unix UID and GID of the Oracle database is rdsdb on an AWS RDS Custom vm. -
Use the following commands to install the rpm and stop and start the agent:
rpm -ivh druva-phoenix-oracle-client-5.1.0-170463.x86_64.rpm
systemctl stop PhoenixOracle
systemctl start PhoenixOracle
systemctl status PhoenixOracle
Before performing restore, make sure you disable the maintenance script on the oracle server, otherwise you will not be able to shutdown the instance and perform the recovery.
The agent is now activated. You can now backup and restore your Oracle databases and also monitor the respective jobs. For more information, see Backup and Restore Oracle Databases Direct to Cloud.