Recover database from the downloaded backup data
 Business Enterprise Elite
After the backup data is downloaded, the DBA can run RMAN scripts to fetch backup data from the restore location and restore the database on the required Oracle server host. To proceed with the database recovery, the DBA must have permission to access the restore directory and its parent directory.
To recover a database, ensure that the control file in the current database is intact. If the control file is damaged, you must identify the control file from the downloaded backup data and proceed with the recovery.
Procedure
The following section provides instructions to recover the database from the downloaded backup data:
Recover database when the control file is intact
-
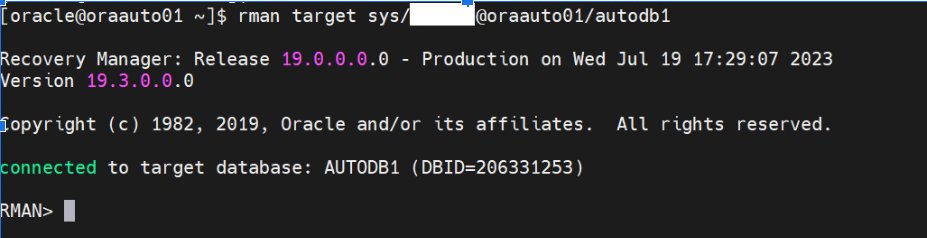
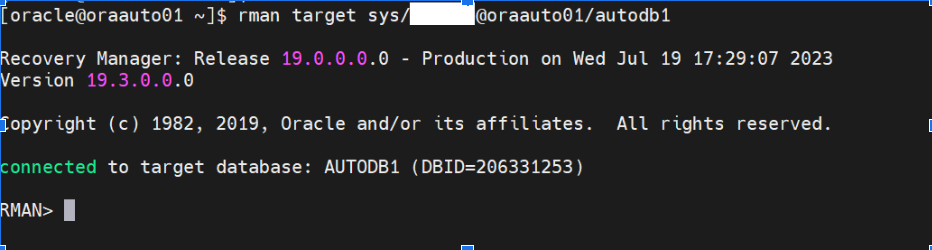
Open the RMAN command prompt using the following command:
$rman target <user>/<password>@<host_name>/<database_name>
where,
<user> has the SYSDBA/SYSBACKUP privileges,
<password> is the password specified by the SYSDBA in the orapwd file of the target database.
Example: $rman target sys/oracle@localhost/autodb1
-
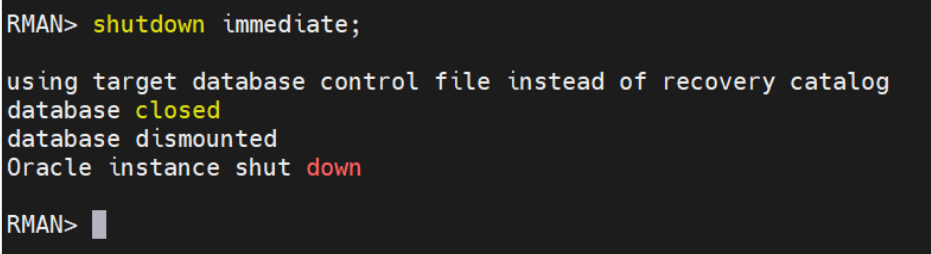
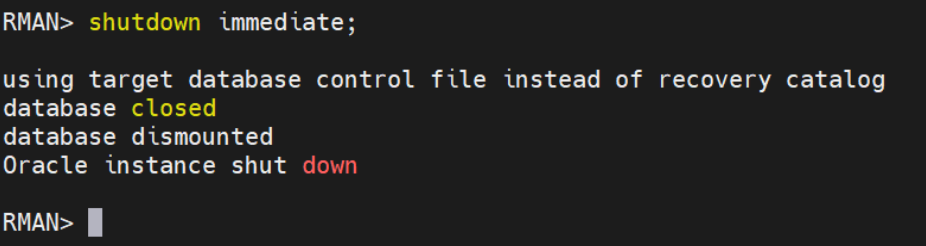
Shutdown the active database using the following command :
shutdown immediate;
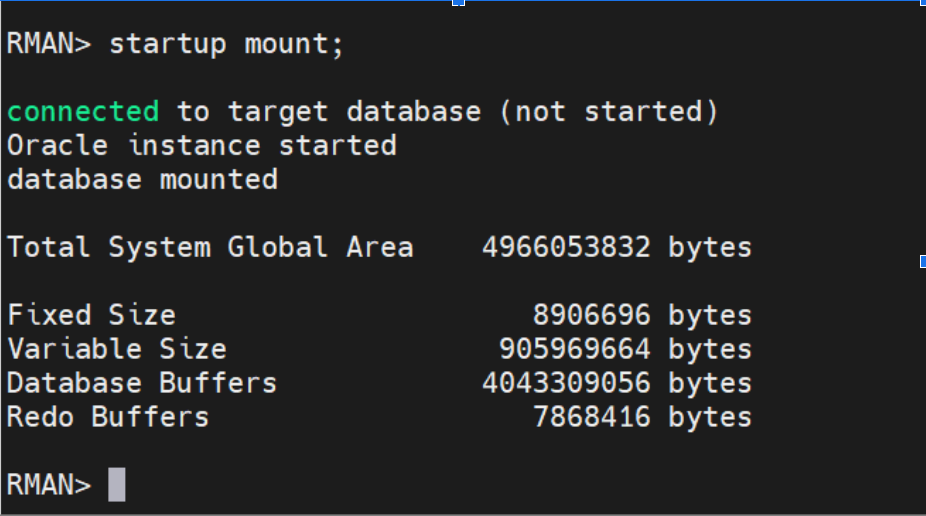
- Mount the database to initiate RMAN operations using the following command:
startup mount;
-
Configure the SBT channel and provide the Druva SBT library located at /opt/Druva/PhoenixOracle/lib/libphxsbt.so (for agent version 6.x or earlier) or /opt/Druva/EnterpriseWorkloads/lib/oracledtc/libphxsbt.so (for agent version 7.x or later)
Run the following command:
configure channel device type sbt PARMS 'SBT_LIBRARY=/opt/Druva/PhoenixOracle/lib/libphxsbt.so (for agent version 6.x or earlier) or SBT_LIBRARY=/opt/Druva/EnterpriseWorkloads/lib/oracledtc/libphxsbt.so (for agent version 7.x or later),SBT_PARMS=(LogDirSuffix=restore_logs;RestoreFromLocalDir=/home/oracle/Wed-Jul-19-17-47-04-2023/437)';
where,
LogDirSuffix is the directory to save the restore logs.
RestoreFromLocalDir is the directory where you have downloaded the backup data

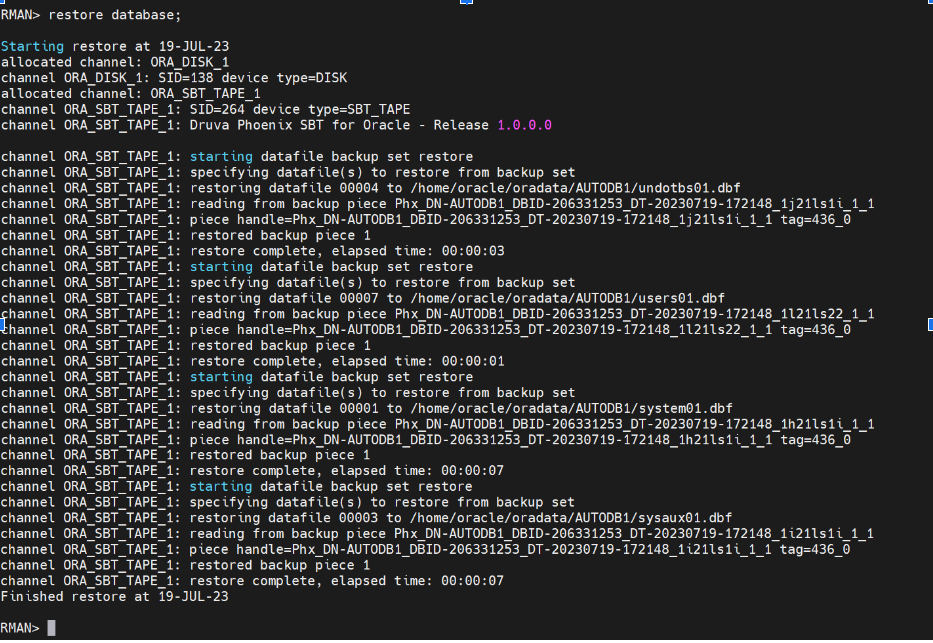
- Restore the database by running the following command:
restore database;
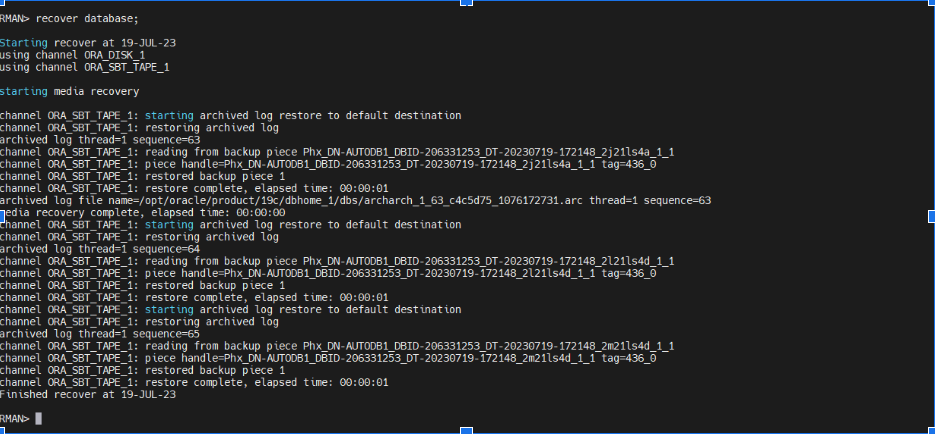
- Recover the database by running the following command:
recover database;
- Open the database by running the following command:
open database;

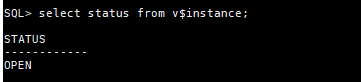
- Check the status of the database after it is recovered.
- Back up the database based on your requirement.
Recover database when the control file is damaged
- Open the RMAN command prompt using the following command:
$rman target <user>/<password>@<host_name>/<database_name>
where,
<user> has the SYSDBA/SYSBACKUP privileges,
<password> is the password specified by the SYSDBA in the orapwd file of the target database.
Example: $rman target sys/oracle@localhost/autodb1
- Shutdown the active database using the following command :
shutdown immediate;
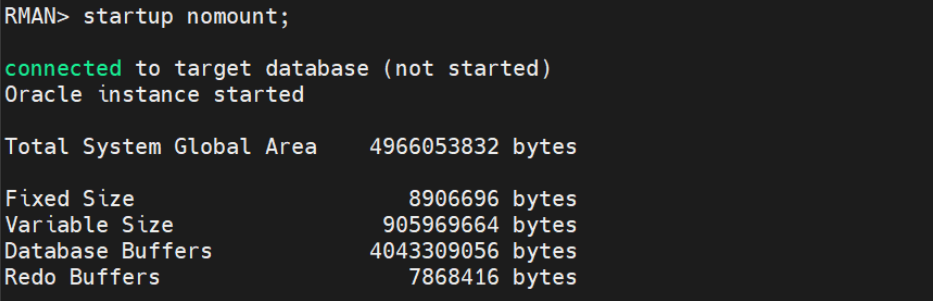
- Start the database in nomount mode by running the following command:
startup nomount;
- Open RMAN command prompt and restore the control file. Run the following command:
run { allocate channel ch0 device type sbt PARMS 'SBT_LIBRARY=/opt/Druva/PhoenixOracle/lib/libphxsbt.so (for agent version 6.x or earlier) or SBT_LIBRARY=/opt/Druva/EnterpriseWorkloads/lib/oracledtc/libphxsbt.so (for agent version 7.x or later),SBT_PARMS=(RestoreFromLocalDir=/home/oracle/Wed-Jul-19-18-20-53-2023/442/)'; restore controlfile from 'Phx_DN-AUTODB1_DBID-206331253_DT-20230719-175705_3221lu43_1_1_CF'; }
Where,
LogDirSuffix is the directory to save the restore logs.
RestoreFromLocalDir is the directory where you have downloaded the backup data.

-
Mount the database by running the following command:
alter database mount;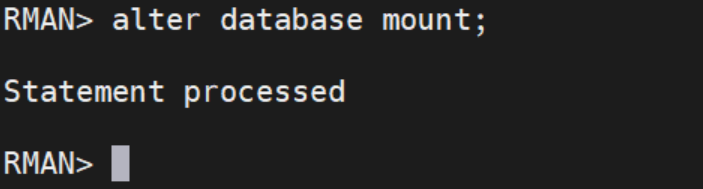
-
Reset the database to incarnation using the following command:
reset database to incarnation <incarnation_no>;
For example: reset database to incarnation 46;
You can get the <incarnation_no> from the metadata.json file that is available in the restore logs.

- Restore and recover the database by running the following commands:
run{
allocate channel ch0 device type sbt PARMS 'SBT_LIBRARY=/opt/Druva/PhoenixOracle/lib/libphxsbt.so (for agent version 6.x or earlier) or SBT_LIBRARY=/opt/Druva/EnterpriseWorkloads/lib/oracledtc/libphxsbt.so (for agent version 7.x or later),SBT_PARMS=(RestoreFromLocalDir=/home/oracle/Wed-Jul-19-18-20-53-2023/442)';
allocate channel ch1 device type sbt PARMS 'SBT_LIBRARY=/opt/Druva/PhoenixOracle/lib/libphxsbt.so (for agent version 6.x or earlier) or SBT_LIBRARY=/opt/Druva/EnterpriseWorkloads/lib/oracledtc/libphxsbt.so (for agent version 7.x or later),SBT_PARMS=(RestoreFromLocalDir=/home/oracle/Wed-Jul-19-18-20-53-2023/442)';
allocate channel ch2 device type sbt PARMS 'SBT_LIBRARY=/opt/Druva/PhoenixOracle/lib/libphxsbt.so (for agent version 6.x or earlier) or SBT_LIBRARY=/opt/Druva/EnterpriseWorkloads/lib/oracledtc/libphxsbt.so (for agent version 7.x or later),SBT_PARMS=(RestoreFromLocalDir=/home/oracle/Wed-Jul-19-18-20-53-2023/442)';
allocate channel ch3 device type sbt PARMS 'SBT_LIBRARY=/opt/Druva/PhoenixOracle/lib/libphxsbt.so (for agent version 6.x or earlier) or SBT_LIBRARY=/opt/Druva/EnterpriseWorkloads/lib/oracledtc/libphxsbt.so (for agent version 7.x or later),SBT_PARMS=(RestoreFromLocalDir=/home/oracle/Wed-Jul-19-18-20-53-2023/442)';
crosscheck backup;
restore database;
recover database;
}Note:
For PIT restore, in the above run command, after the crosscheck backup command add:
set until time="to_date('11072023 05:16:01','ddmmyyyy hh24:mi:ss')";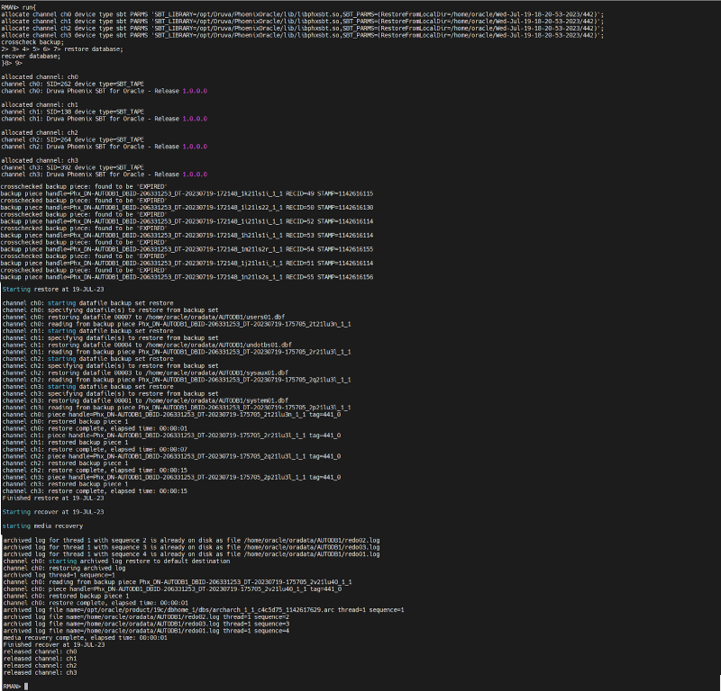
- Open the database using the alter database open resetlogs command.

- Check the status of the database after it is recovered.
- Back up the database based on your requirement.