How to configure Azure SSO with CloudRanger
Overview
This article provides the steps to configure SSO for CloudRanger (DCP) using Azure as IdP.
Note: CloudRanger only supports service provider initiated SSO from the CloudRanger console. IDP-based SSO directly from Azure is not supported.
The configuration is performed in the following order:
-
Configure the CloudRanger SSO application on Azure.
-
Contact Druva Support to get the SSO configuration setup in CloudRanger.
-
Update the CloudRanger SSO application on Azure with the correct Assertion Consumer Service URL and Entity ID.
Procedure
Step 1: Configure the CloudRanger SSO application on Azure
-
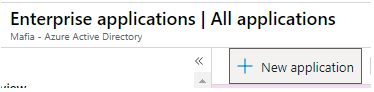
Open Enterprise applications and click New application.
-
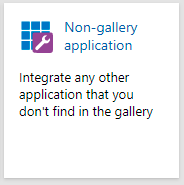
Select Non-gallery application.
-
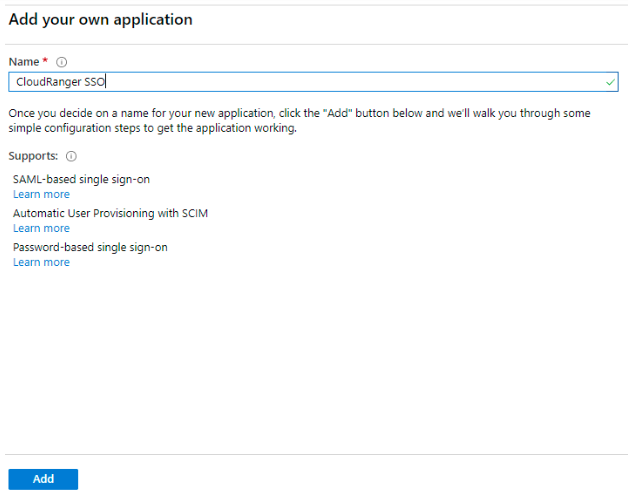
Name the Application as CloudRanger SSO and click Next.
-
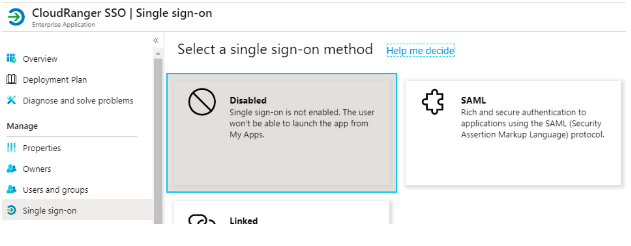
Once your application is created, go to the Single sign-on section and select SAML.
-
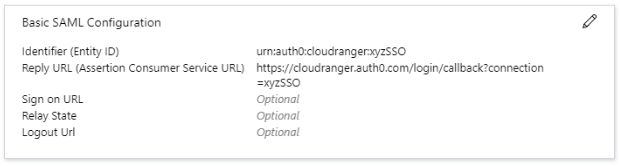
Edit the Basic SAML Configuration and add the following values and then save.
- Entity ID: urn:auth0:cloudranger:xyzSSO
- Assertion Consumer Service URL: https://cloudranger.auth0.com/login/...nection=xyzSSO
-
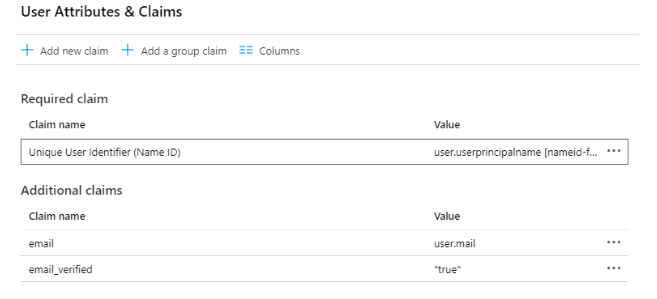
Edit User Attributes & Claims and use the following claims:
-
Under SAML Signing Certificate, download the Certificate(Base 64) and save it.

-
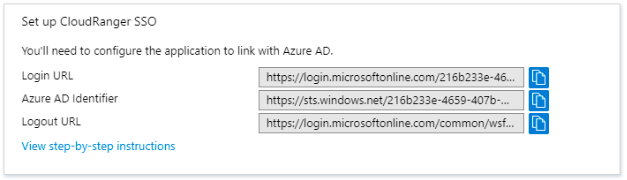
Under Set up CloudRanger SSO, copy the Login URL and Logout URL and save them in a notepad.
Step 2: Contact Druva Support to get the SSO configuration setup in CloudRanger
-
Contact Druva Support and provide the below information so that the configuration can be completed in CloudRanger backend.
- Login URL
- Logout URL
- Base 64 certificate
- The email domain(s) that your users will be logging in with, such as "example.com"
-
Druva Support will provide you the correct values for the following parameters once SSO has been configured in the backend.
- Entity ID
- Assertion Consumer Service URL
Step 3: Update the CloudRanger SSO application on Azure
-
Open the CloudRanger SSO application in Azure and go to the Single sign-on section.
-
Edit the Basic SAML Configuration, update the newly provided values, and save the configuration.

-
SSO is now set up correctly and you can use your email address to sign in to CloudRanger.