Create legal hold using inSync
License editions: To understand the applicable license editions, see Plans & Pricing.
Before you begin
Before you create a Legal Hold policy, ensure that:
- You have the URL to access the inSync Legal Administrator Portal.
- You are a Legal Hold administrator or an administrator who has permissions to access the inSync Legal Administrator Portal.
Create a Legal Hold policy
To create a Legal Hold policy
- Open the inSync Legal Administrator Portal.
- Log on to the Legal Administrator Portal as a Legal Hold administrator or as an administrator.
- Click Create Legal Hold. The Create Legal Hold wizard appears.
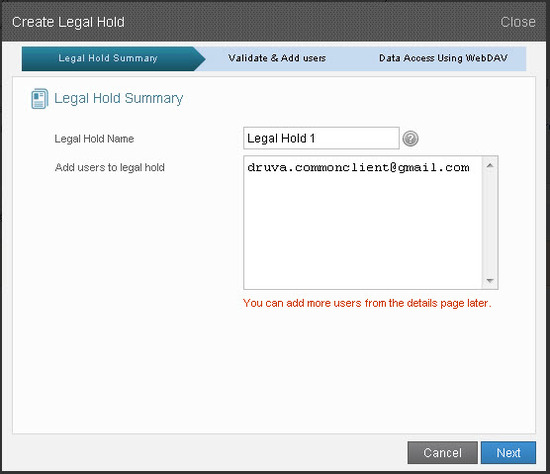
- In the Legal Hold Summary page, provide the appropriate information for each field.
- In the Legal Hold Name box, type the name for the Legal Hold policy.
- In the Add users to Legal Hold box, type the email address of the users who you want to place on Legal Hold.
- Click Next.
- In the Validate & Add users page, verify the list of users you are placing on Legal Hold, and then click Next. The Data Access Using WebDav page appears.
- In the What data do you want to access using WebDAV list, click the Legal Hold data that you want to access.
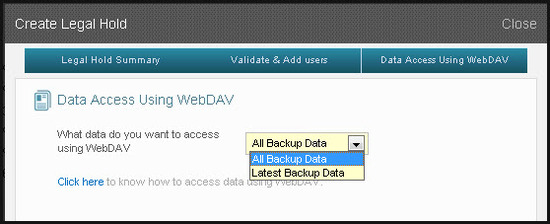
- Click Finish.

Obtain the WebDAV access URL
WebDAV is an extension of the HTTP protocol that facilitates collaboration on documents and files stored on World Wide Web servers. It is an open, published standard that allows users to edit documents on a remote web server.
To obtain and update the WebDAV access URL to comply with the AccessData format
- On the Legal Administrator portal, from the list of Legal Hold policies, click the policy for which you need the WebDAV access URL.
- Click Data Access. The data access URL and authentication details appear in the WebDAV Access Details area.
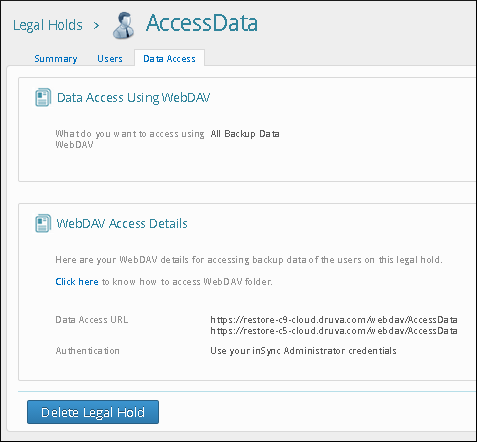
- Copy the Data Access URL from the WebDAV Access Details area and paste the URL in a text file.
- Update the Data Access URL to comply with the AccessData format. In this example, we are using the following Data Access URL: https://restore-c9-cloud.druva.com/webdav/AccessData
- Delete https:.
In this example, the updated URL is: //restore-c9-cloud.druva.com/webdav/AccessData. - Replace all instances of slash marks (//) with backslash marks (\\).
In this example, the updated URL is: \\restore-c9-cloud.druva.com\webdav\AccessData. - Add @ssl before \webdav.
In this example, the updated URL is: \\restore-c9-cloud.druva.com@ssl\webdav\AccessData.
- Delete https:.
In this example, the Data Access URL that complies with the AccessData format is:
\\restore-c9-cloud.druva.com@ssl\webdav\AccessData