Getting Started with Resource Scheduling
Overview
The Resource Scheduling functionality allows you to optimize your AWS costs by creating an On/Off schedule for your Amazon EC2 and RDS resources. This is particularly useful for AWS customers who are currently running any non-production resources 24/7. Setting up automated server schedules for your Amazon instances and RDS databases to run during business hours only can save you up to 70% on your monthly AWS bills for these resources.
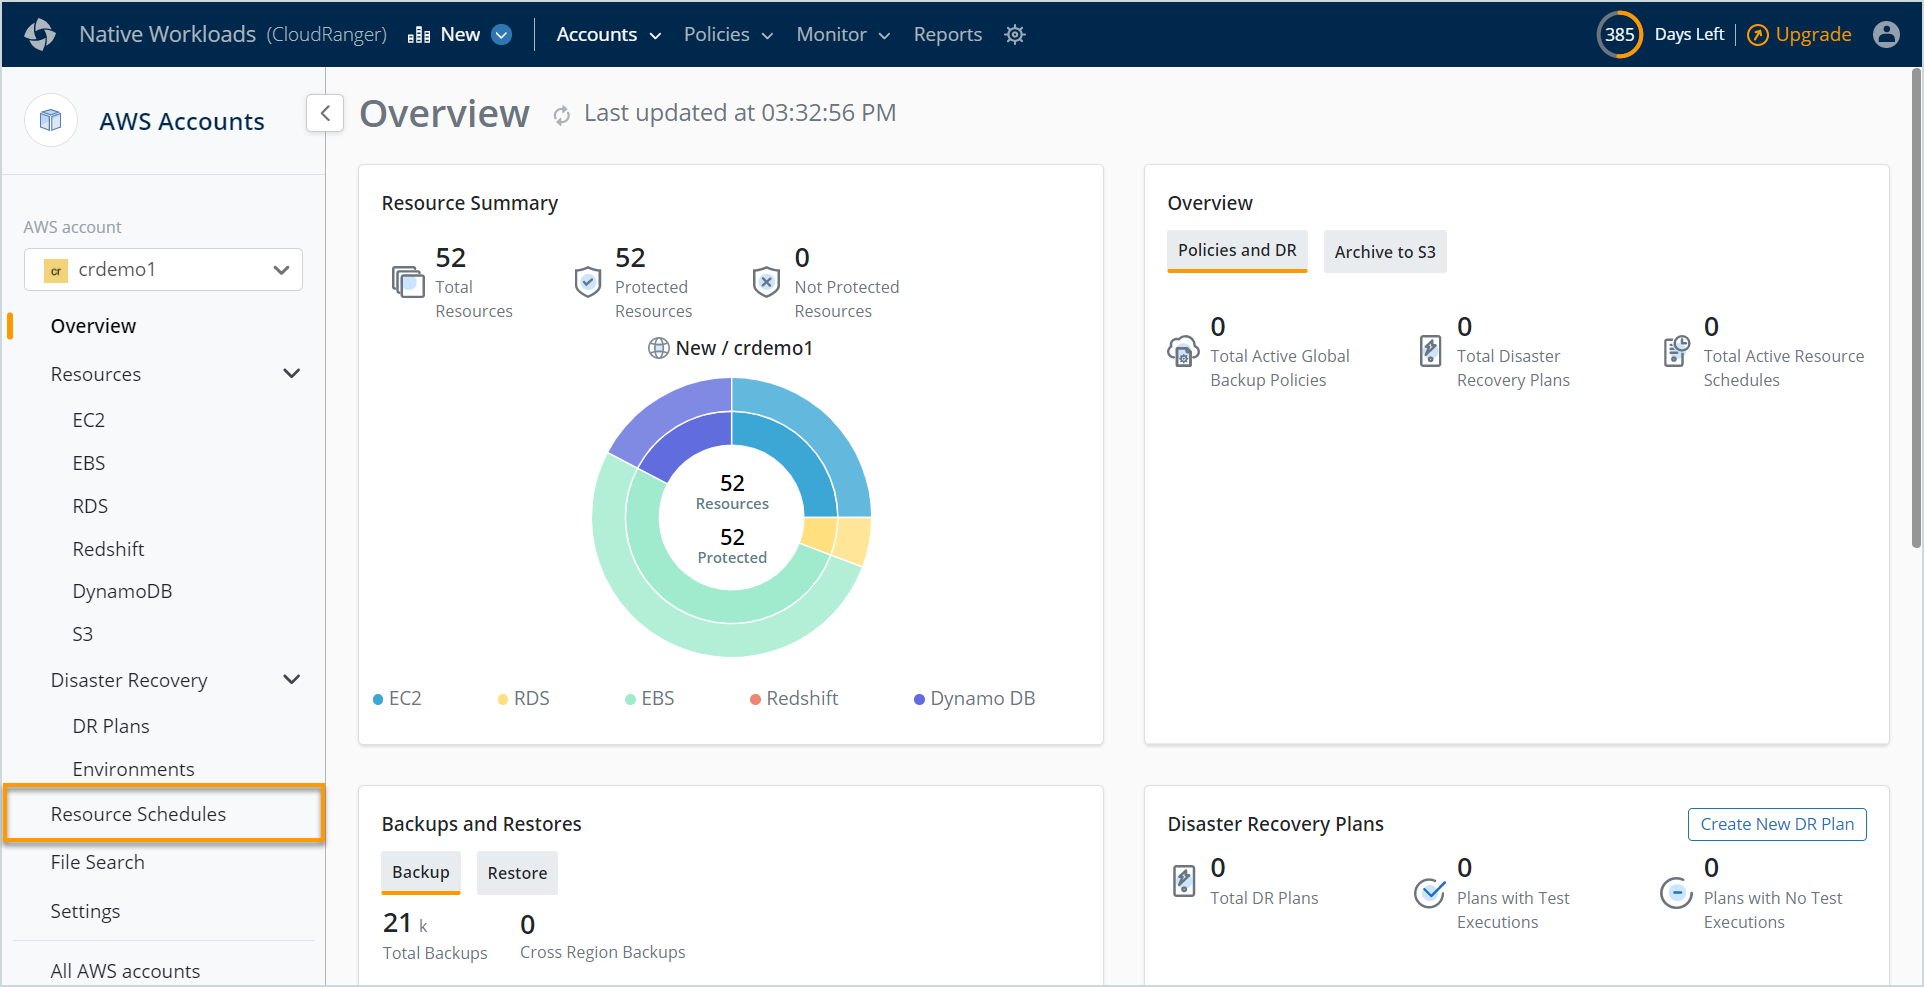
To get started with Resource Scheduling, select Resources Schedules on the left navigation pane.
Advanced Resource Scheduling
Resources can be scheduled using the On/Off schedule or a Reboot action to a 1-minute resolution. Each resource schedule can be applied across specific resources by Instance ID or Instance Tags.
To create a new schedule:
- Log into your Druva CloudRanger console and navigate to Resources Schedules on the left navigation pane. Click Create Schedule.
- Specify a Schedule Name and relevant Description. Select the appropriate Time Zone when you would like your schedule to run.
- On/Off Schedule: To specify the server On/Off schedule, simply click and drag to create or edit your server On times.
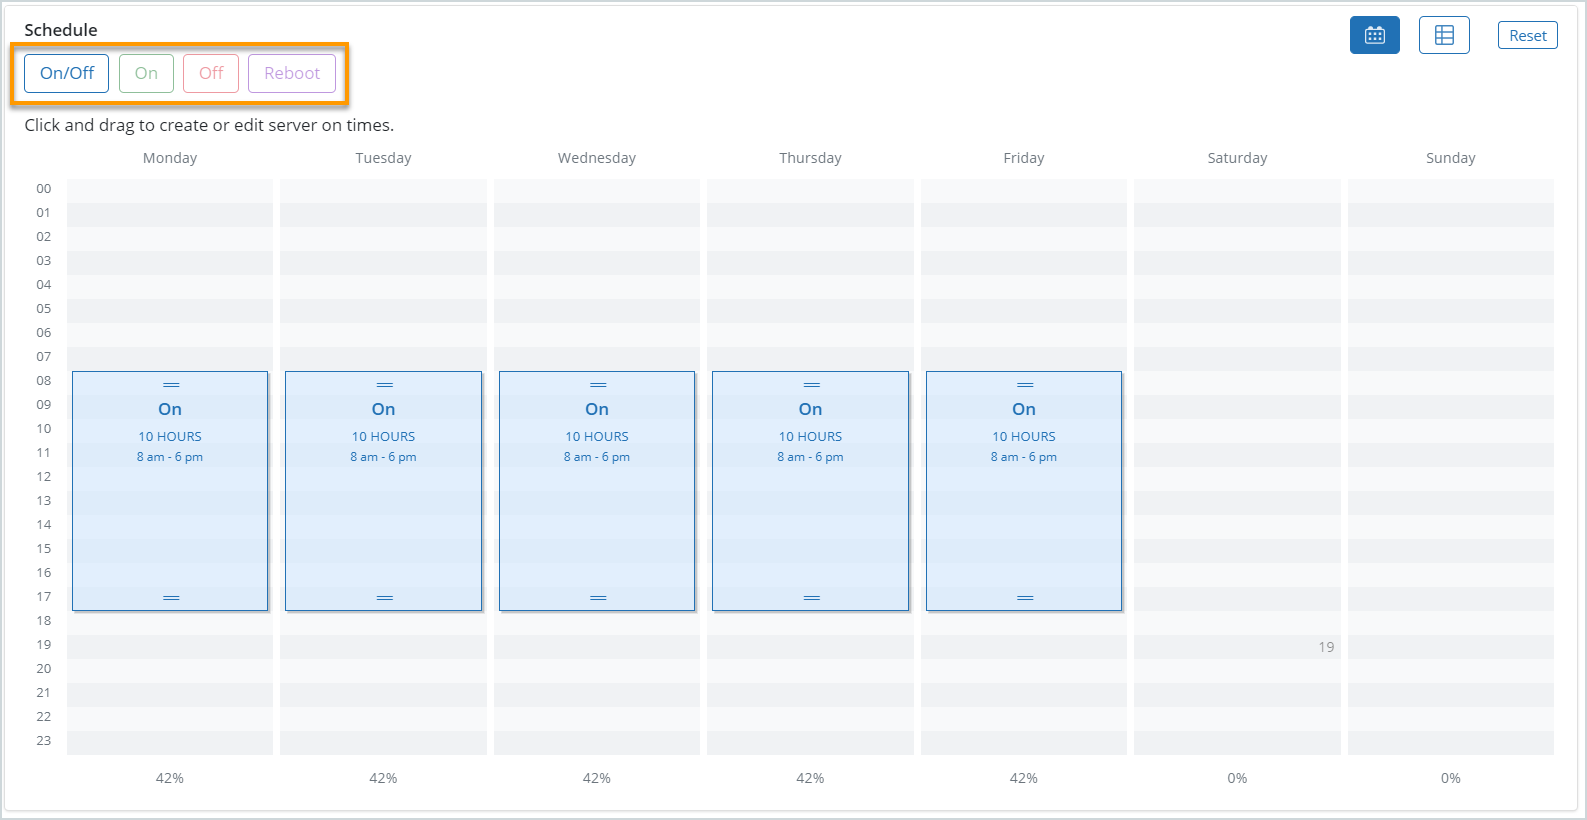
In this example, we have set up a schedule to have servers On between 8 am – 6 pm, Monday to Friday.
- On Schedules: To specify the server On schedule, simply click the appropriate time and edit your server On times.
In this example, we have set up our schedule to have servers turn on every morning at 8:05am, Monday to Friday. - Off Schedules: To specify the server Off schedule, simply click the appropriate time and edit your server Off times.
- Reboot Server Schedules: To specify the Reboot schedule, click the appropriate time and edit your server Reboot times.
In this example, we have set up our schedule to have servers turn reboot on a Sunday night at 11:15pm.
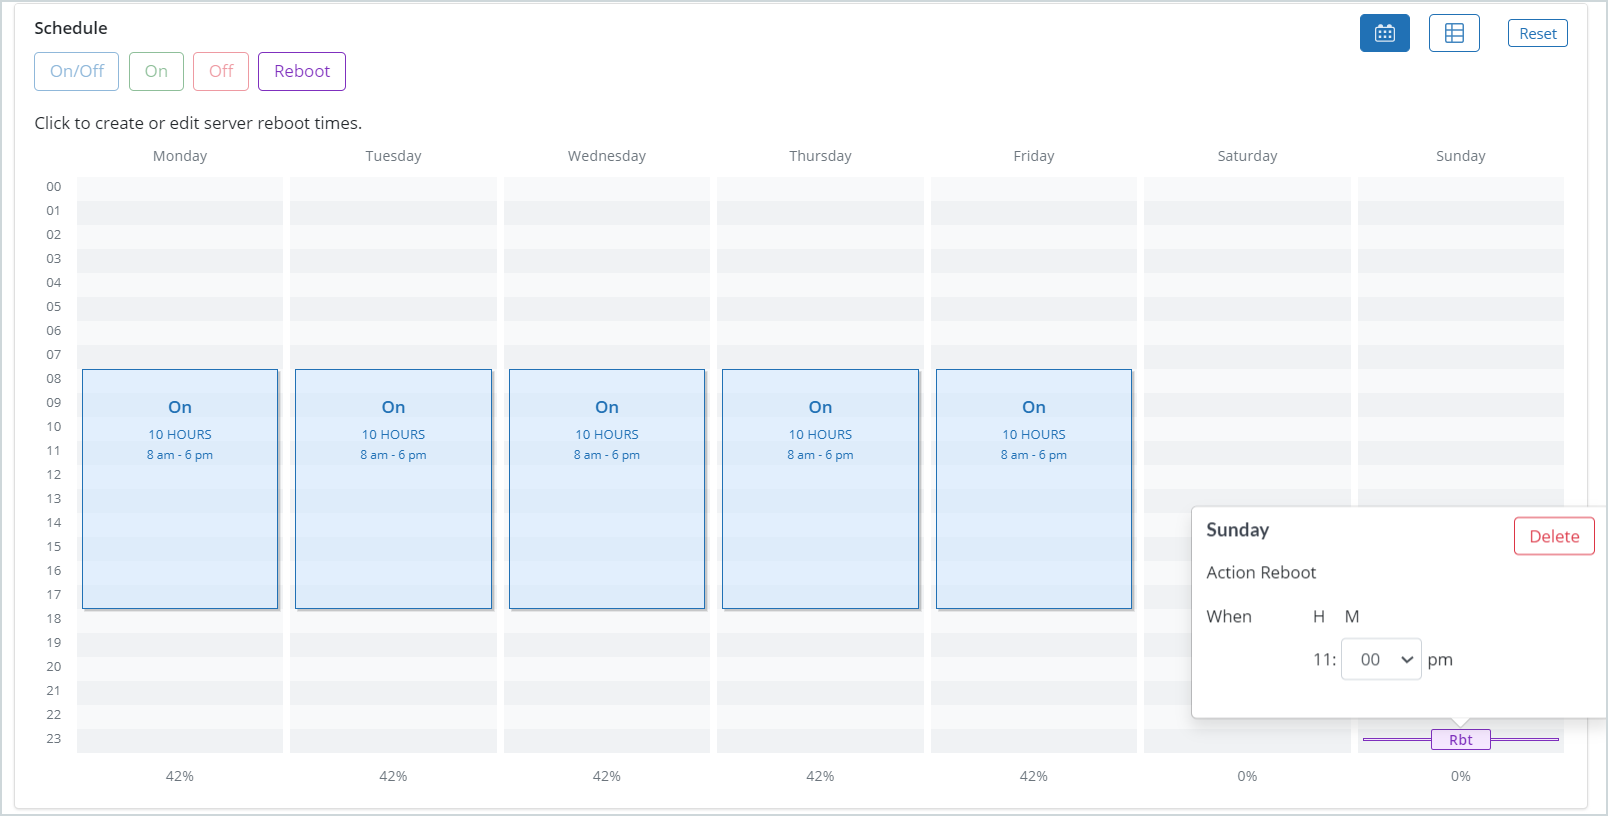
In this example, we have set up our schedule to have servers reboot on Sunday nights at 11:00 pm. - Alternatively, use the
 icon to define the scheduling frequency and recurrence.
This allows you to create schedules beyond a weekly timeframe.
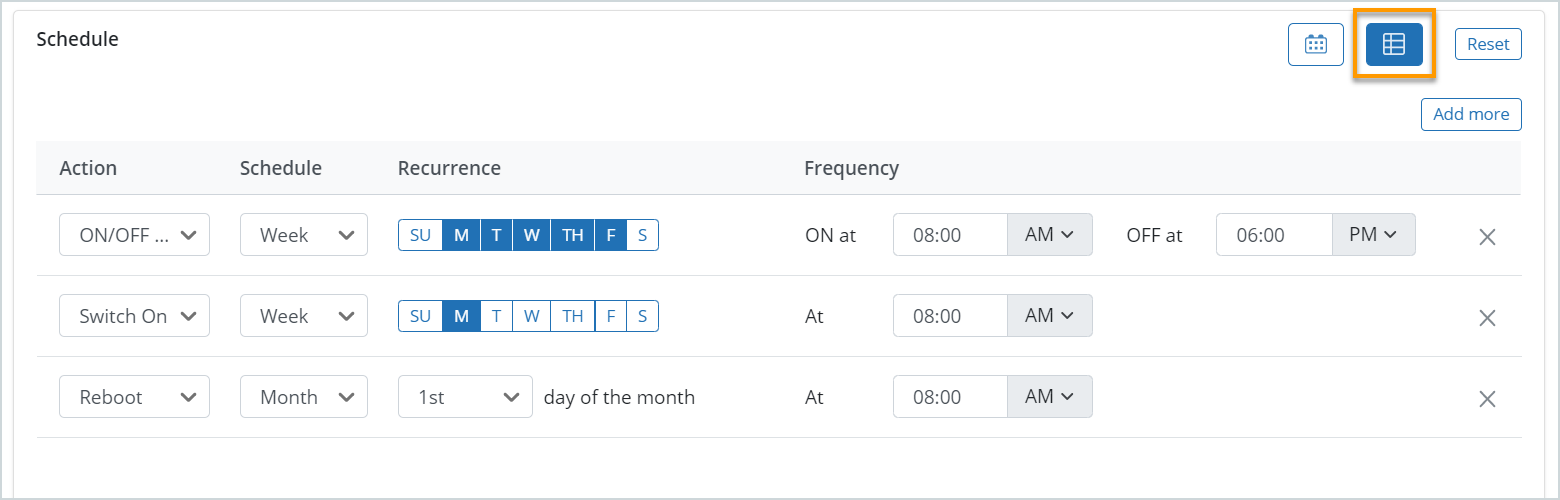
- Action: Select the type of schedule to be defined (for example, On/Off Switch).
- Schedule Recurrence and Frequency: Specify the schedule frequency and recurrence by week, month, or year.
For example:
On/Off servers every Week from Monday to Friday ON at 08:00 AM OFF at 06:00 PM.
Reboot servers on the 1st day of the month at 08:00 AM. - Click Add more to specify more schedule types.
8. Once you are happy with your schedules, you can Apply this Schedule to specific Instances, using the Instance ID or Instance TAG.

You may choose to apply the schedule to instances that match any or all of the tags specified.
9. Click Save.
Note: All the scheduling actions described, can be implemented within the same server Schedule.