Enable Data Lock
The Data Lock feature is available by default only to Enterprise and Elite editions.
You can enable Data Lock to protect snapshots at the backup policy level. You can enable Data Lock when creating a new policy or on an existing policy. Daily snapshots will remain immutable, by default, and you may choose to make the weekly, monthly, and yearly snapshots immutable.
What happens when you enable Data Lock
Once you apply Data Lock to a backup policy, you cannot:
- Disable the Data Lock setting
- Modify, delete or encrypt the snapshots
- Edit the retention period or delete the backup policy
- Copying a backup policy will result in the copy also having Data Lock enabled
Considerations
Do consider the business implications before enabling Data Lock:
- Once enabled at the backup policy level, Data Lock will apply to all existing and future snapshots.
- You will be unable to manually delete backups created by a policy with Data Lock enabled, before their calculated retention date.
- Once you enable Data Lock, the backup retention criteria specified cannot be modified.
- Once enabled, you will not be permitted to disable Data Lock. An immutable backup policy can no longer be made mutable.
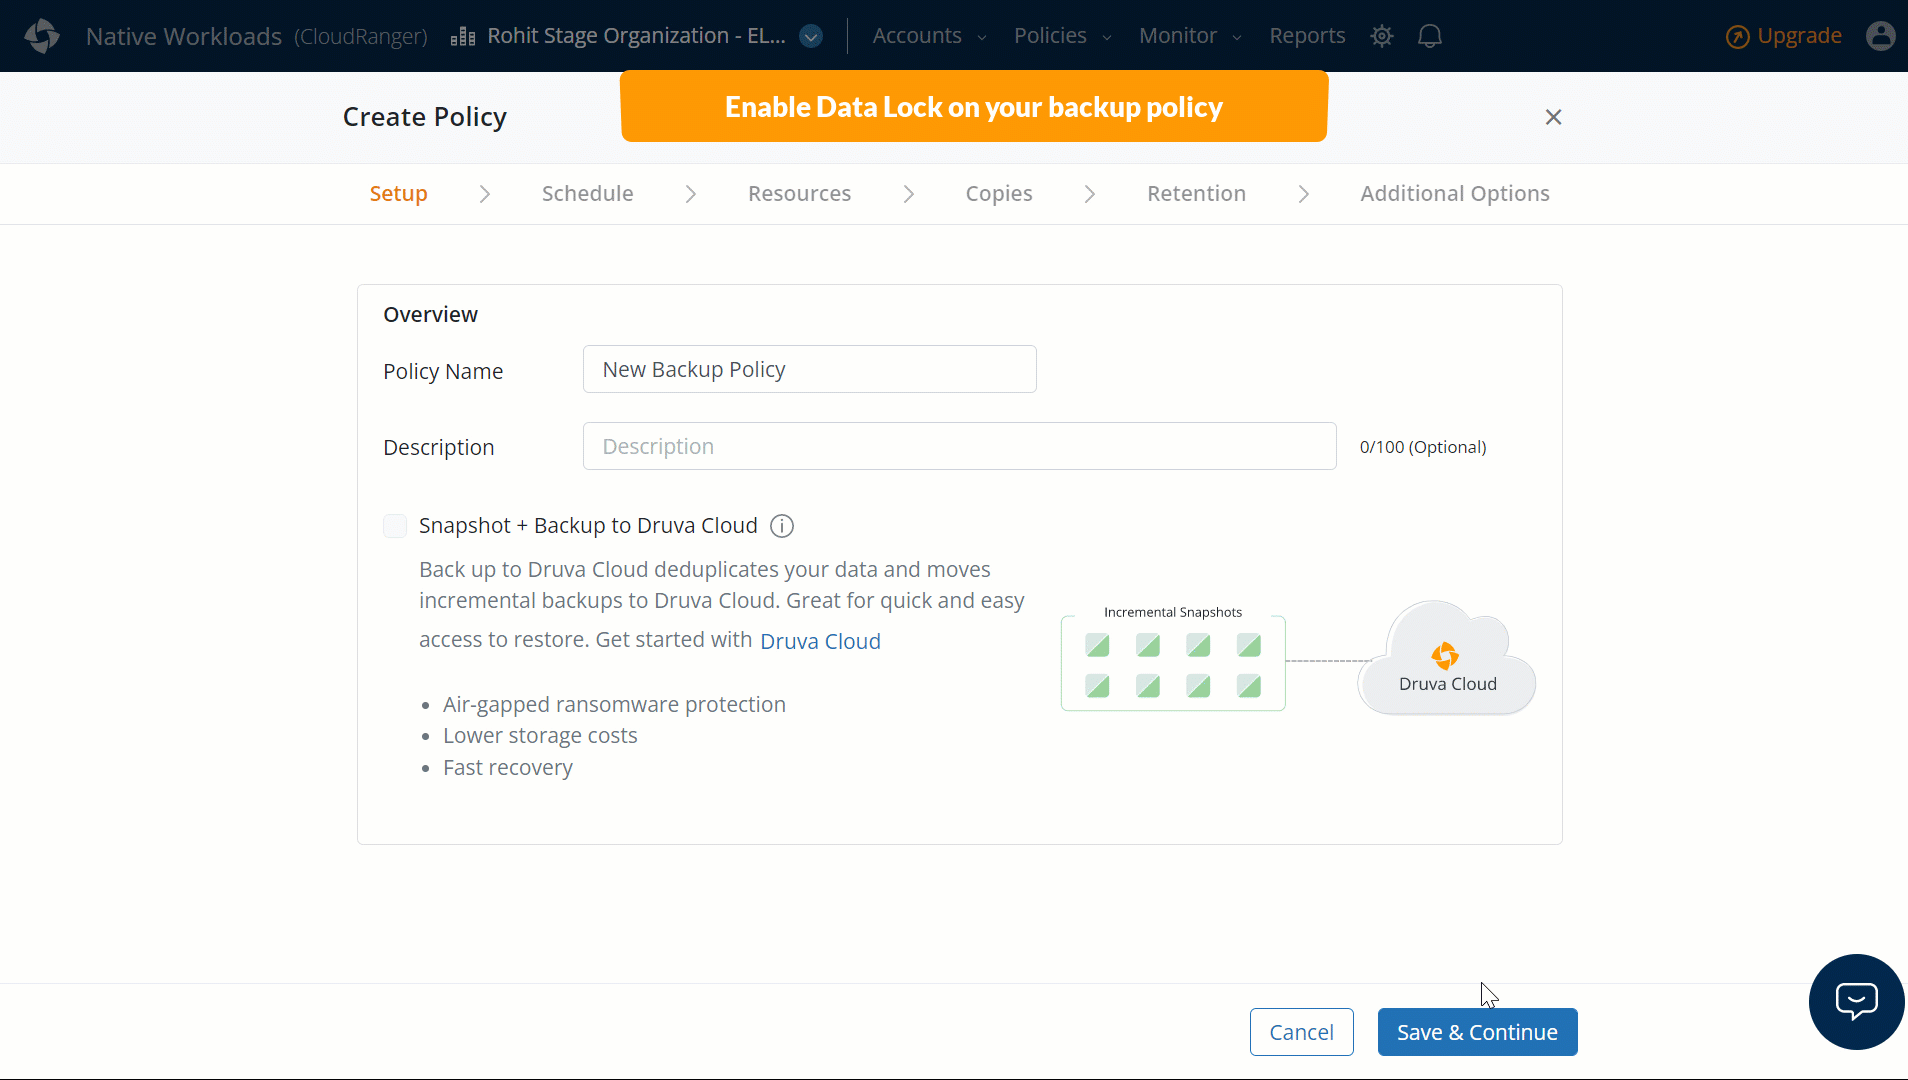
Enable Data Lock when creating a new backup policy
Enabling Data Lock is an irreversible action. Data Lock will apply to historical and future snapshots.
- Log into your Druva CloudRanger console and select Policies from the top navigation bar.
- Click Create Backup Policy.
- Enter the Name and a brief Description of the backup policy. Click Save & Continue.
- Specify the backup Schedule and the Resources for backup.
- Specify the criteria for any additional backup Copies. Click Save & Continue.
- Specify the backup Retention criteria.
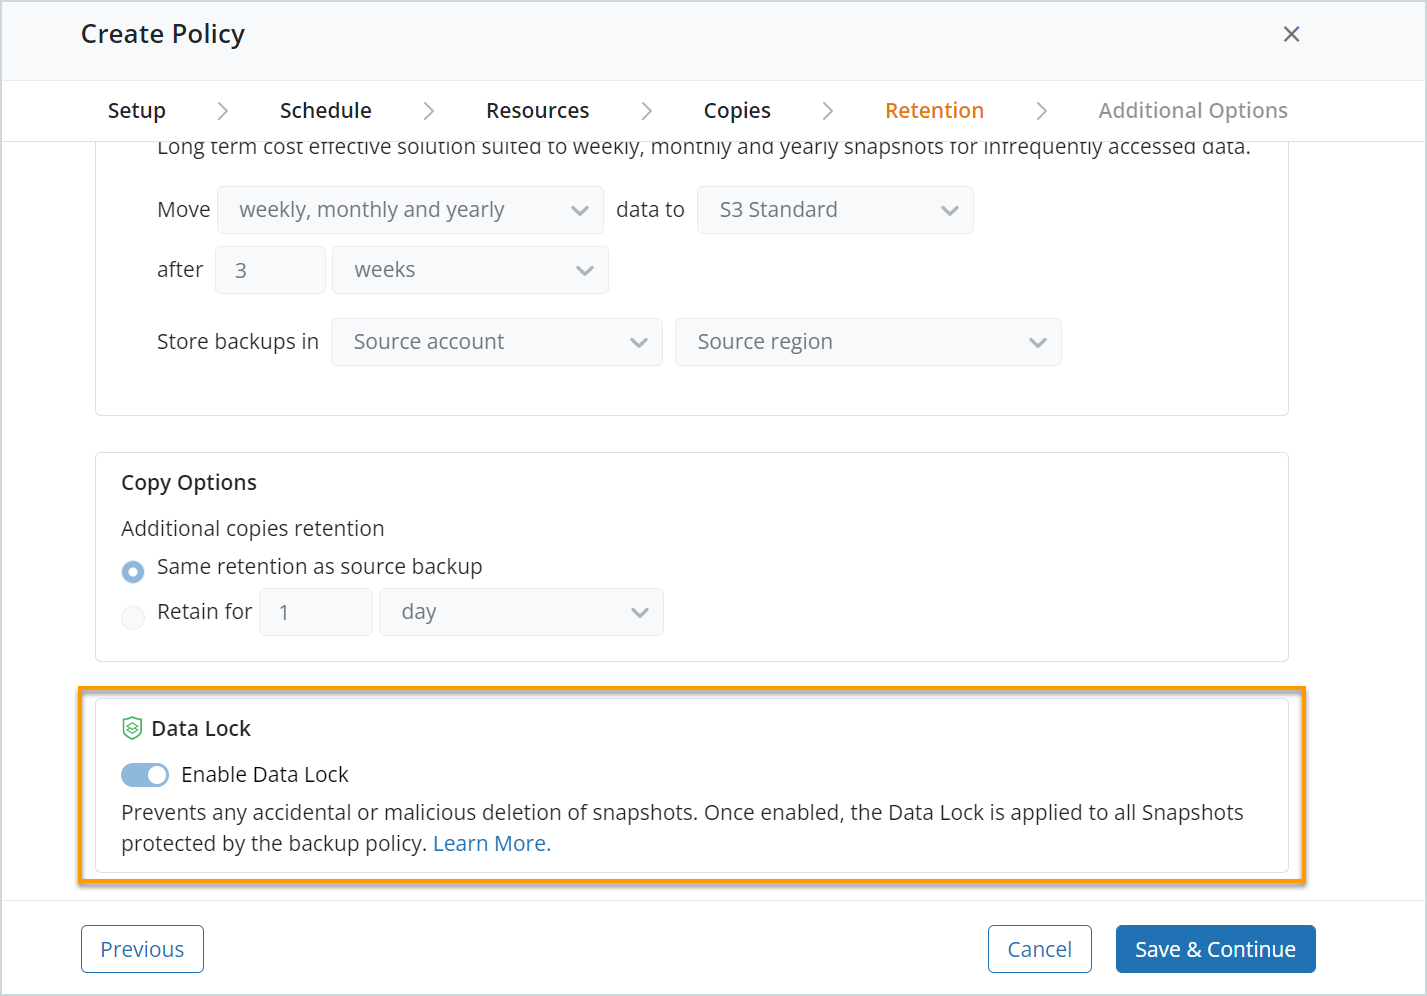
- Set the Enable Data Lock toggle to enable Immutability.
Do note that once enabled, you will not be able to disable Data Lock. - Click Save & Continue and then click Finish.
Data Lock is now enabled on this backup policy.
Note: The Data Lock icon
against a backup policy on the listing page indicates that Data Lock is enabled on the policy and will apply to all snapshots in CloudRanger..
Enable Data Lock on an existing backup policy
- Log into your Druva CloudRanger console and select Policies from the top navigation bar.
- On the Backup Policies page, select the policy you wish to edit.
- Navigate to the Retention tab, and set the Data Lock toggle to enable Data Lock.
Note: Do note that once enabled, you will not be able to disable Data Lock.