Backup EC2 Resources
Overview
You can choose to automate your backup process for EC2 instances using backup policies. A backup policy specifies the backup schedule and retention criteria for backup jobs. You may either select a particular EC2 instance and apply a backup policy or specify tags in the backup policy so that CloudRanger can detect the instances with those tags and apply the backup policy to those specific instances. Druva CloudRanger then initiates AMIs and snapshots of the EC2 instances and stores them in the region specified in the policy, based on the retention criteria defined.
Backup on-demand
You may also generate a manual (point in time) backup of a specific EC2 resource on Druva CloudRanger. You can choose to generate an AMI or a snapshot for EC2 resources.
To backup an EC2 resource on-demand:
- Log into your Druva CloudRanger console and navigate to Resources > EC2.
- Select the resource you wish to back up and then click
 . Select Take AMI or Take Snapshot.
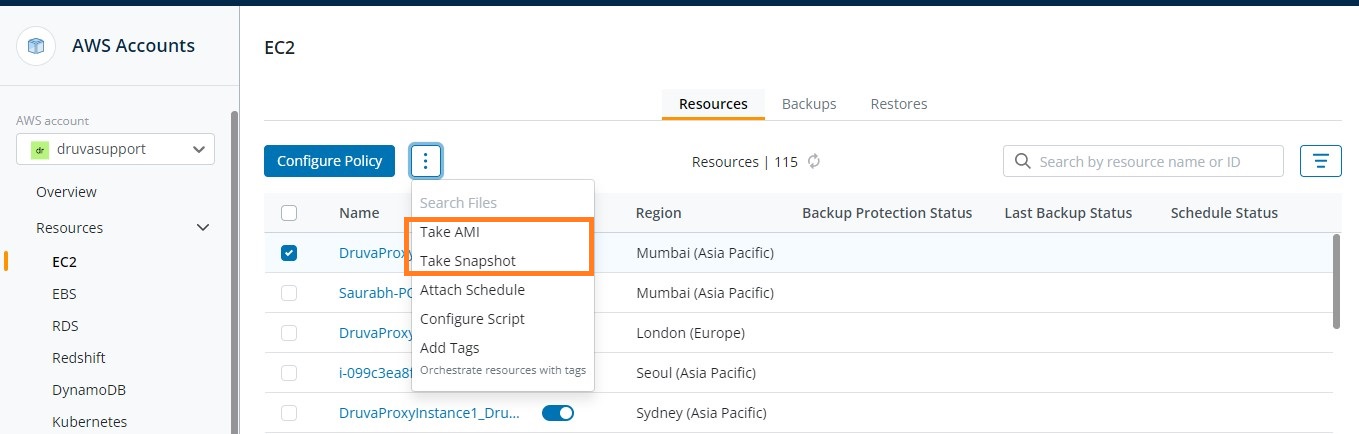
- Click Back Up to initiate the backup process.
- Click View to navigate to the Jobs page, where you can view the status of the backup job.
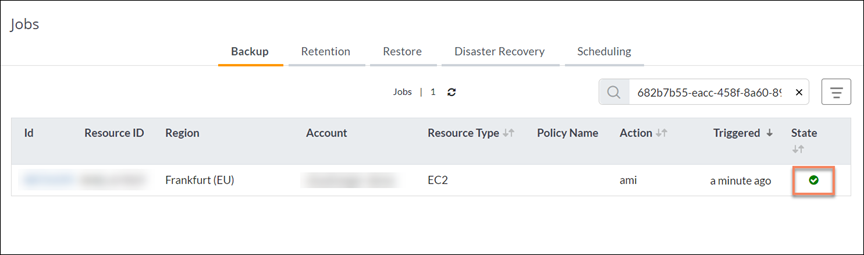
Note: Once the triggered backup job is complete, the job State changes to.
Once the job is complete, navigate to the Backups tab to view the backup.
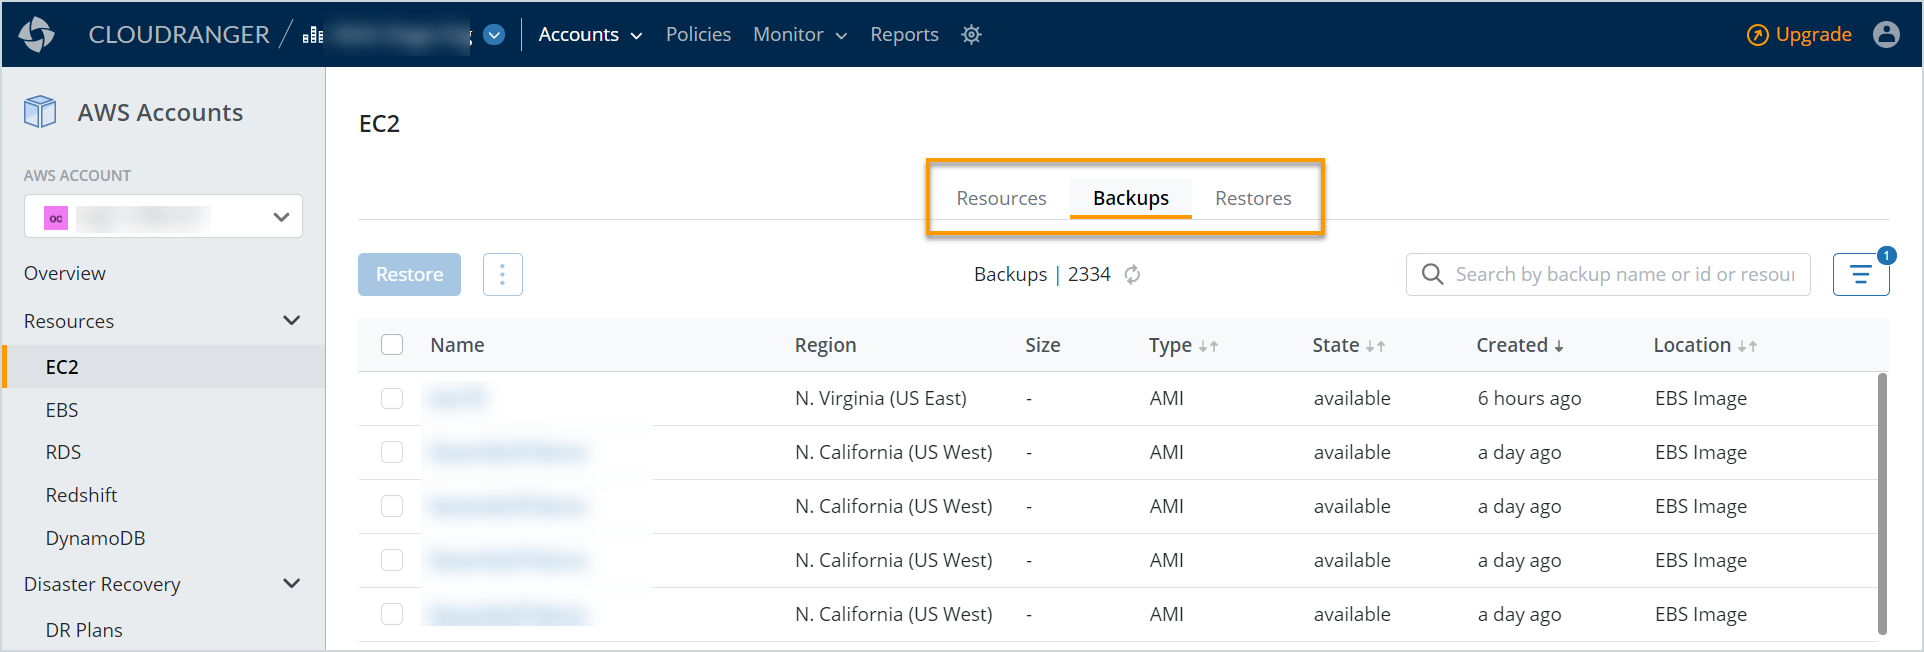
Note: The EC2 backups are filtered to display only the AMIs, by default, while snapshots are listed under the EBS Backups page. You may navigate to the appropriate tab to view AMIs and snapshots. Alternatively, you may disable the filter to view all EC2 backups (AMIs and snapshots).