Restore a Snapshot as an Instance
Overview
Snapshots are incremental backups, which means that only the data blocks that have changed since your most recent snapshot will be backed-up. Upon restoring a snapshot, the entire point in time copy is restored. When you delete a snapshot, only the data exclusive to that snapshot is eliminated.
You can choose one of the following approaches to restore an EBS snapshot:
Restoring EBS Snapshots as an Instance
Druva CloudRanger boots up an EC2 instance using predefined parameters and then attaches the snapshots to be restored as a volume to that instance.
To restore a snapshot as an instance:
- .Log into your Druva CloudRanger console and navigate to Resources > EBS.
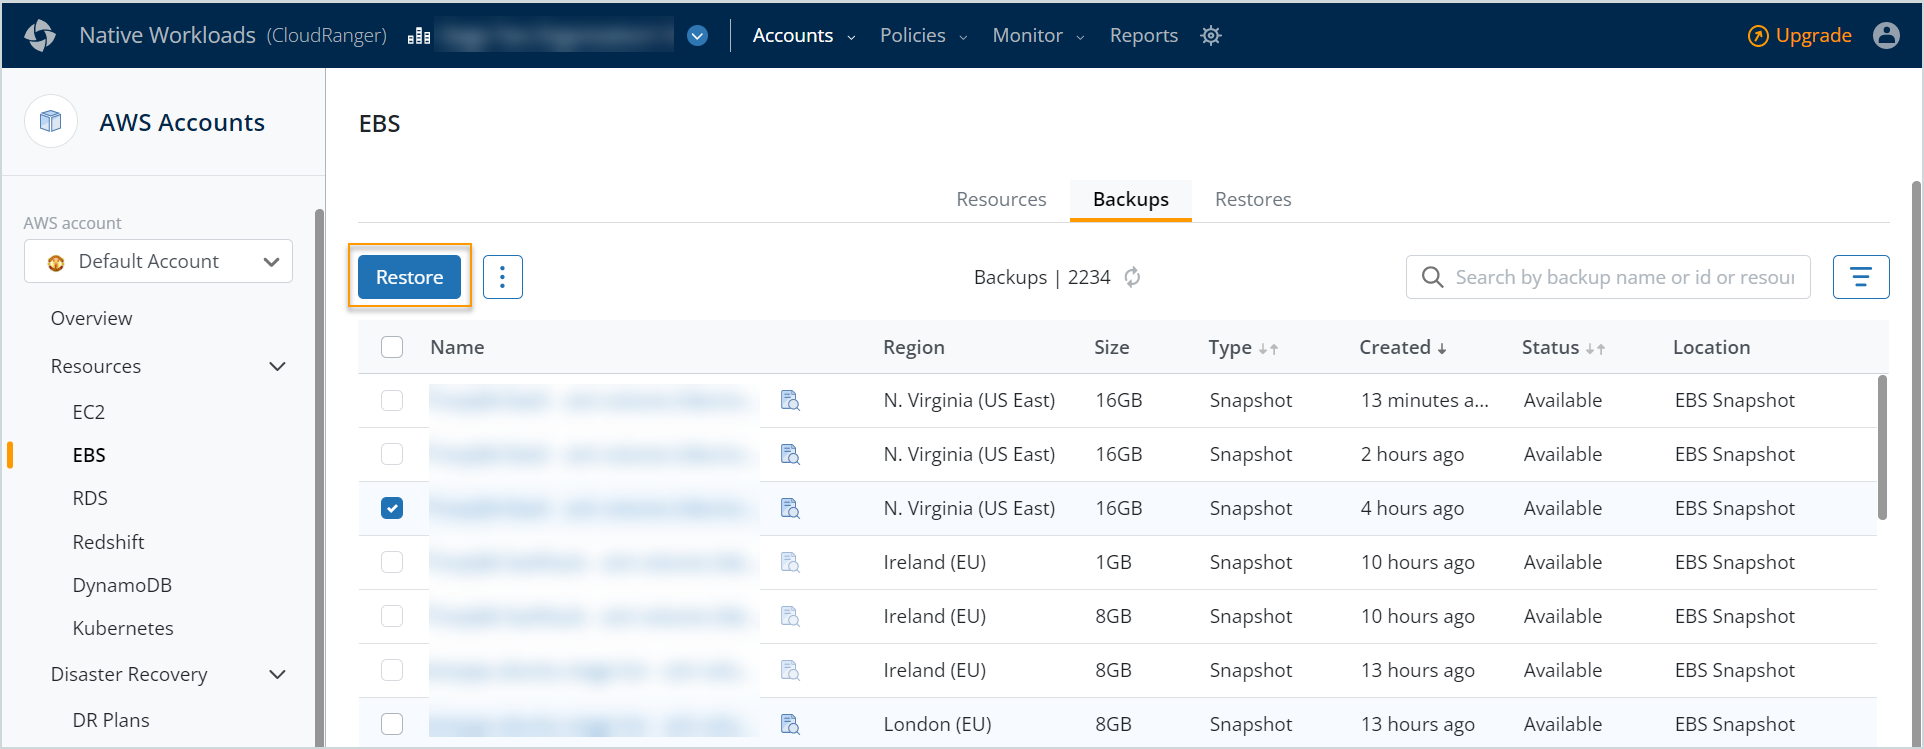
2. Navigate to the Backups tab and select the snapshot that you wish to restore.
3. On the backup details page, click Restore.
Note: Alternatively, you may select the snapshot from the Backup page, and then click Restore to initiate the restore process.
On the Restore dialog, select the restore type you wish to proceed with. The File Level Recovery option is selected by default.
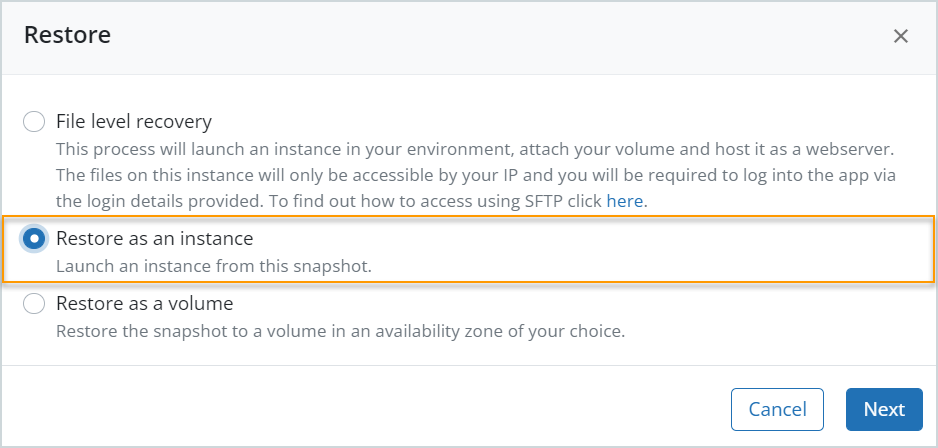
4. Select the Restore as an Instance option to launch an instance from the snapshot.
The Restore as an instance page displays an overview of the instance, the snapshot Location & Security, as well as the associated Tags.
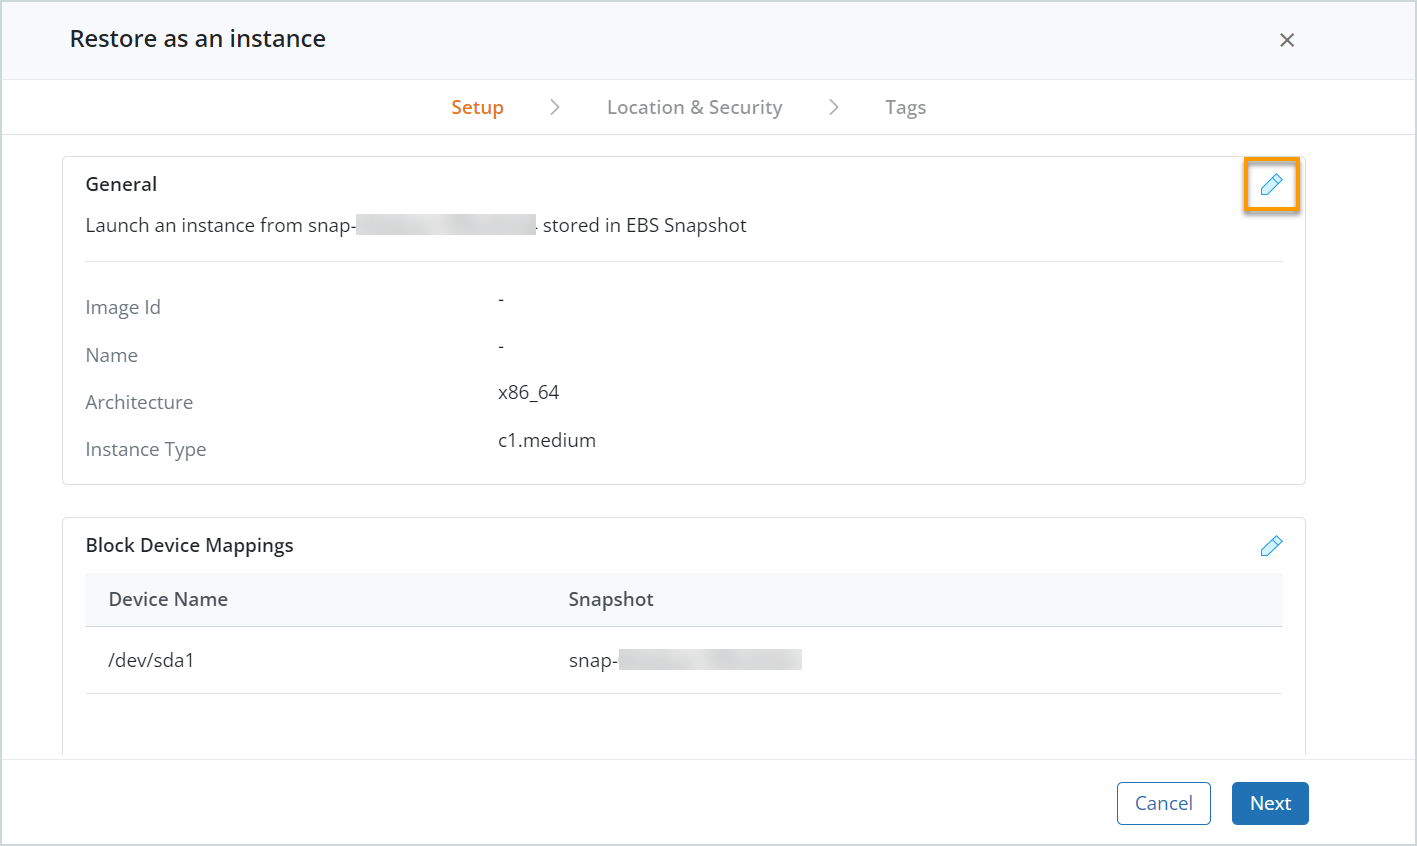
5. The latest available instance settings are pre-populated. Click  to modify the settings based on your business requirements:
|
Field |
Description |
|
General |
|
|
Name |
By default, Druva CloudRanger displays the name of the original EC2 instance, and if unavailable, the instance ID is used as the name. |
|
Architecture |
Select the processor architecture for the instance, for example, i386. |
|
Instance Type |
Select an instance type of the restored EC2 instance. By default, Druva CloudRanger selects the original EC2 instance type. Note: Not all instance types are supported in all regions. If you run into issues with the restore, verify that the selected instances are supported for that region. For more information, refer to the AWS documentation. |
|
IMDS Version |
Denotes the EC2 Instance Metadata Service Version. When restoring a backup from an instance where IMDSv2 is optional, you may select the version when initiating restore. By default, IMDSv1 is selected. If the backup is from an instance on IMDSv2, this would remain the default selection.
For more information, refer to the AWS documentation. |
|
Image ID |
The ID of the associated AMI. |
|
Block Device Mappings |
The Device Name and ID of the snapshot to be restored. |
 and
and  icons to add or delete new devices and snapshot IDs.
6. Click Next.
7. Review the Location & Security settings that are pre-populated. Click to modify the settings, as applicable:
|
Field |
Description |
|
Location |
|
|
Account |
The Druva CloudRanger Account that the backed-up snapshot is associated with. |
|
Region |
The AWS Region where the backed-up snapshot is stored. |
|
VPC |
A virtual private cloud (VPC) where you want the restored EC2 instance to run. |
|
Subnet |
Subnet of the VPC where you want the restored EC2 instance to run. |
|
Virtualization |
Virtualization type for the restored EC2 instance. |
|
Security |
|
|
Key Name |
The backup encryption target key for the EC2 instance. |
|
Instance Profile |
Instance profile for the restored EC2 instance. |
|
Security Groups |
Security group for the restored EC2 instance. |
8. Click Next.
9. Review the instance Tags. Click to assign new key:value pairs to the restored instance.
|
Field |
Description |
|
Key |
This section displays the tag keys that have been specified for the source EC2 instance or the AMI. |
|
Value |
The Value will depend on the Key specified. |
10. Click Finish.
Druva CloudRanger launches an Instance from this snapshot using the snapshot settings specified. The restored snapshots will now be available on the Restores page.