Restore a Snapshot with File-level Recovery
Overview
This section explains how you can restore an individual file from a snapshot, with the file-level recovery functionality.
With the file-level recovery option, you can initiate a recovery instance and choose the files you want to recover This launches an instance in your environment, attaches your volume and hosts it as a web server. The files on this instance will be accessible only on your IP. Files restored on this instance will only be accessible through your IP.
Restoring Snapshots with File Level Recovery
To initiate a file-level recovery:
- Log into your Druva CloudRanger console and navigate to Resources > EBS.
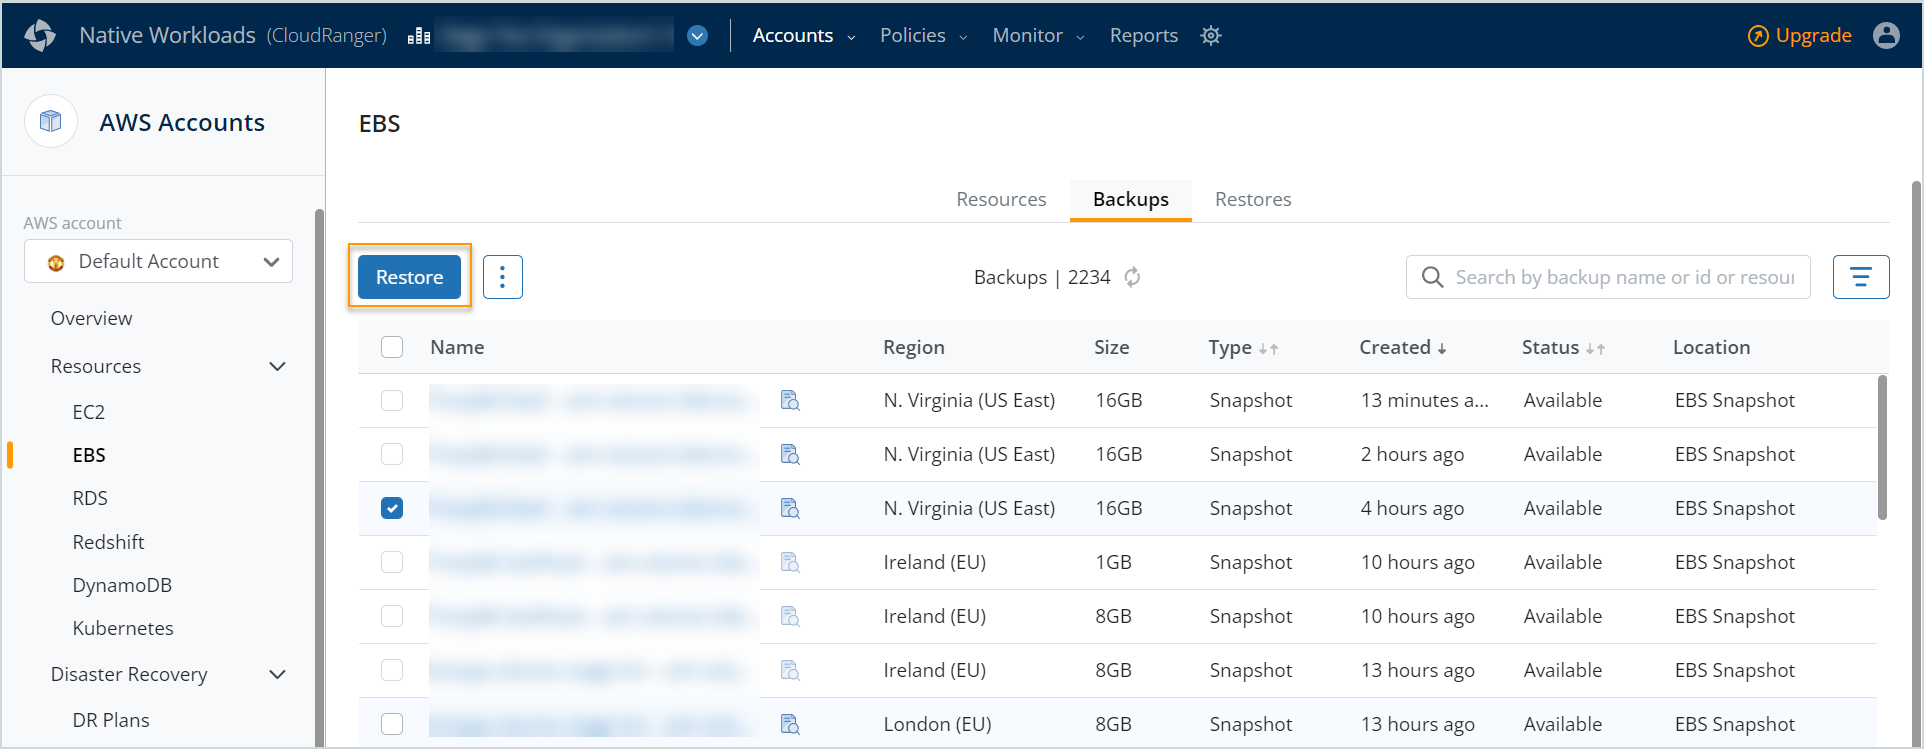
- Navigate to the Backups tab and select the snapshot that you wish to restore.
- On the backup details page, click Restore.
Note: Alternatively, you, you may select the snapshot from the Backups page, and then click Launch File Level Restore to initiate the restore process.
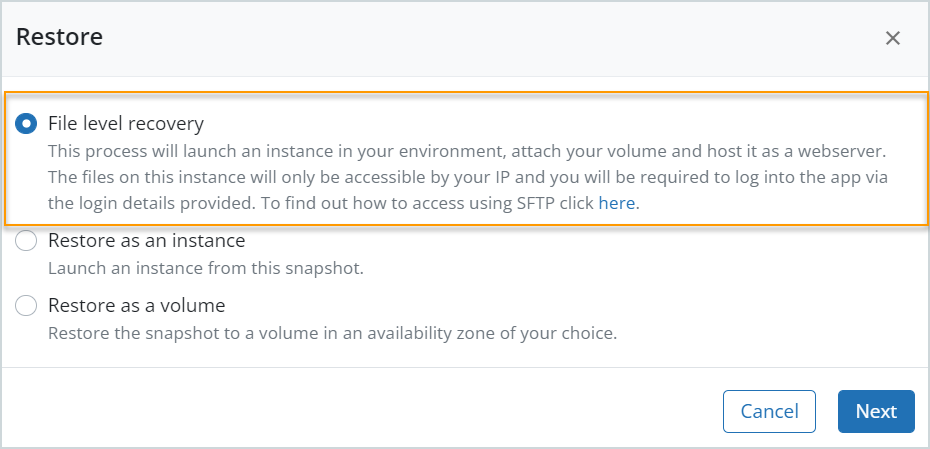
On the Restore dialog, select the restore type you wish to proceed with. The File Level Recovery option is selected by default.
You can choose to modify the following settings, as applicable:
| Field | Description |
|
Instance Details |
|
|
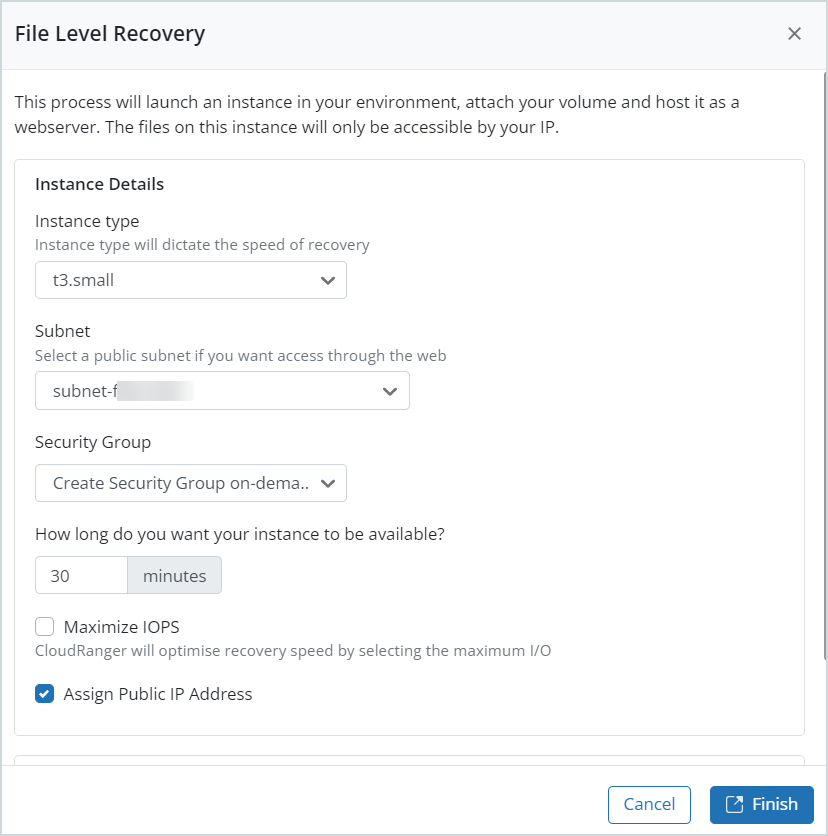
Instance Type |
The instance type of the restored EC2 instance. By default, Druva CloudRanger selects the original EC2 instance type. Note: Not all instance types are supported in all regions. If you run into issues with the restore, verify that the selected instances are supported for that region. |
|
Subnet |
The subnet of the VPC where you want the restored EC2 instance to run. |
|
Security Group |
The Security Group assigned to the recovery instance. |
|
How long do you want your instance to be available? |
The duration in minutes for which you want the temporary instance to be available to restore the files. You can specify the duration, but we recommend at least 30 minutes. |
|
Maximize IOPS |
Select this option to ensure a faster restore process using an m4.large instance.
|
|
Assign Public IP Address |
Druva CloudRanger automatically assigns a Public IP Address upon launching the recovery instance. You may choose to clear this option, based on your business requirements. |
4. Click Finish.
The restored snapshots are connected to a temporary instance and can be accessed using the link available on the Restores page. It may take up to a minute for the temporary instance to be available, so you may need to refresh the page. You may also download a directory with one click using the download icons on the right, which will download the archive with a .zip extension.
Once the instance becomes available, locate the archived files for downloading.
-
Navigate to the Restores tab and locate the archived files from the Restored to location.
-
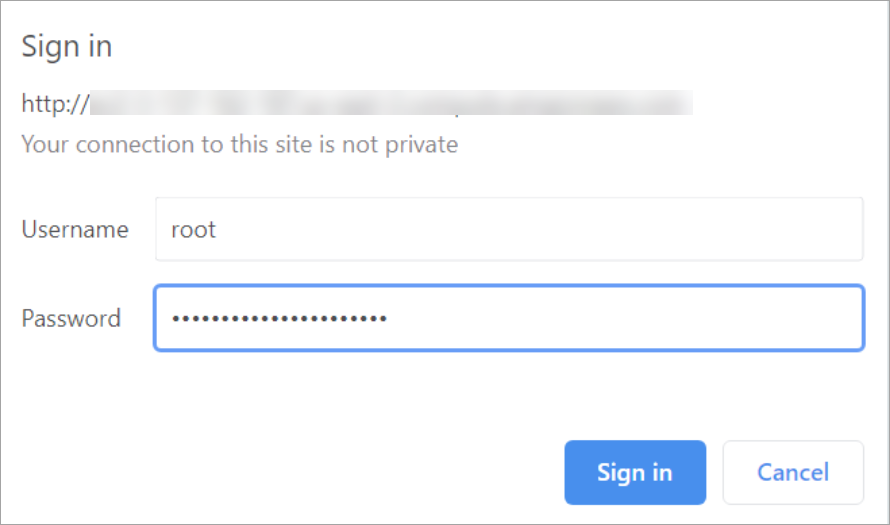
Provide the Basic Auth information to access your temporary instance.
Access details:
Username: root
Password: Snapshot ID -
Click Sign in.
This connects the temporary EC2 instance to your device, and the restored files should be accessible.
Restore via Secure File Transfer Protocol (SFTP) Clients
The temporary resource generated through file-level recovery is SFT enabled, which allows you to connect to the snapshot and access your files a little easier using different SFTP clients, such as WinSCP or FileZilla.
Before you begin
Navigate to the Restores page and copy the Origin and Restored to details. You will need to specify this information to connect to the appropriate SFTP host.
Access details for SFTP

Username: root
Password: Snapshot ID on port 22
To access your files:
- Navigate to your FTP client, for example, WinSCP.
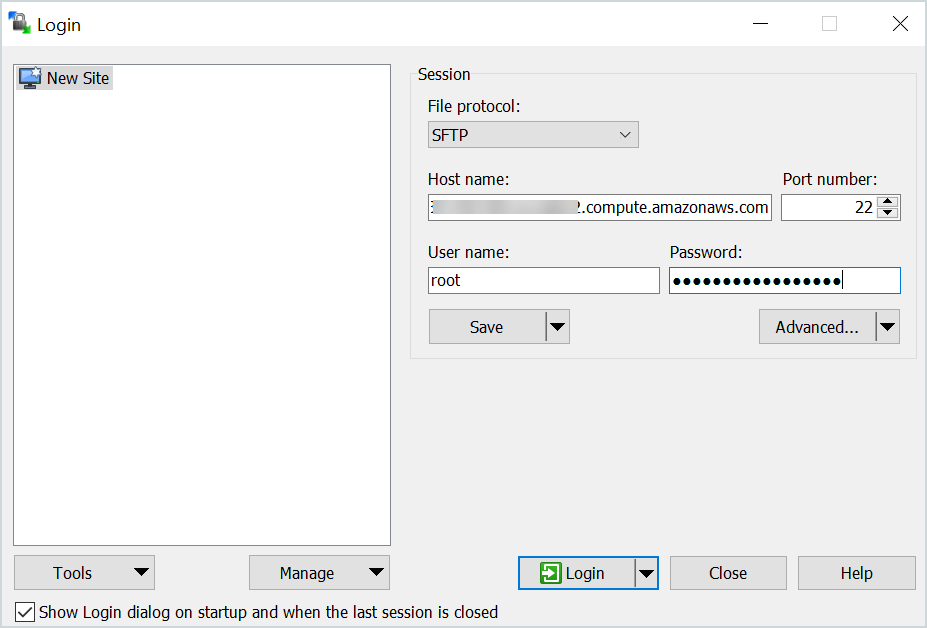
- Specify the following information:
- Host name: Enter the Restored to location prefixed by sftp://.
This is the public DNS (IPv4) of your temporary EC2 instance. - Username: root
- Password: Snapshot ID on port 22
- Host name: Enter the Restored to location prefixed by sftp://.
- Click Login.
This connects the temporary EC2 instance to your device, and the restored files should be accessible.
For more information on EBS snapshots, please refer to the AWS documentation.